
Make Together Craft: Create a DIY Origami Bat Wreaths 2 Ways!


Today we’re sharing two different versions of a “Make Together” craft for adults and kiddos to enjoy! One option is geared towards smaller kiddos who are still refining motor skills or may have less patience, or adults who are still perfecting their crafty hand. The second option is for older children, teens, and adults who are ready for a more precise and time-consuming process. Both options are equally festive, colourful, and fun to make! (I’ve got both of them hanging up in the apartment and they’re both delightful additions to the Halloween spirit in this apartment.)
Remember: SAFETY FIRST!
Some tasks may require adult supervision or assistance, so please use caution around wee ones
with steps that require use of scissors, exacto knife, and glue gun to avoid any cuts and burns.

OPTION ONE:
DIY UPCYCLED CARDBOARD
MATERIALS
Recycled Cardboard box
Acrylic Paint or Washable Markers or Crayons or Tempera Paint
Origami Paper Squares
Yarn or Twine or Ribbon
Exacto Knife and/or Scissors adults only
Hot Glue Gun adults only
Paintbrushes and Paint Dishes and Clean Water

CUTTING OUT AND PAINTING THE WREATH
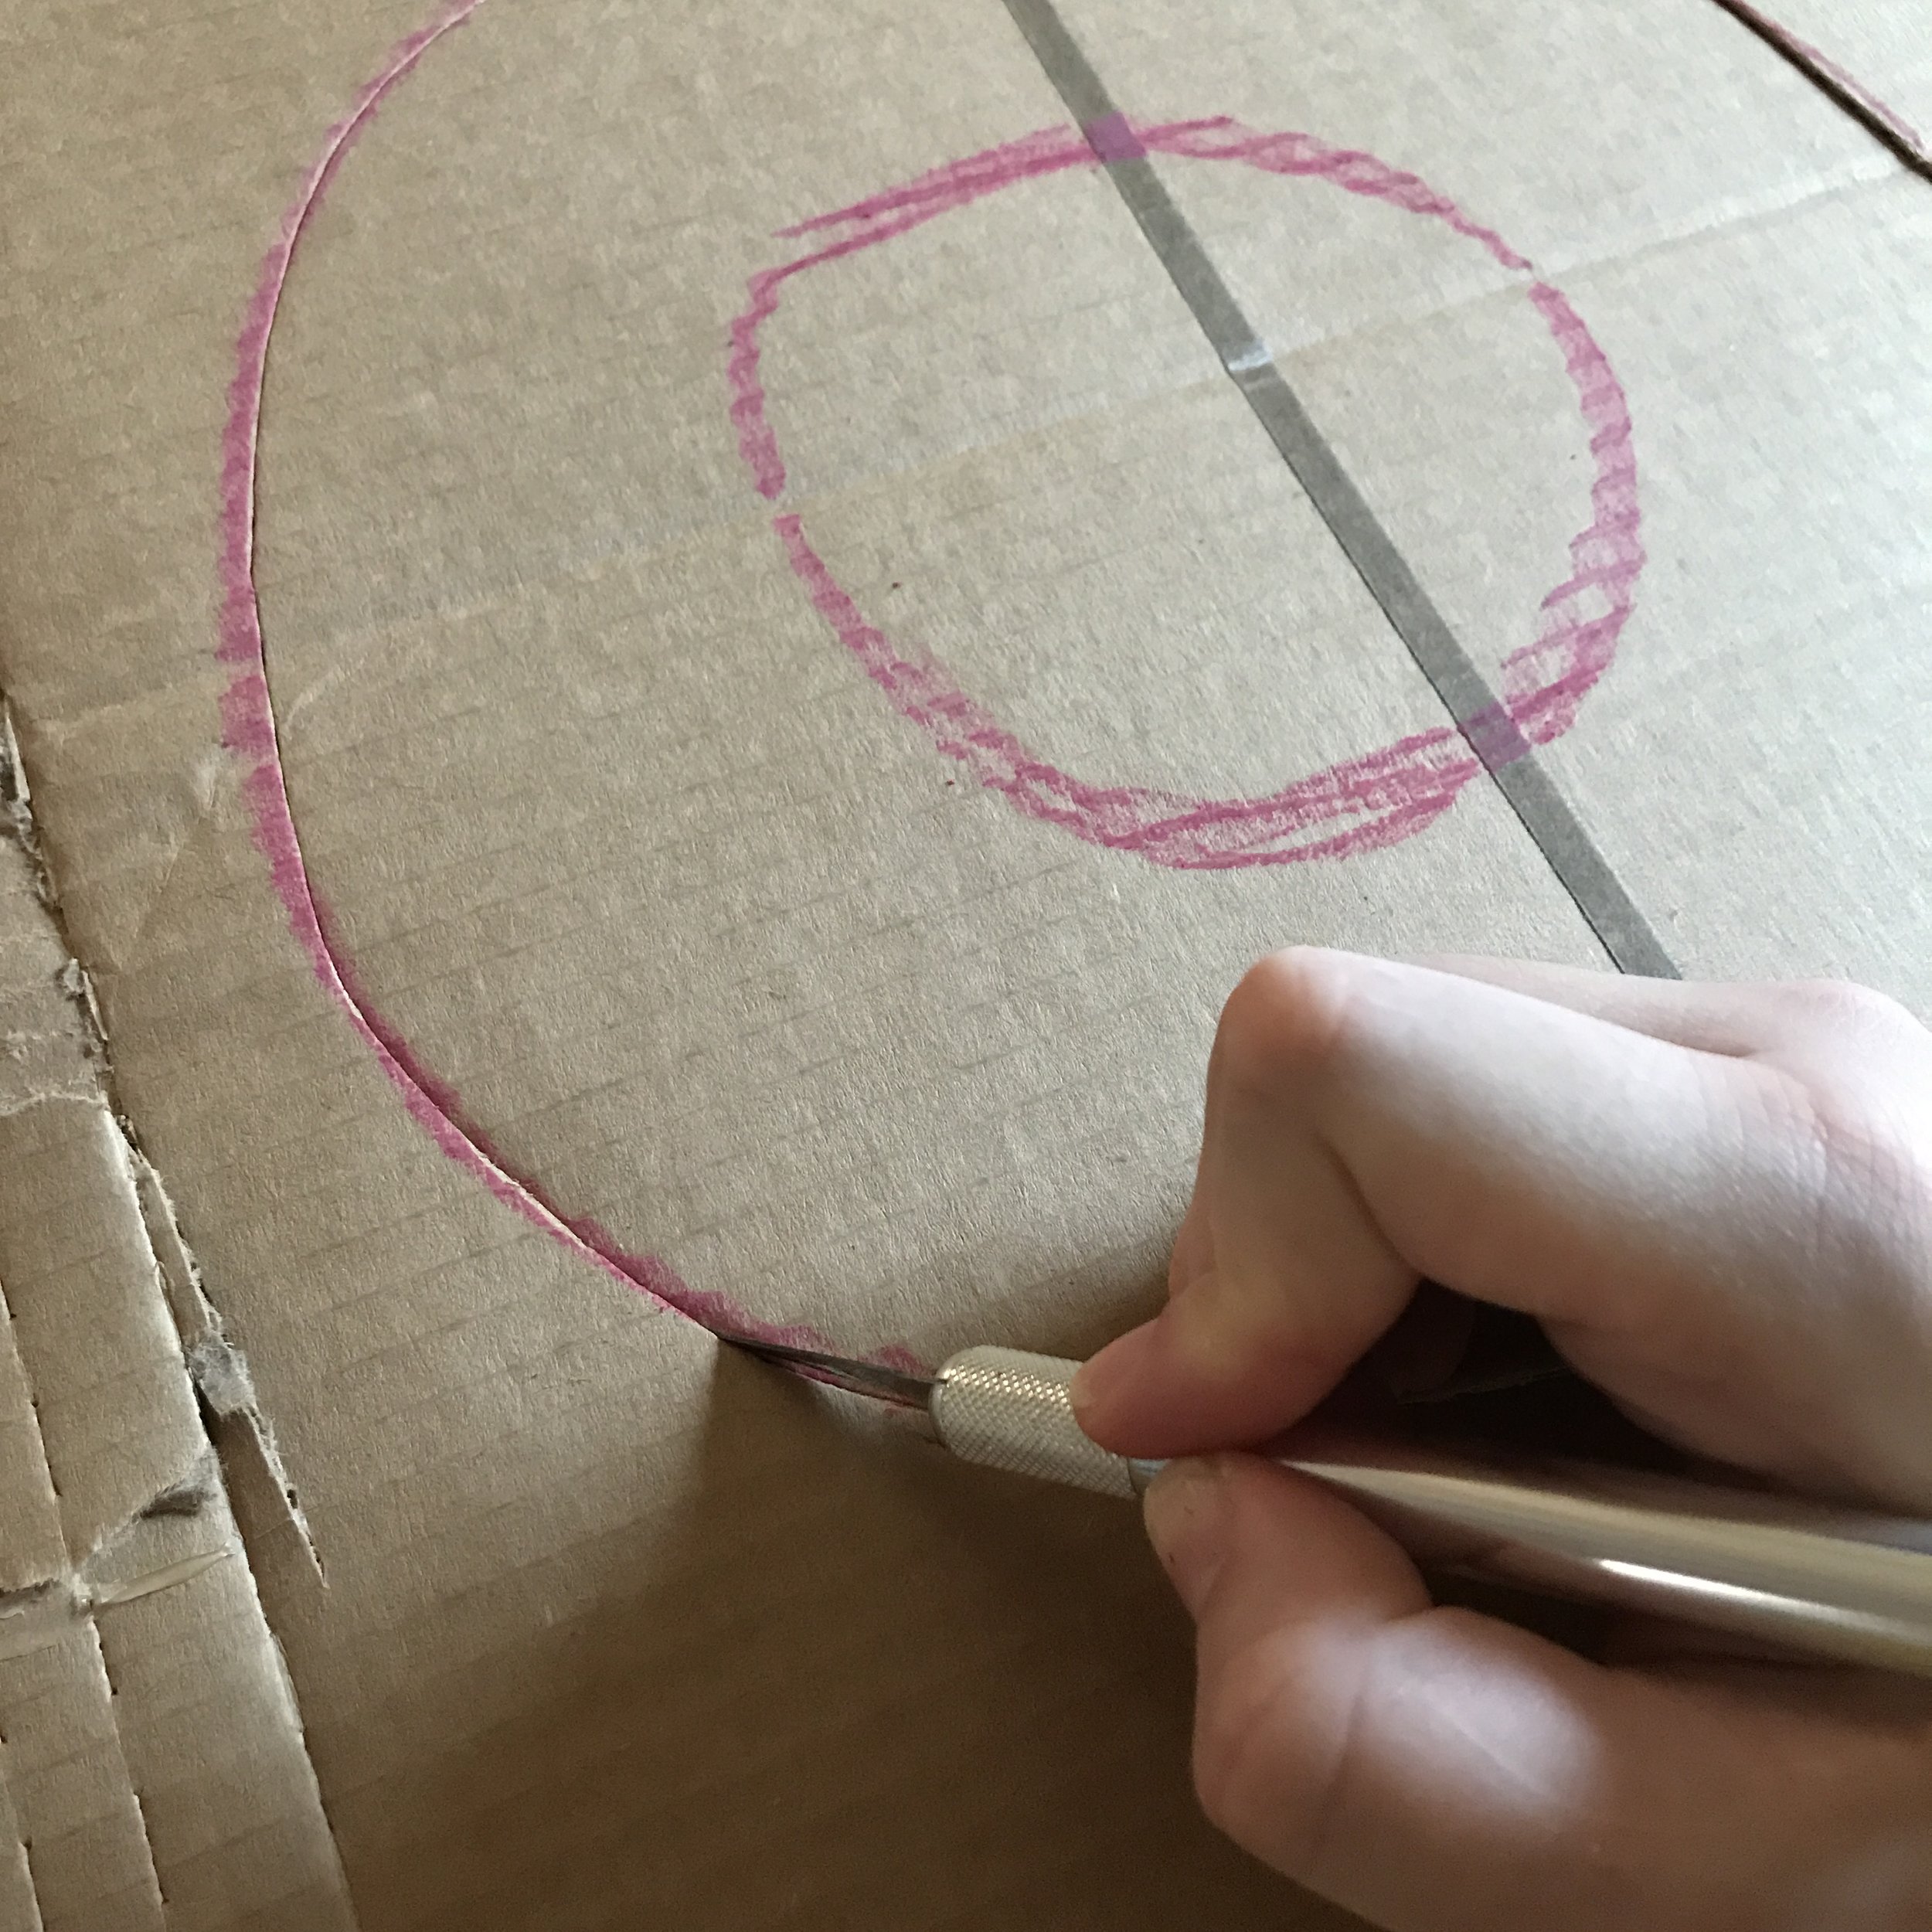
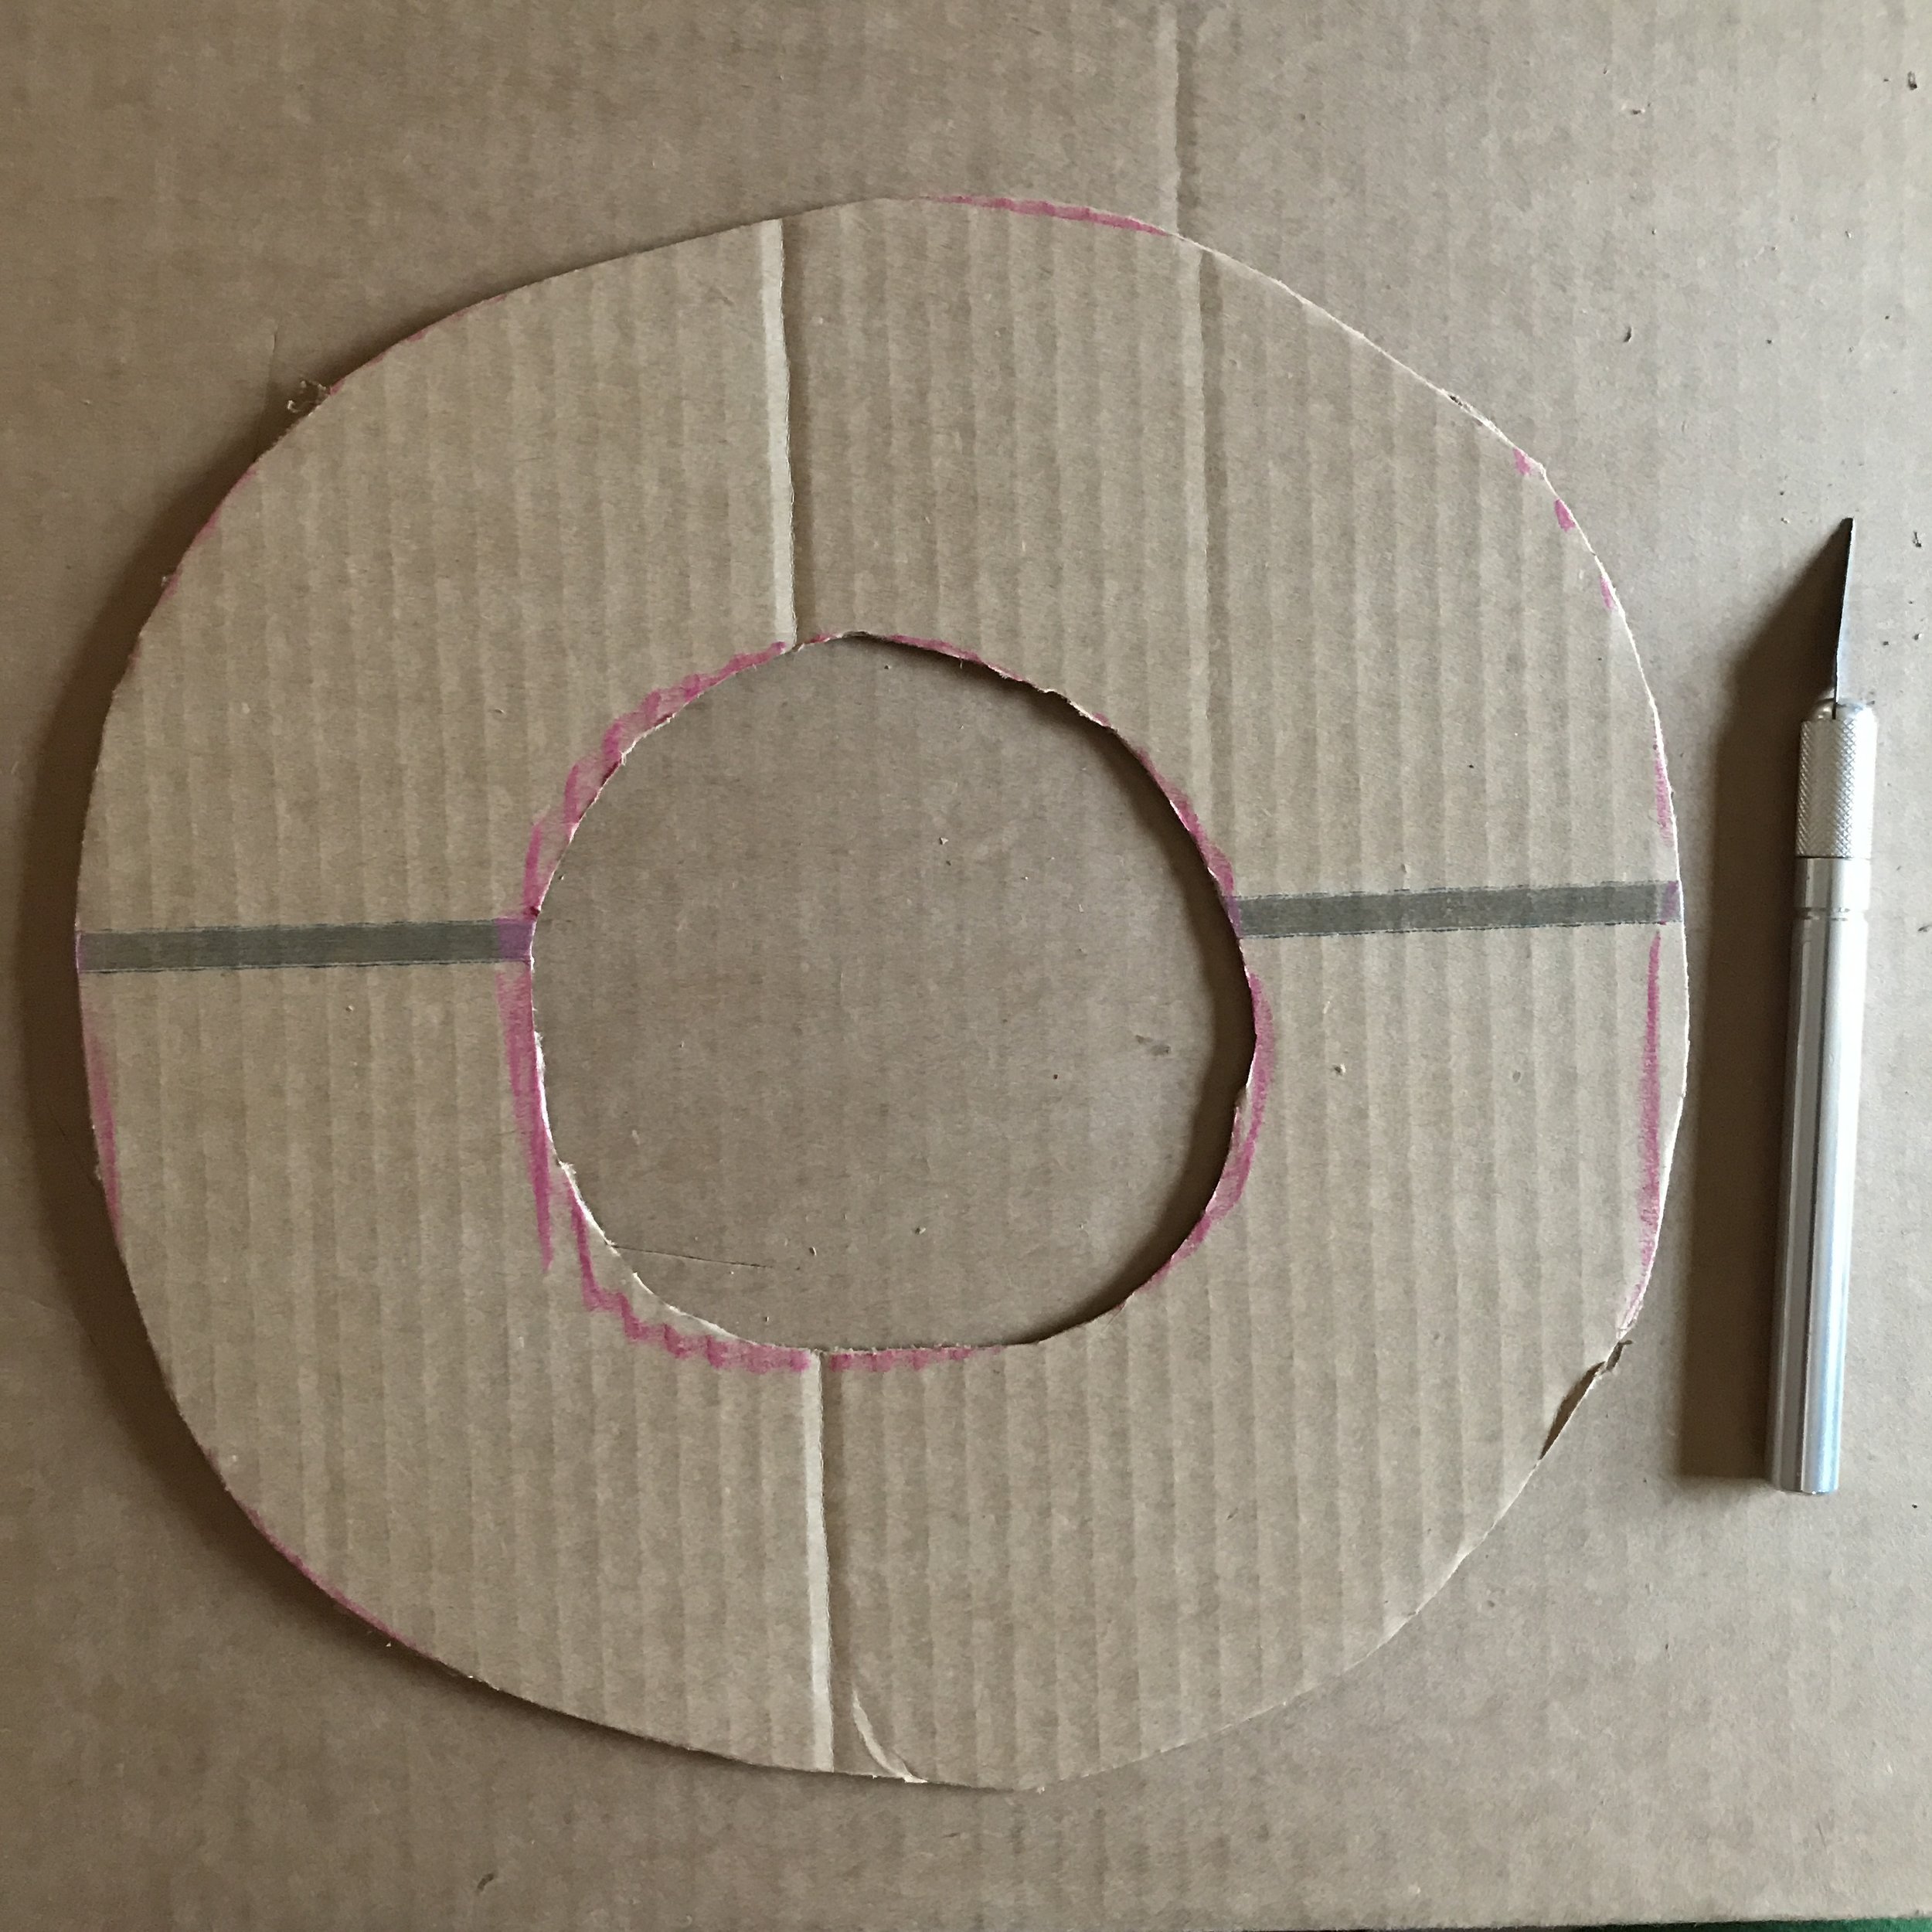
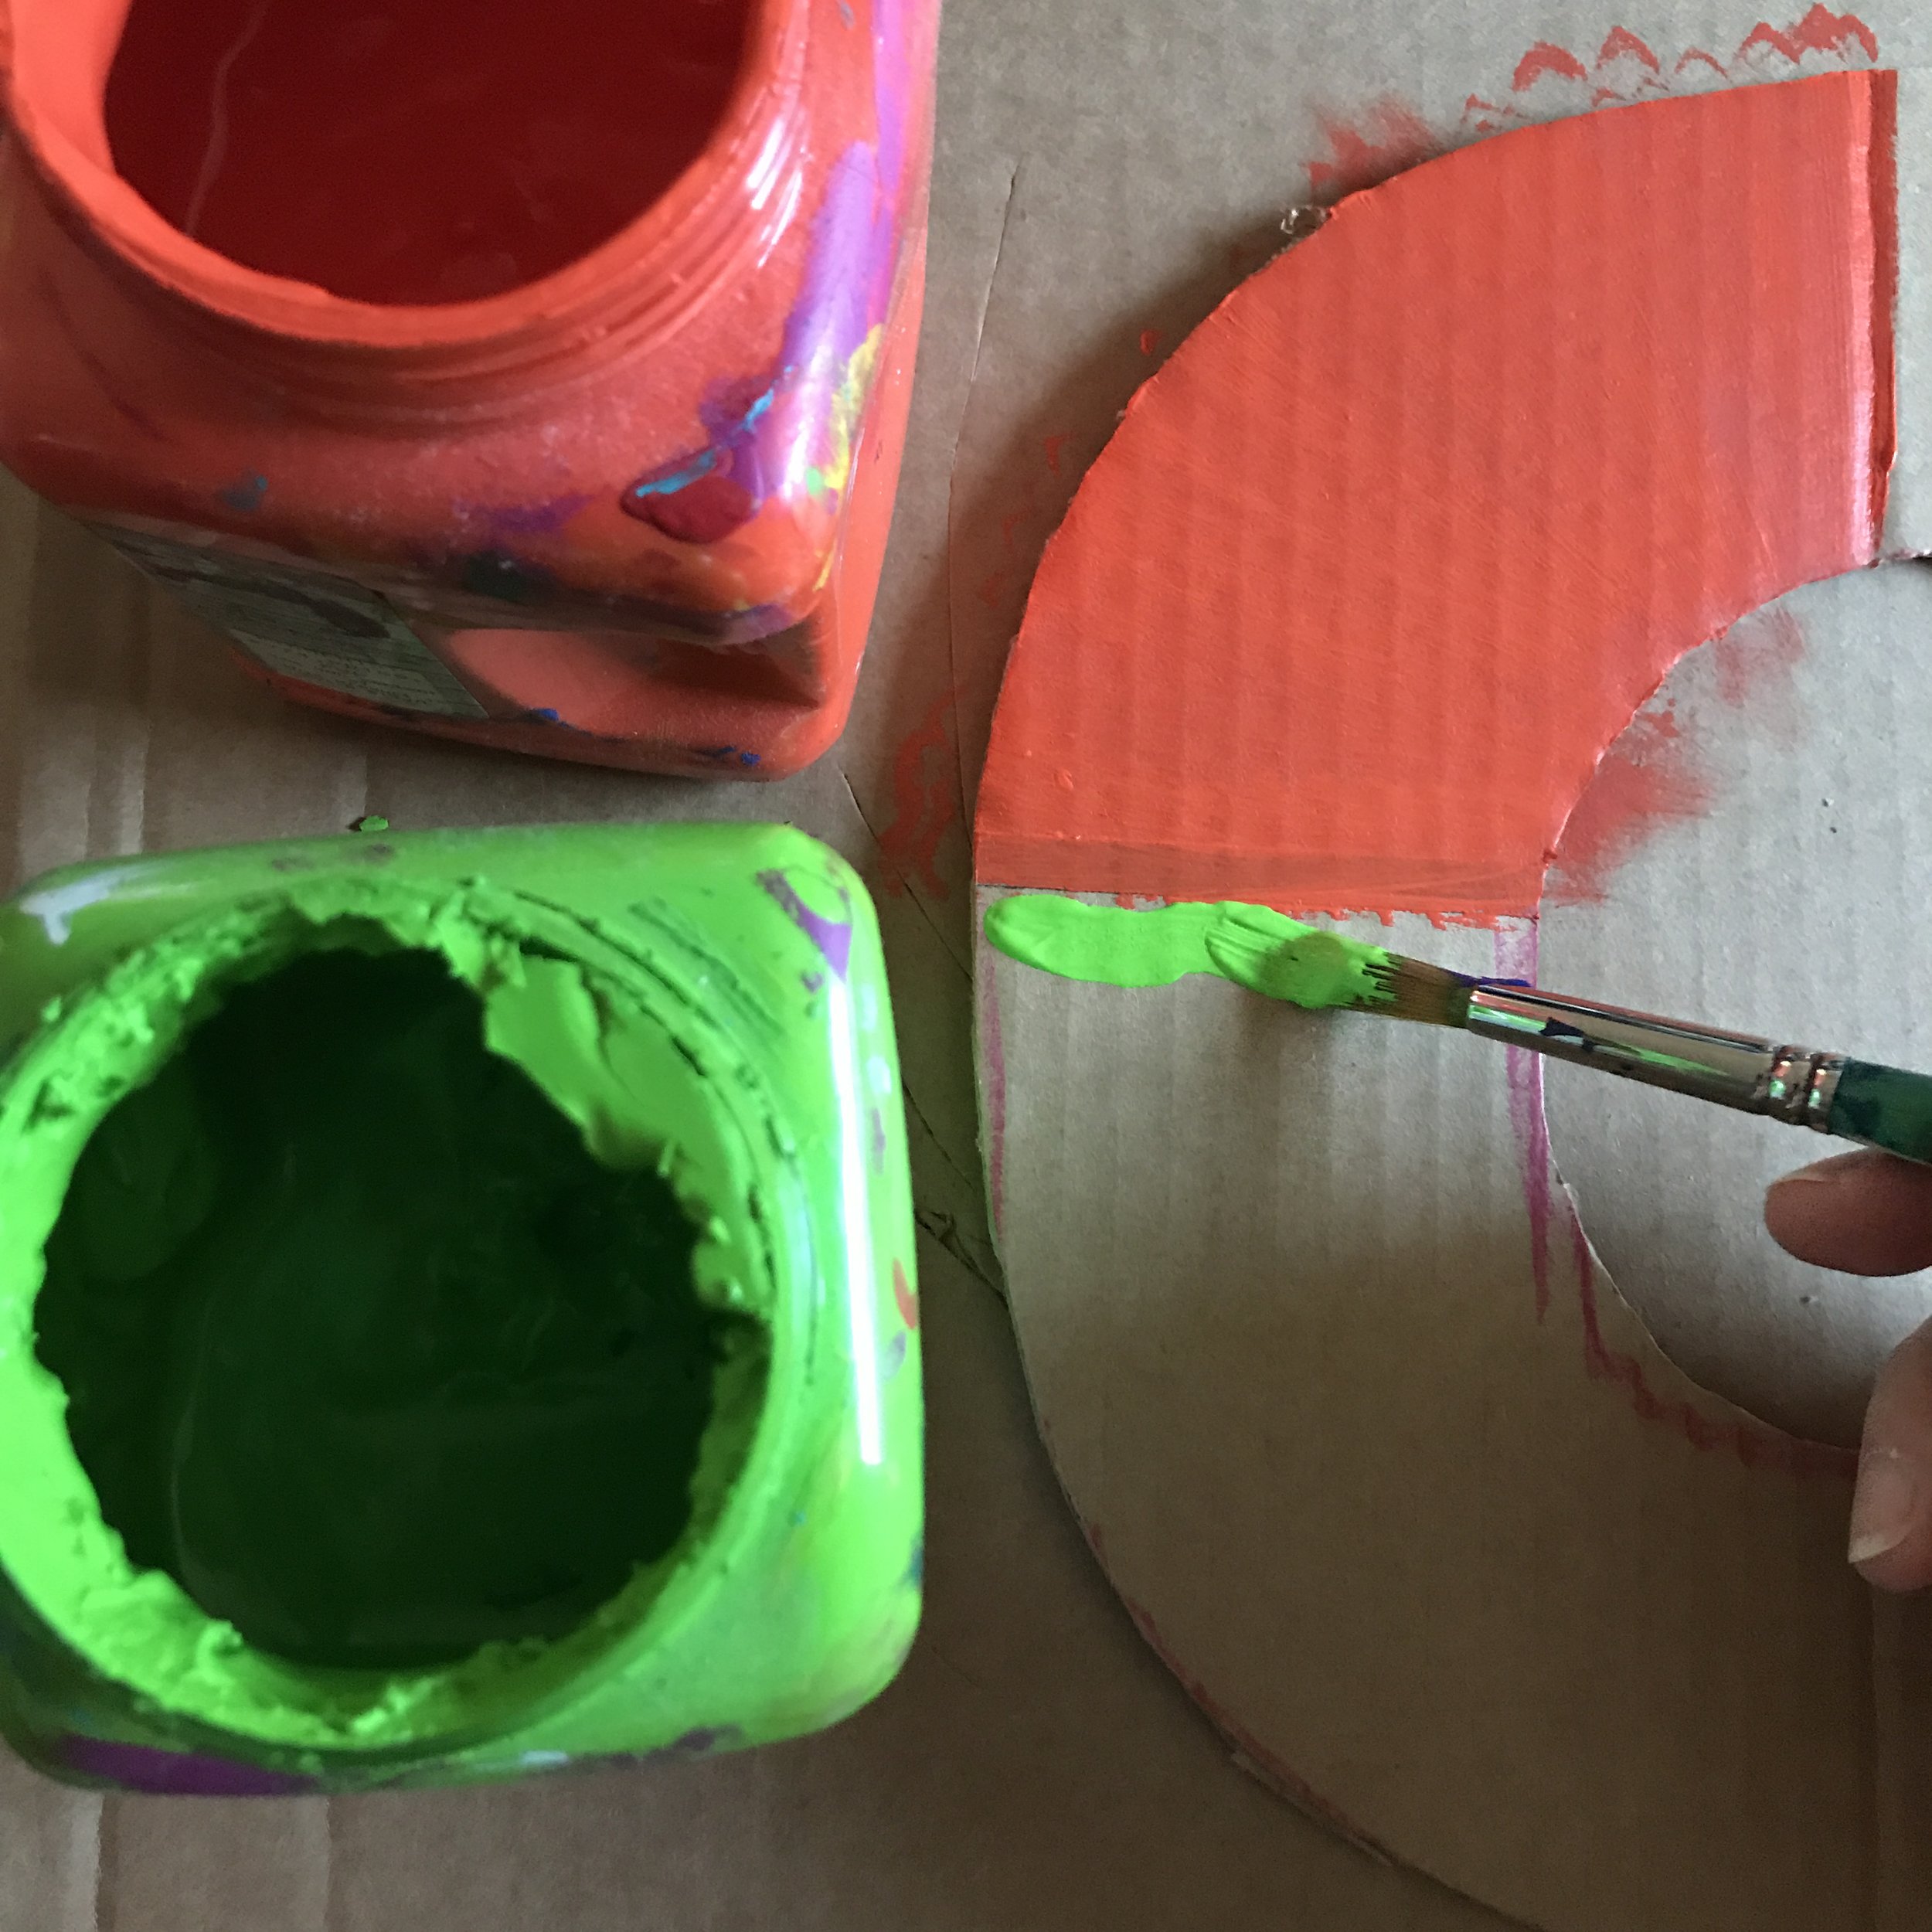
Grab a piece of cardboard and either you or your kiddo may draw out a large circle; this will be the main wreath shape, so draw it as big as you want! Then draw a smaller circle inside of it; this will be the hole in the center of the wreath, so you may make it as wide or narrow as you wish. Have a teenager or adult with a steady hand cut out the wreath with an exacto knife or sharp pair of scissors. It is okay if the circle isn’t perfectly symmetrical because Halloween is about embracing the weird, the whimsical, and things that are a little bit kooky.
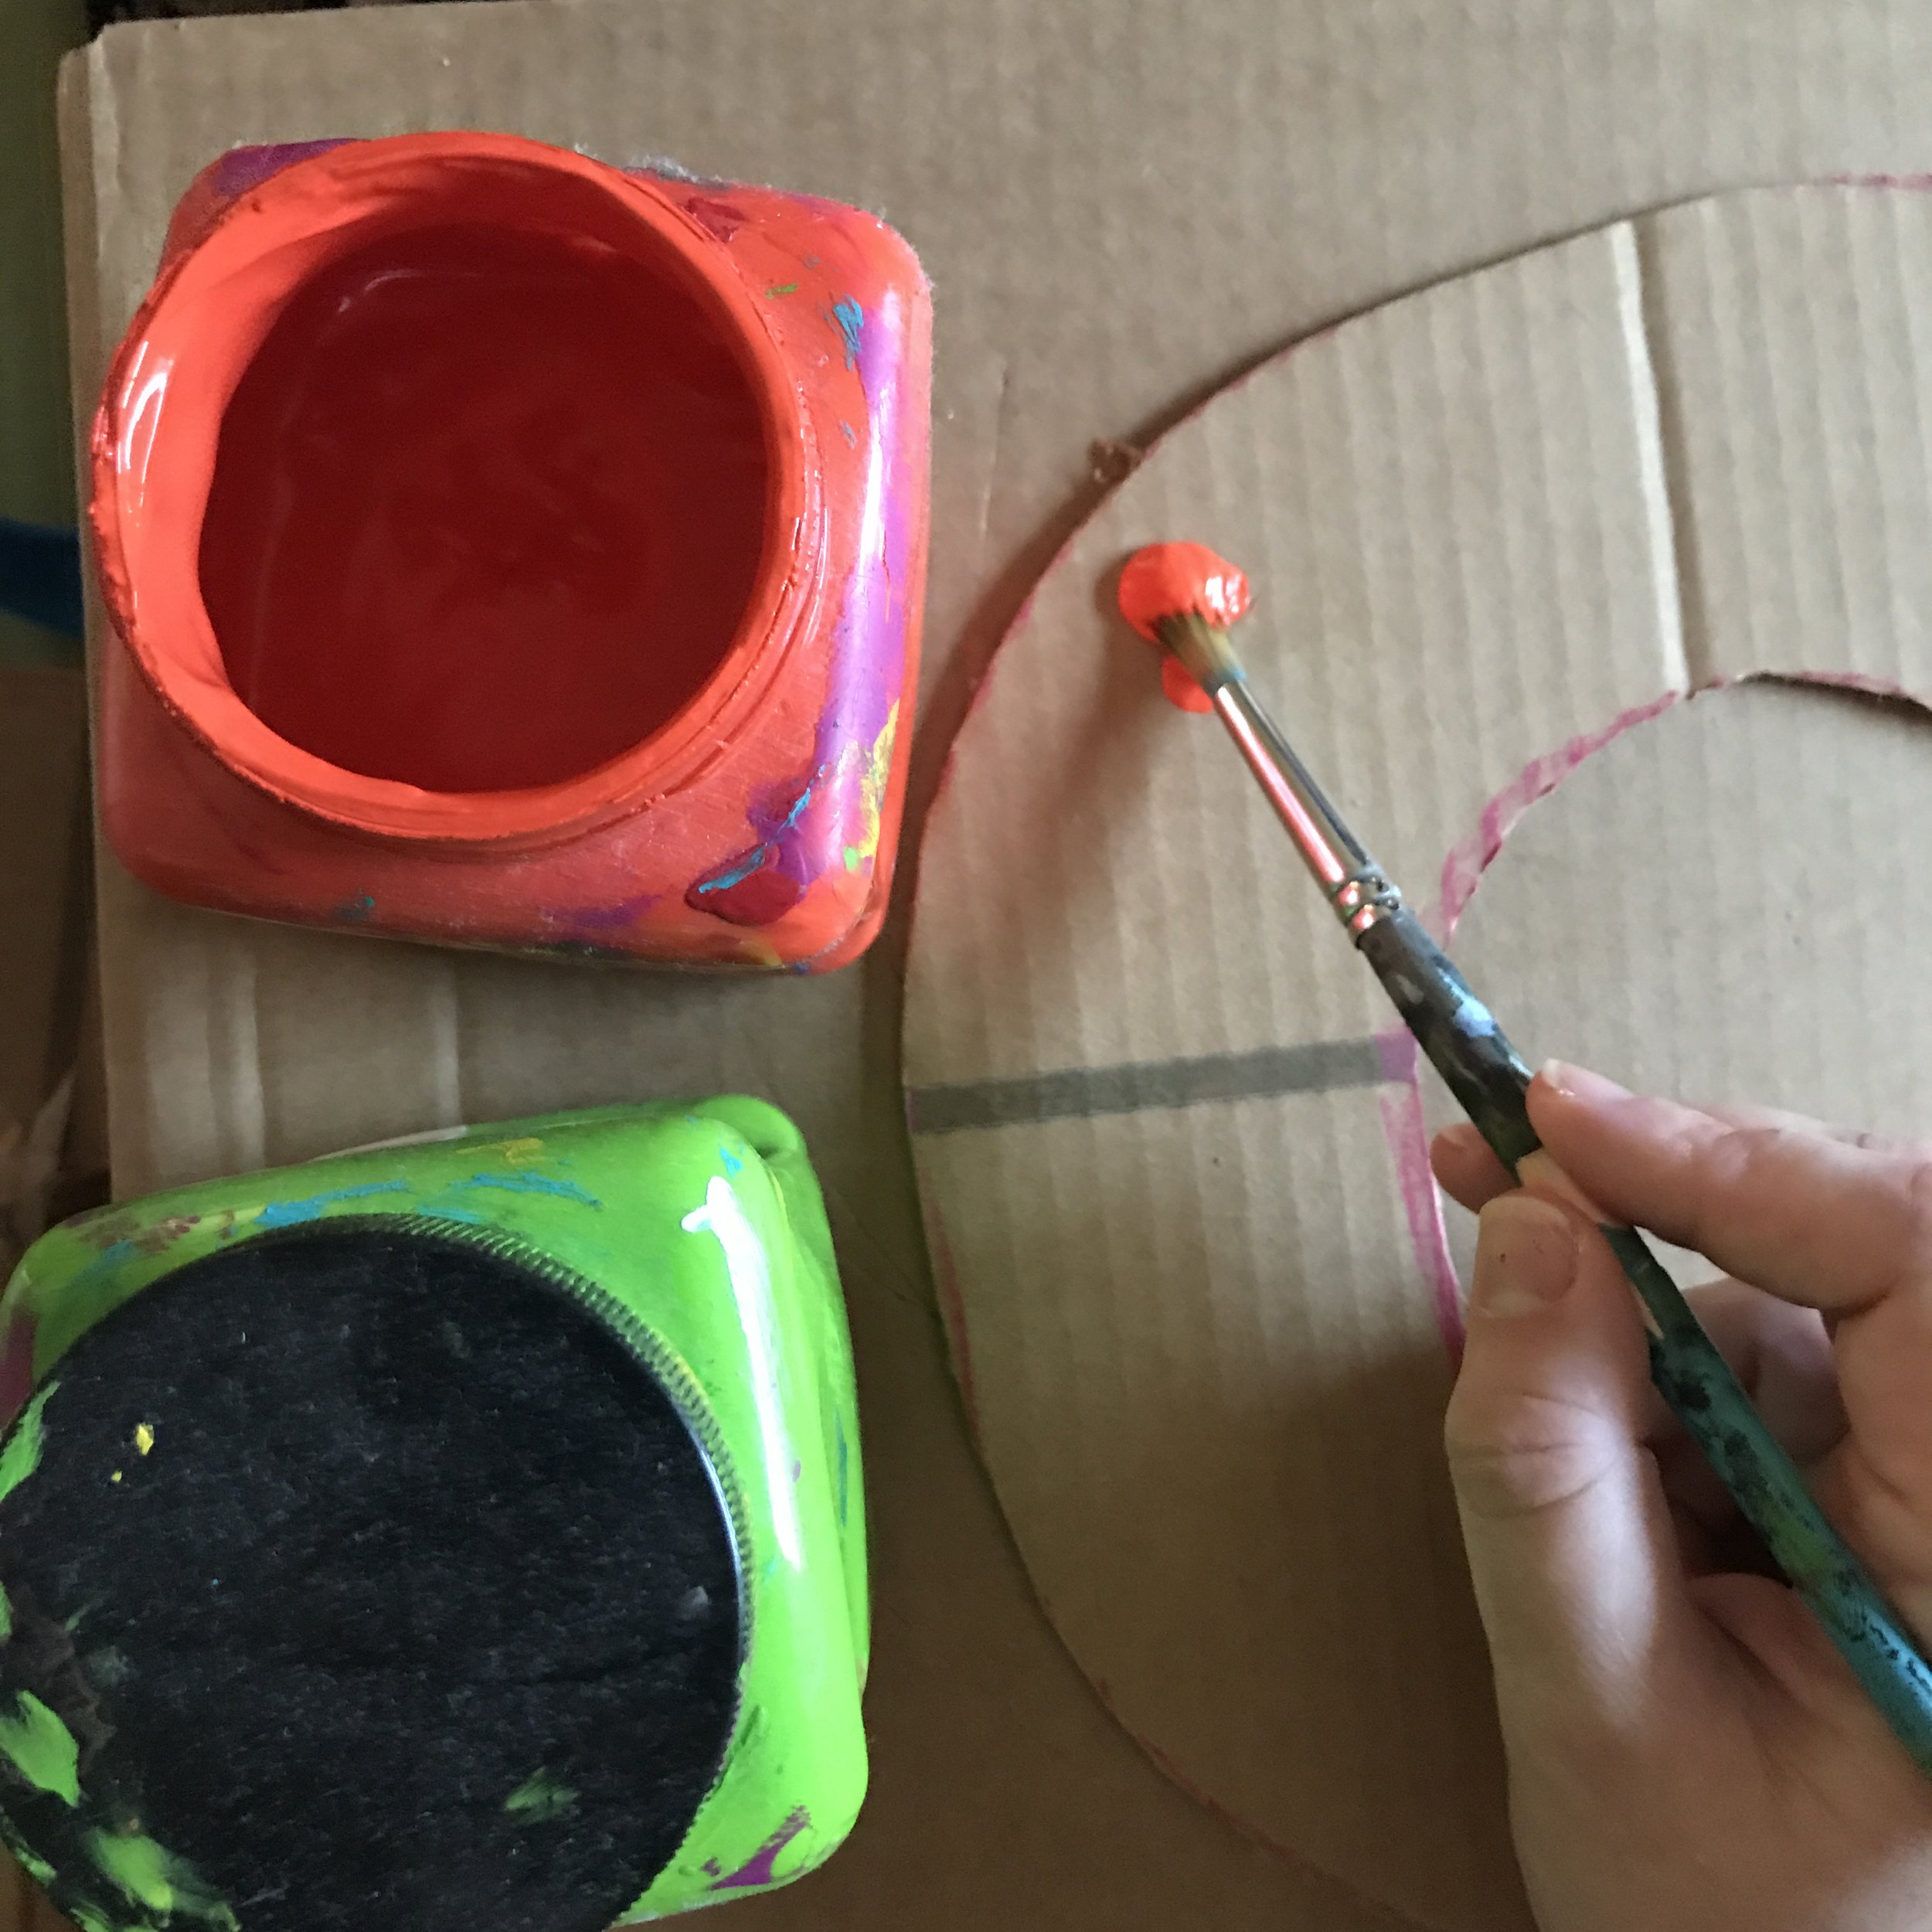
Once you’ve got your circle ready to go, it’s time to paint! Cover a table with plastic bags or newsprint or an old table cloth so it doesn’t get covered in paint. If you’re working with little ones, it’s best to pour your paint into little dishes of separate colours. It avoids paint waste and is less messy, and also less overwhelming for the little artists. A limited colour palette works best here so you don’t draw away from your paper bats! Paint your wreath in any pattern or colour you like. For the sample project we chose orange and green, then used a purple acrylic marker over the top to create a spider webbed pattern. But it’s your wreath so you can make up any pattern or choose any hue that suits your personal tastes.

Watch this video tutorial to learn how to fold your Origami Paper Bats to embellish your wreath! If you’re having trouble following along, you may click on the video settings to slow down the speed. This may be very helpful to newcomers!
MAKING YOUR ORIGAMI BAT EMBELLISHMENTS
Once you’ve painted your cardboard, you may set it aside safely to dry while you fold your paper origami bats.
This step might be a little challenging for some, but in my personal experience I’ve found children most always fare better at origami folding than adults!
If you find yourself getting flustered, rememember this tip: do not try to “get ahead” of yourself while folding, simply go one step at a time. Do not try to fold the paper into what you think a bat might look like. Be patient, go one fold at a time, pause the video or slow it down if need be. Origami usually gets frustrating when the person folding it tries to “go faster” and “get ahead” of the teacher or instructions. Be patient!
So take a deep breath, remember it’s not going to always come out perfectly. It takes a little practice! But this is one of the best bat folding tutorials we could scavenge online (trust me, I tried a lot before settling on this one.)
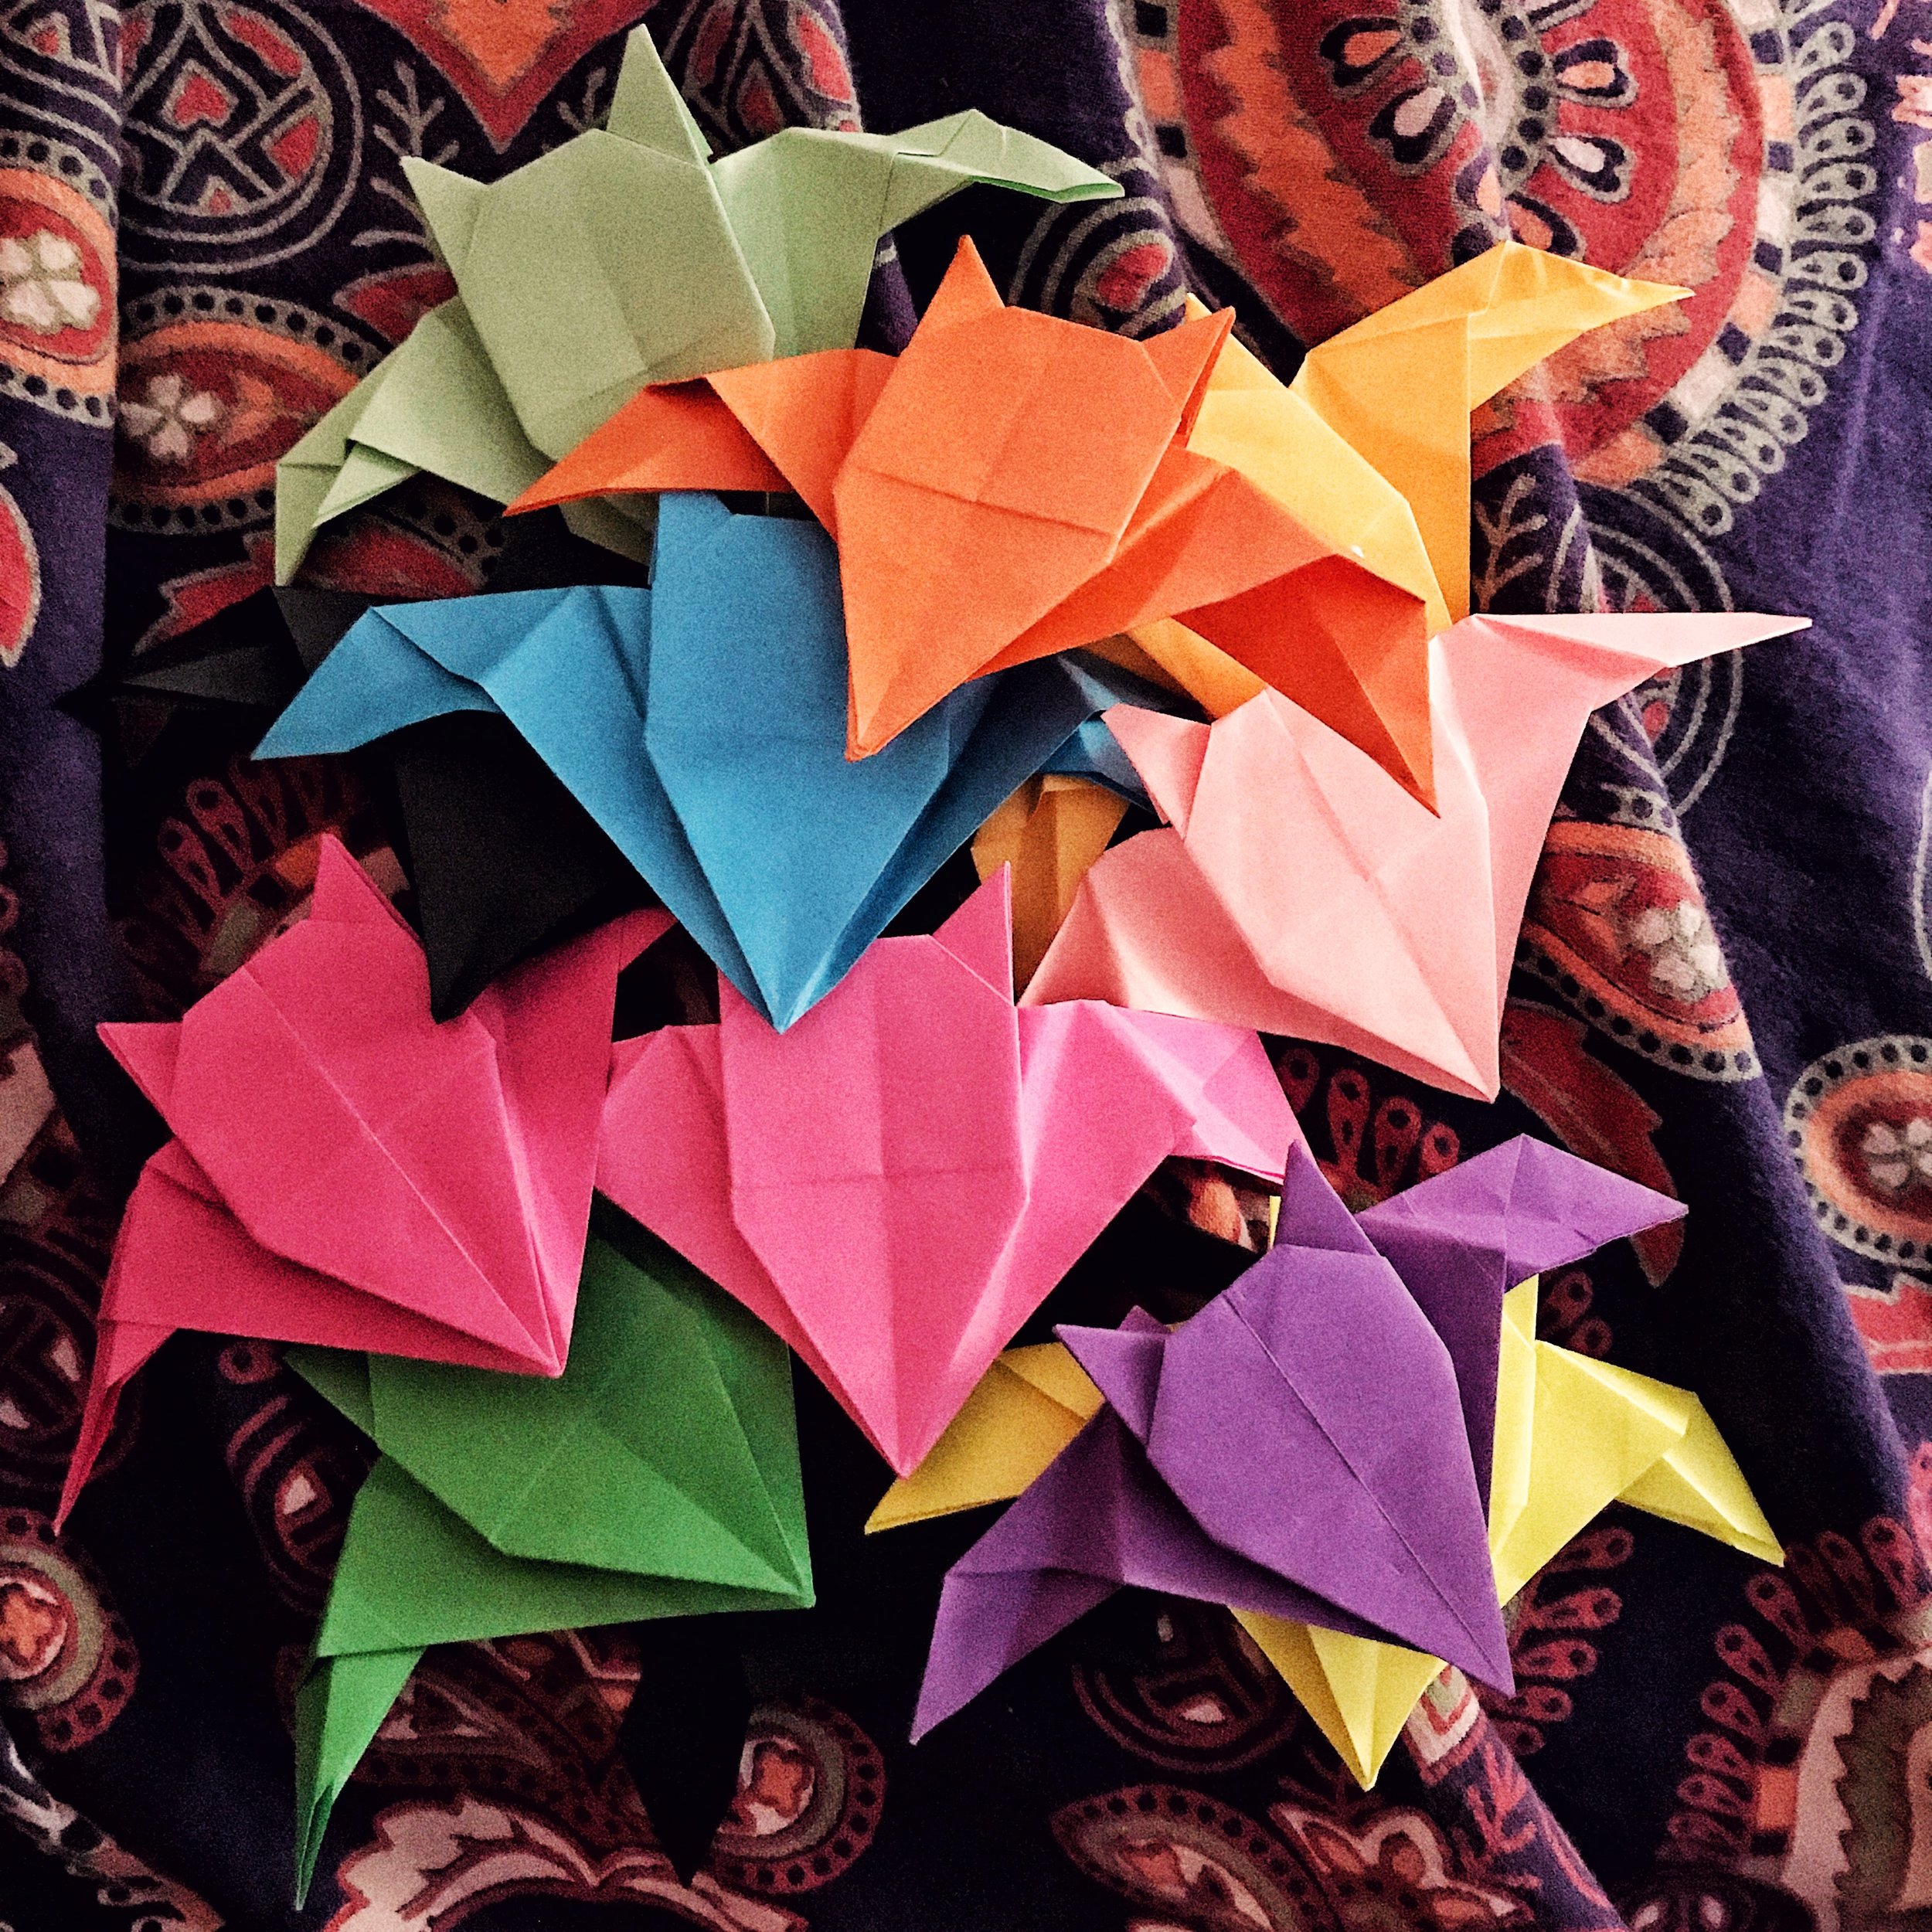
I had a lot of fun making the bats, and I grabbed a variety of paper textures, colours, and sizes so I would have lots of interesting options to choose from! The more bats you fold, the better you’ll get the hang of it, so don’t be afraid to practice and make a big pile of buddies.
As an added bonus, if you make any extra leftover bats, you can use them in the garland craft suggested in the video!


ASSEMBLING YOUR WREATH AND PREPPING IT FOR HANGING UP
Now is the time to plug in your glue gun to let it preheat. Keep this far away from small hands, and teenagers should use this only under adult supervision. Glue guns can cause severe burns due to their high temperatures, but they are the most efficient at adhering the paper bats without a long drying time.
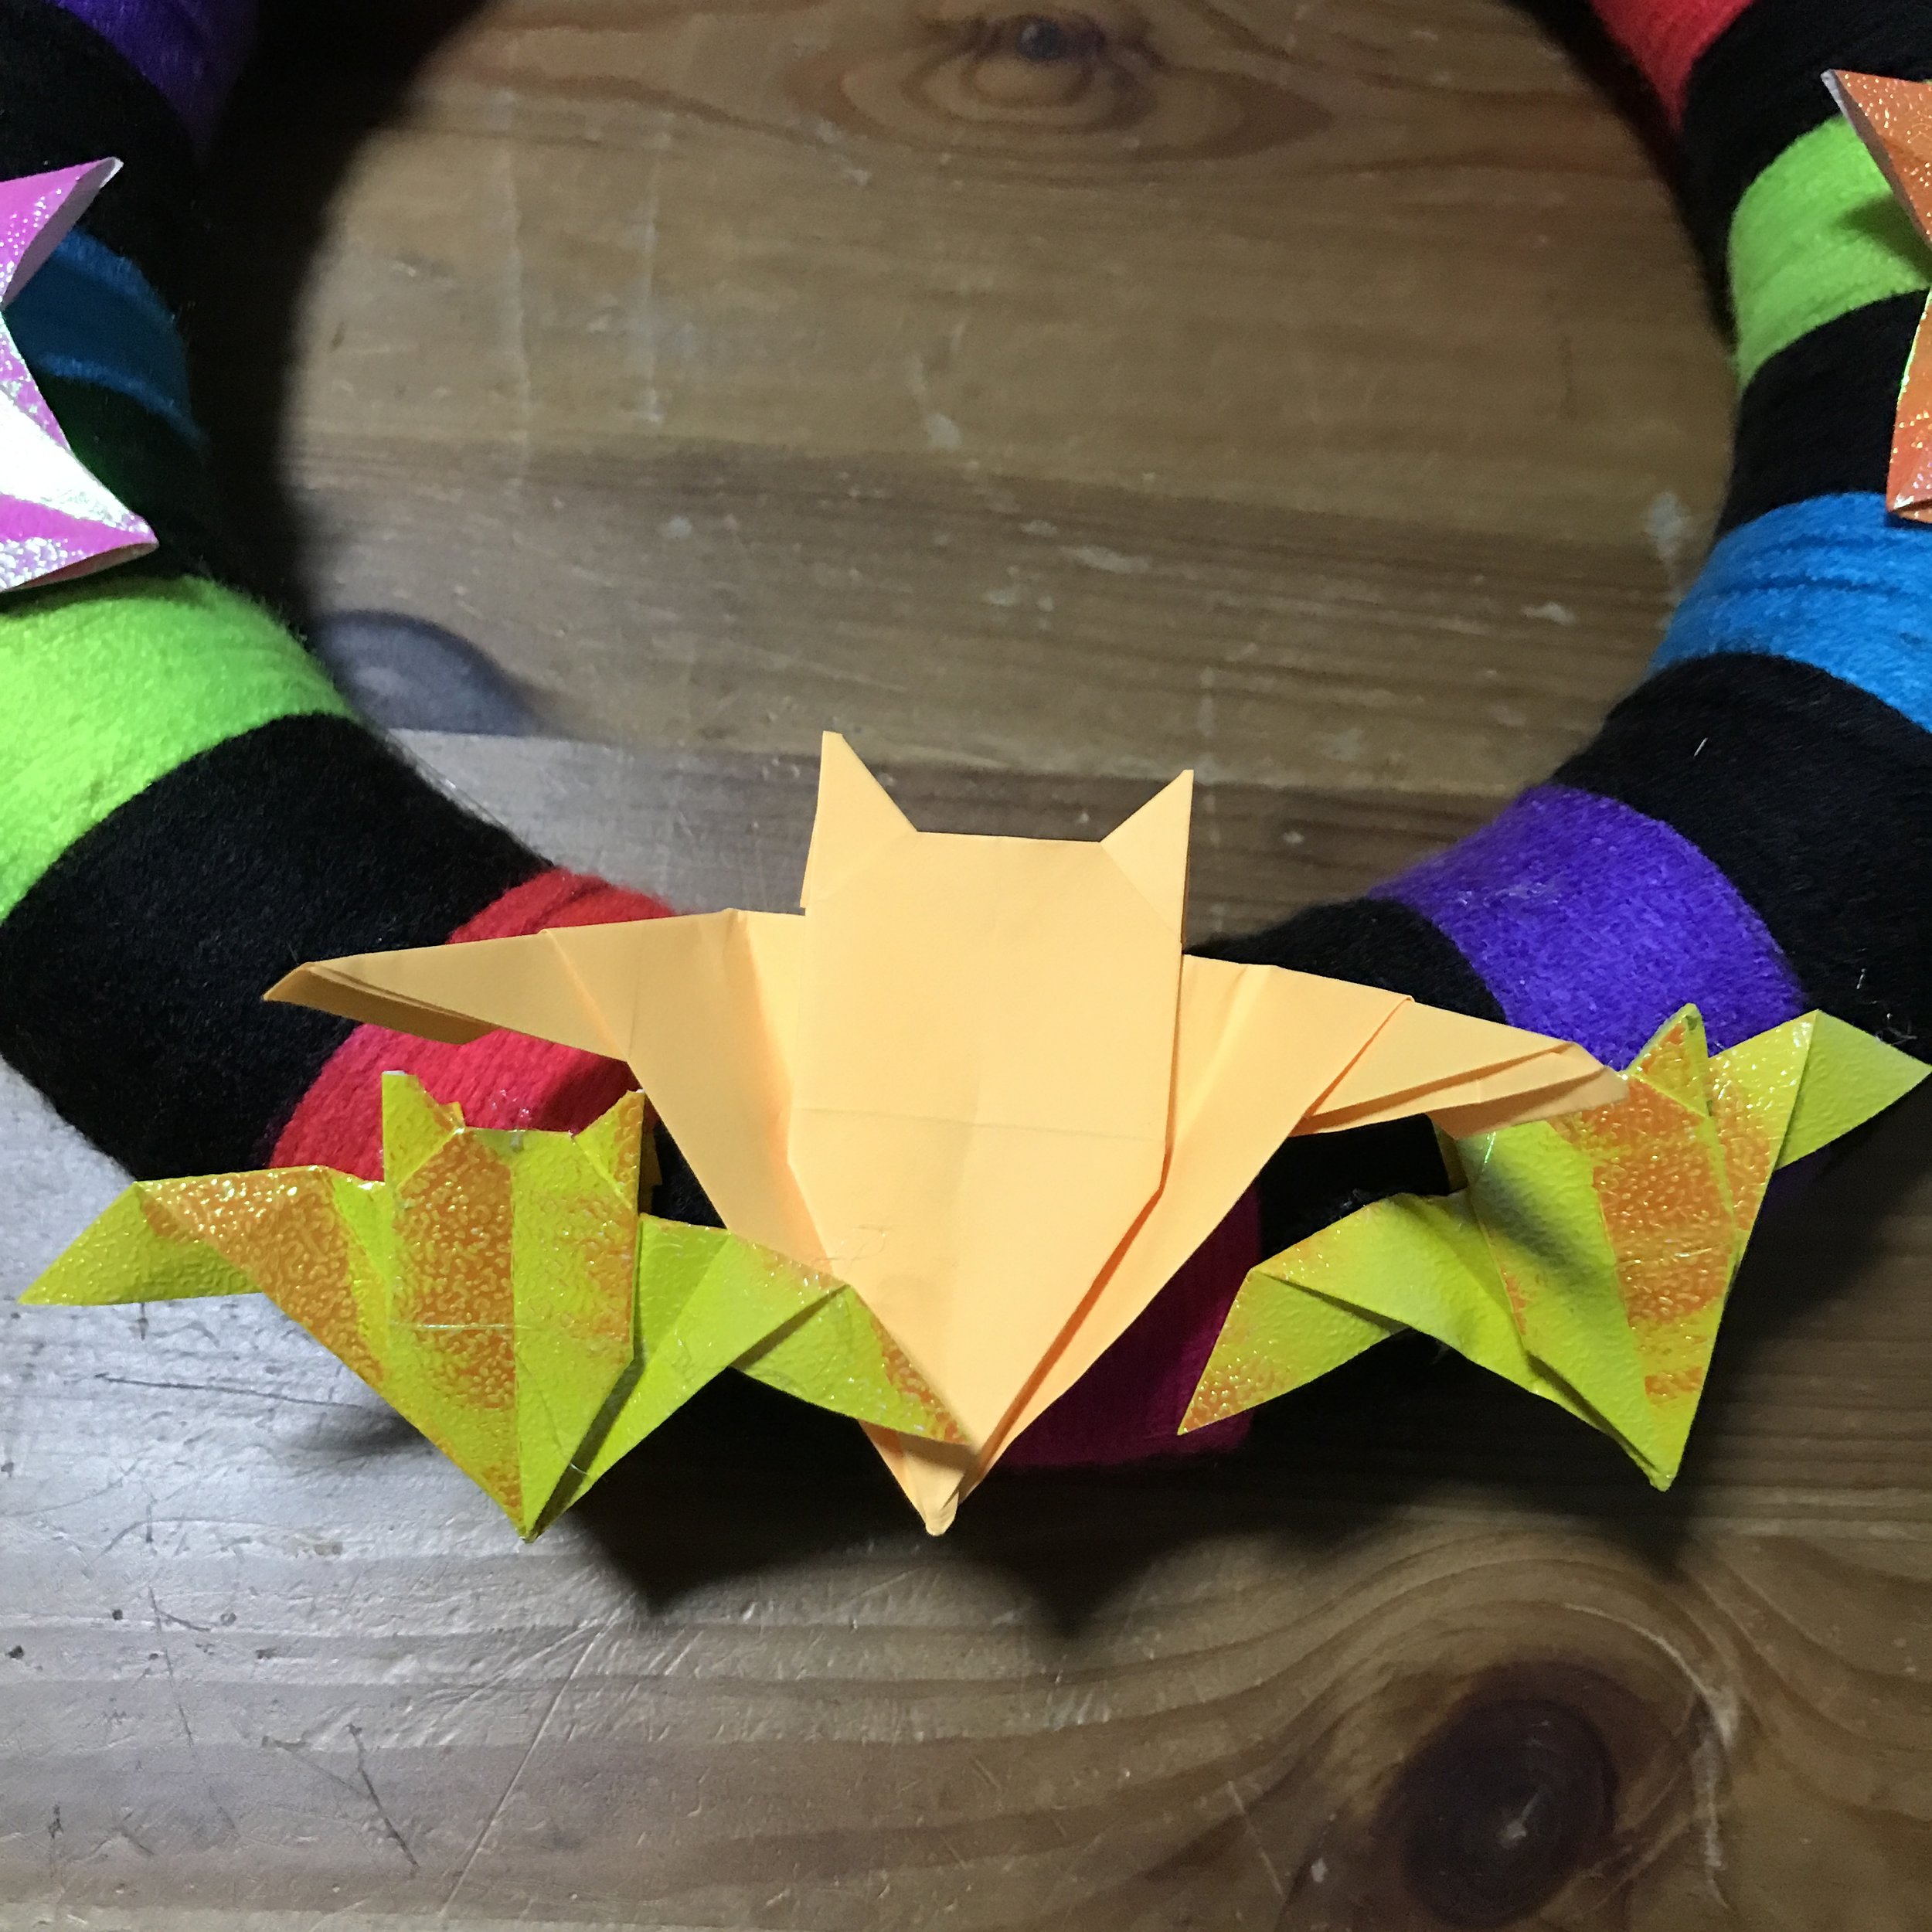
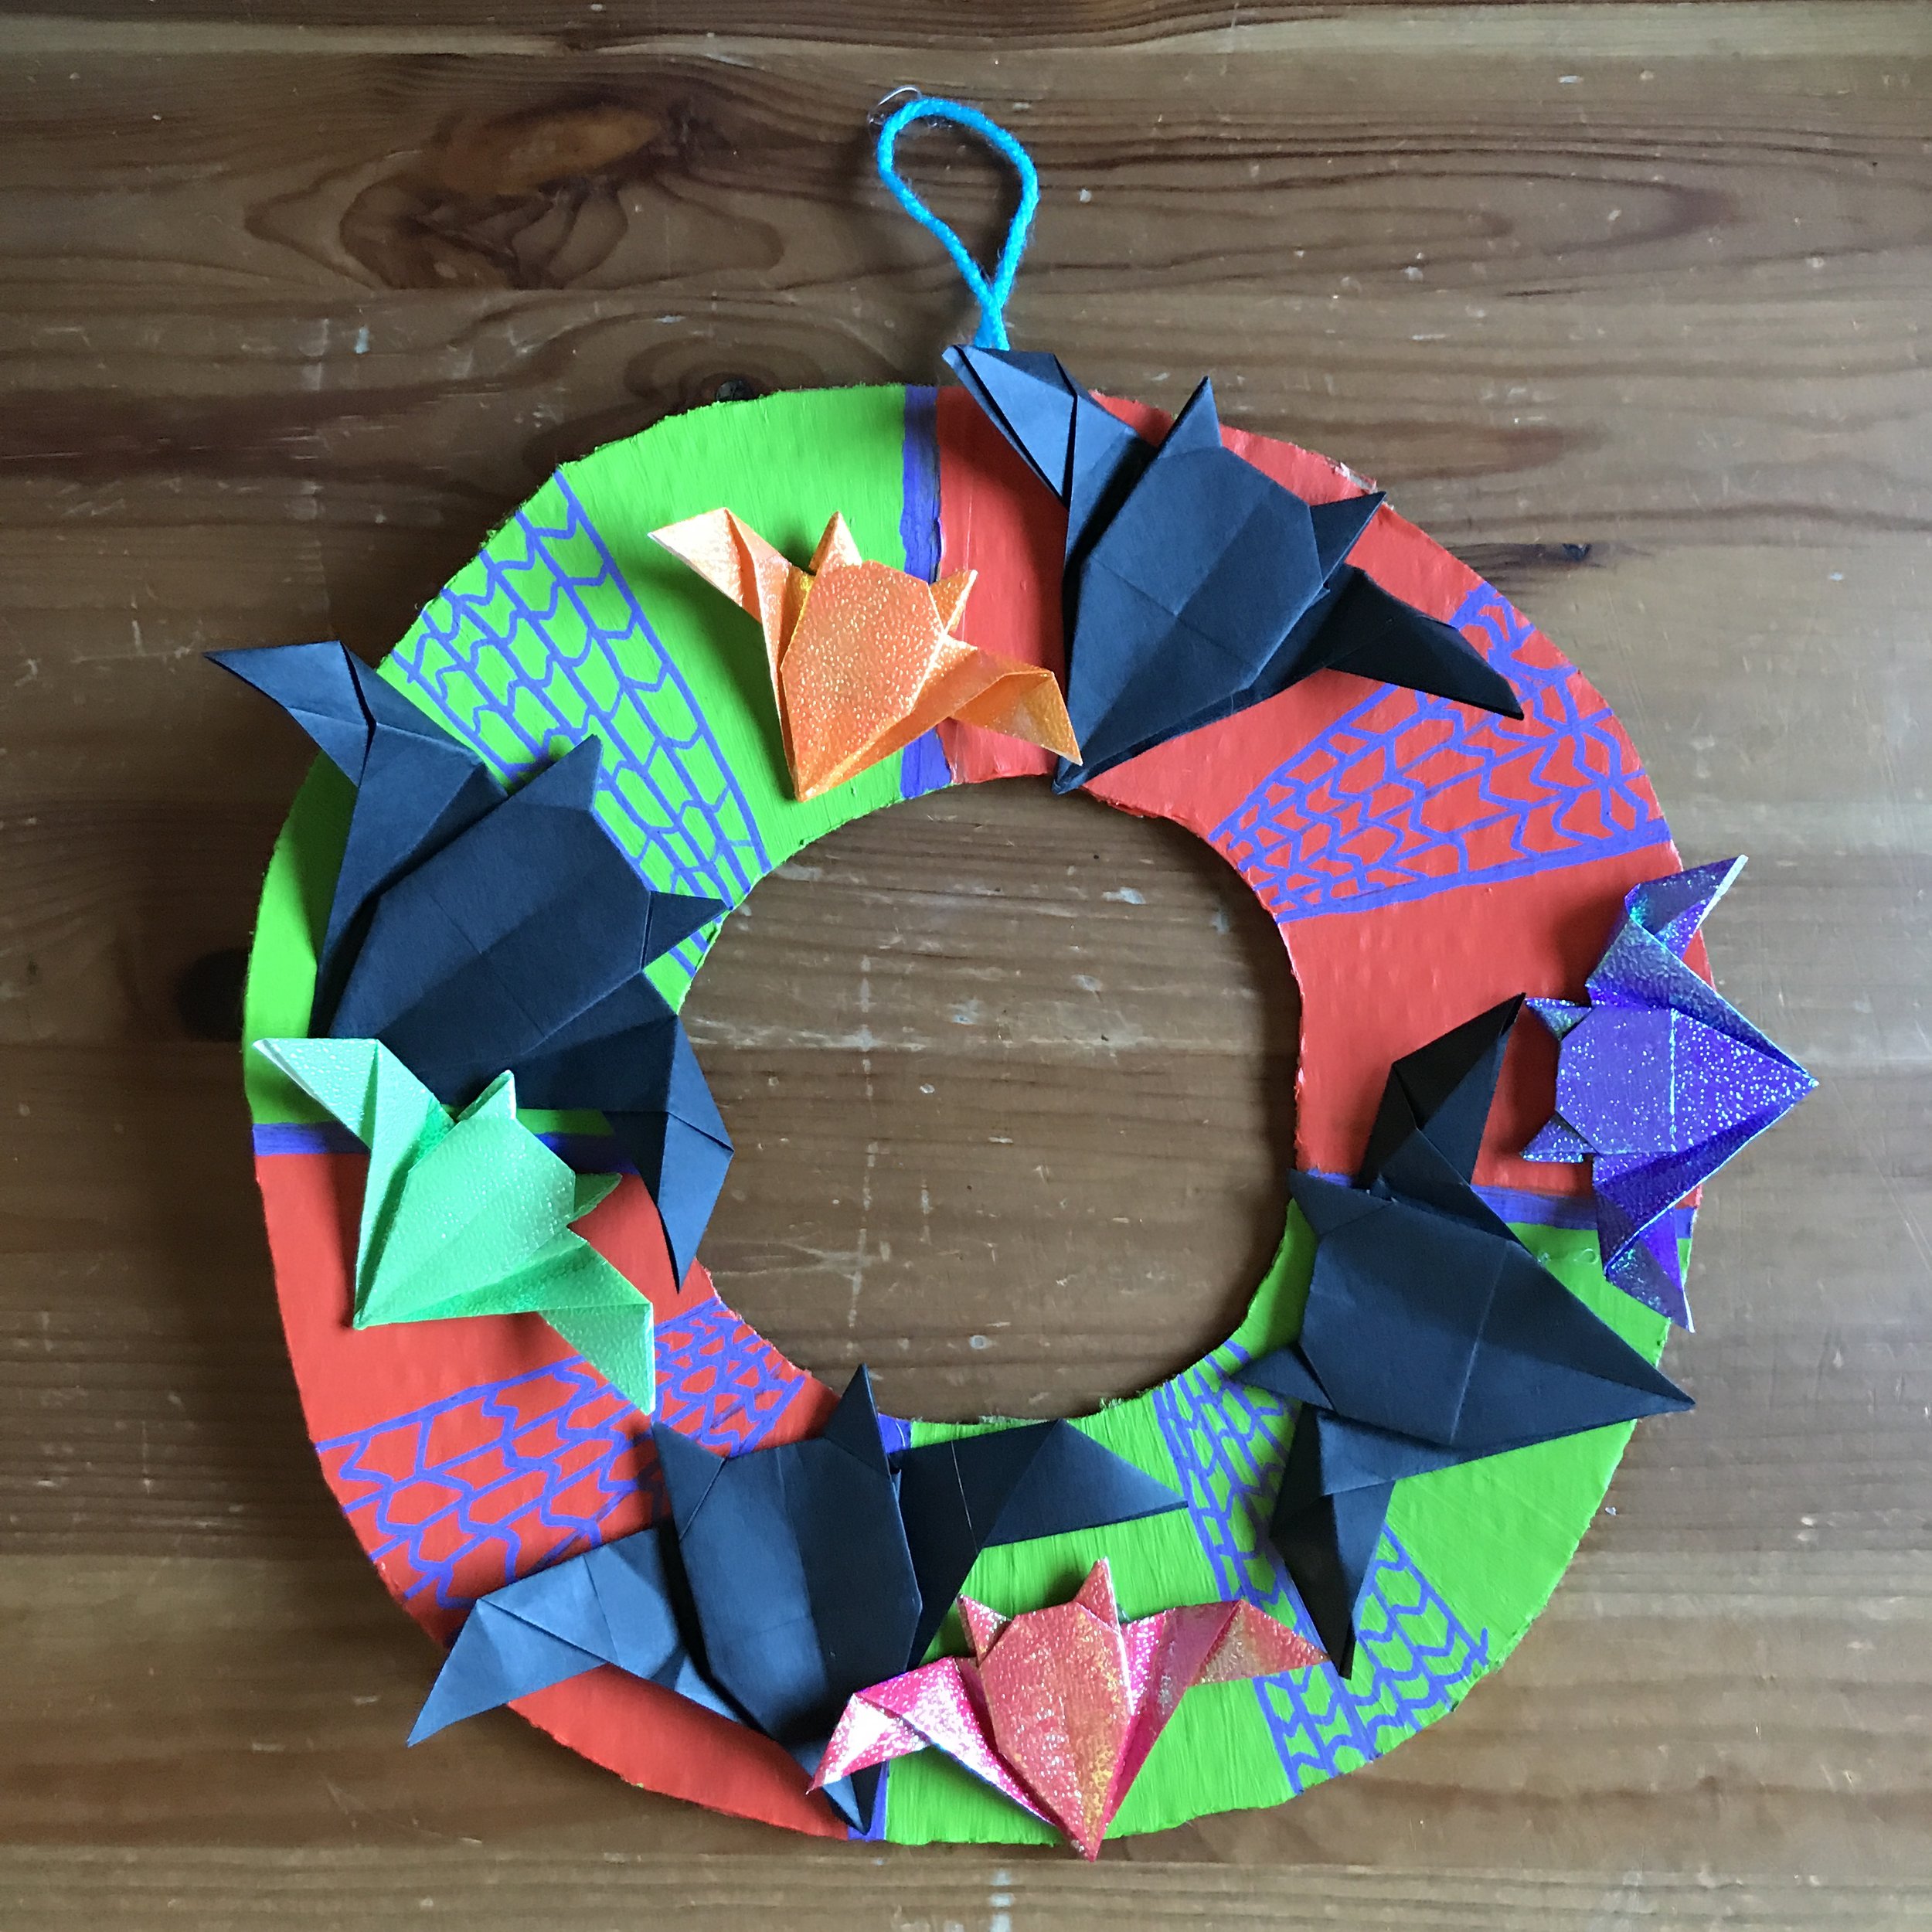
Gather your cardboard cut outs which are painted and dry, and arrange your paper bats however you please. Now’s the time to experiment and get wild! Arrange them by size, by colour, or in pairs of Parent + Baby bat like the sample. It’s entirely up to you! Add one bat or many bats or cover most of it in bats. Whatever pleases your senses.
Once your glue gun is heated and you know where you’re placing the bats, have an adult or teenager glue the bats in their respective places and press them into the cardboard gently. (You may wish to put a fabric glove or towel around your finger as the glue will still be HOT and might hurt, so use caution when handling the thin paper bats and pressing into the glue!!!!!)
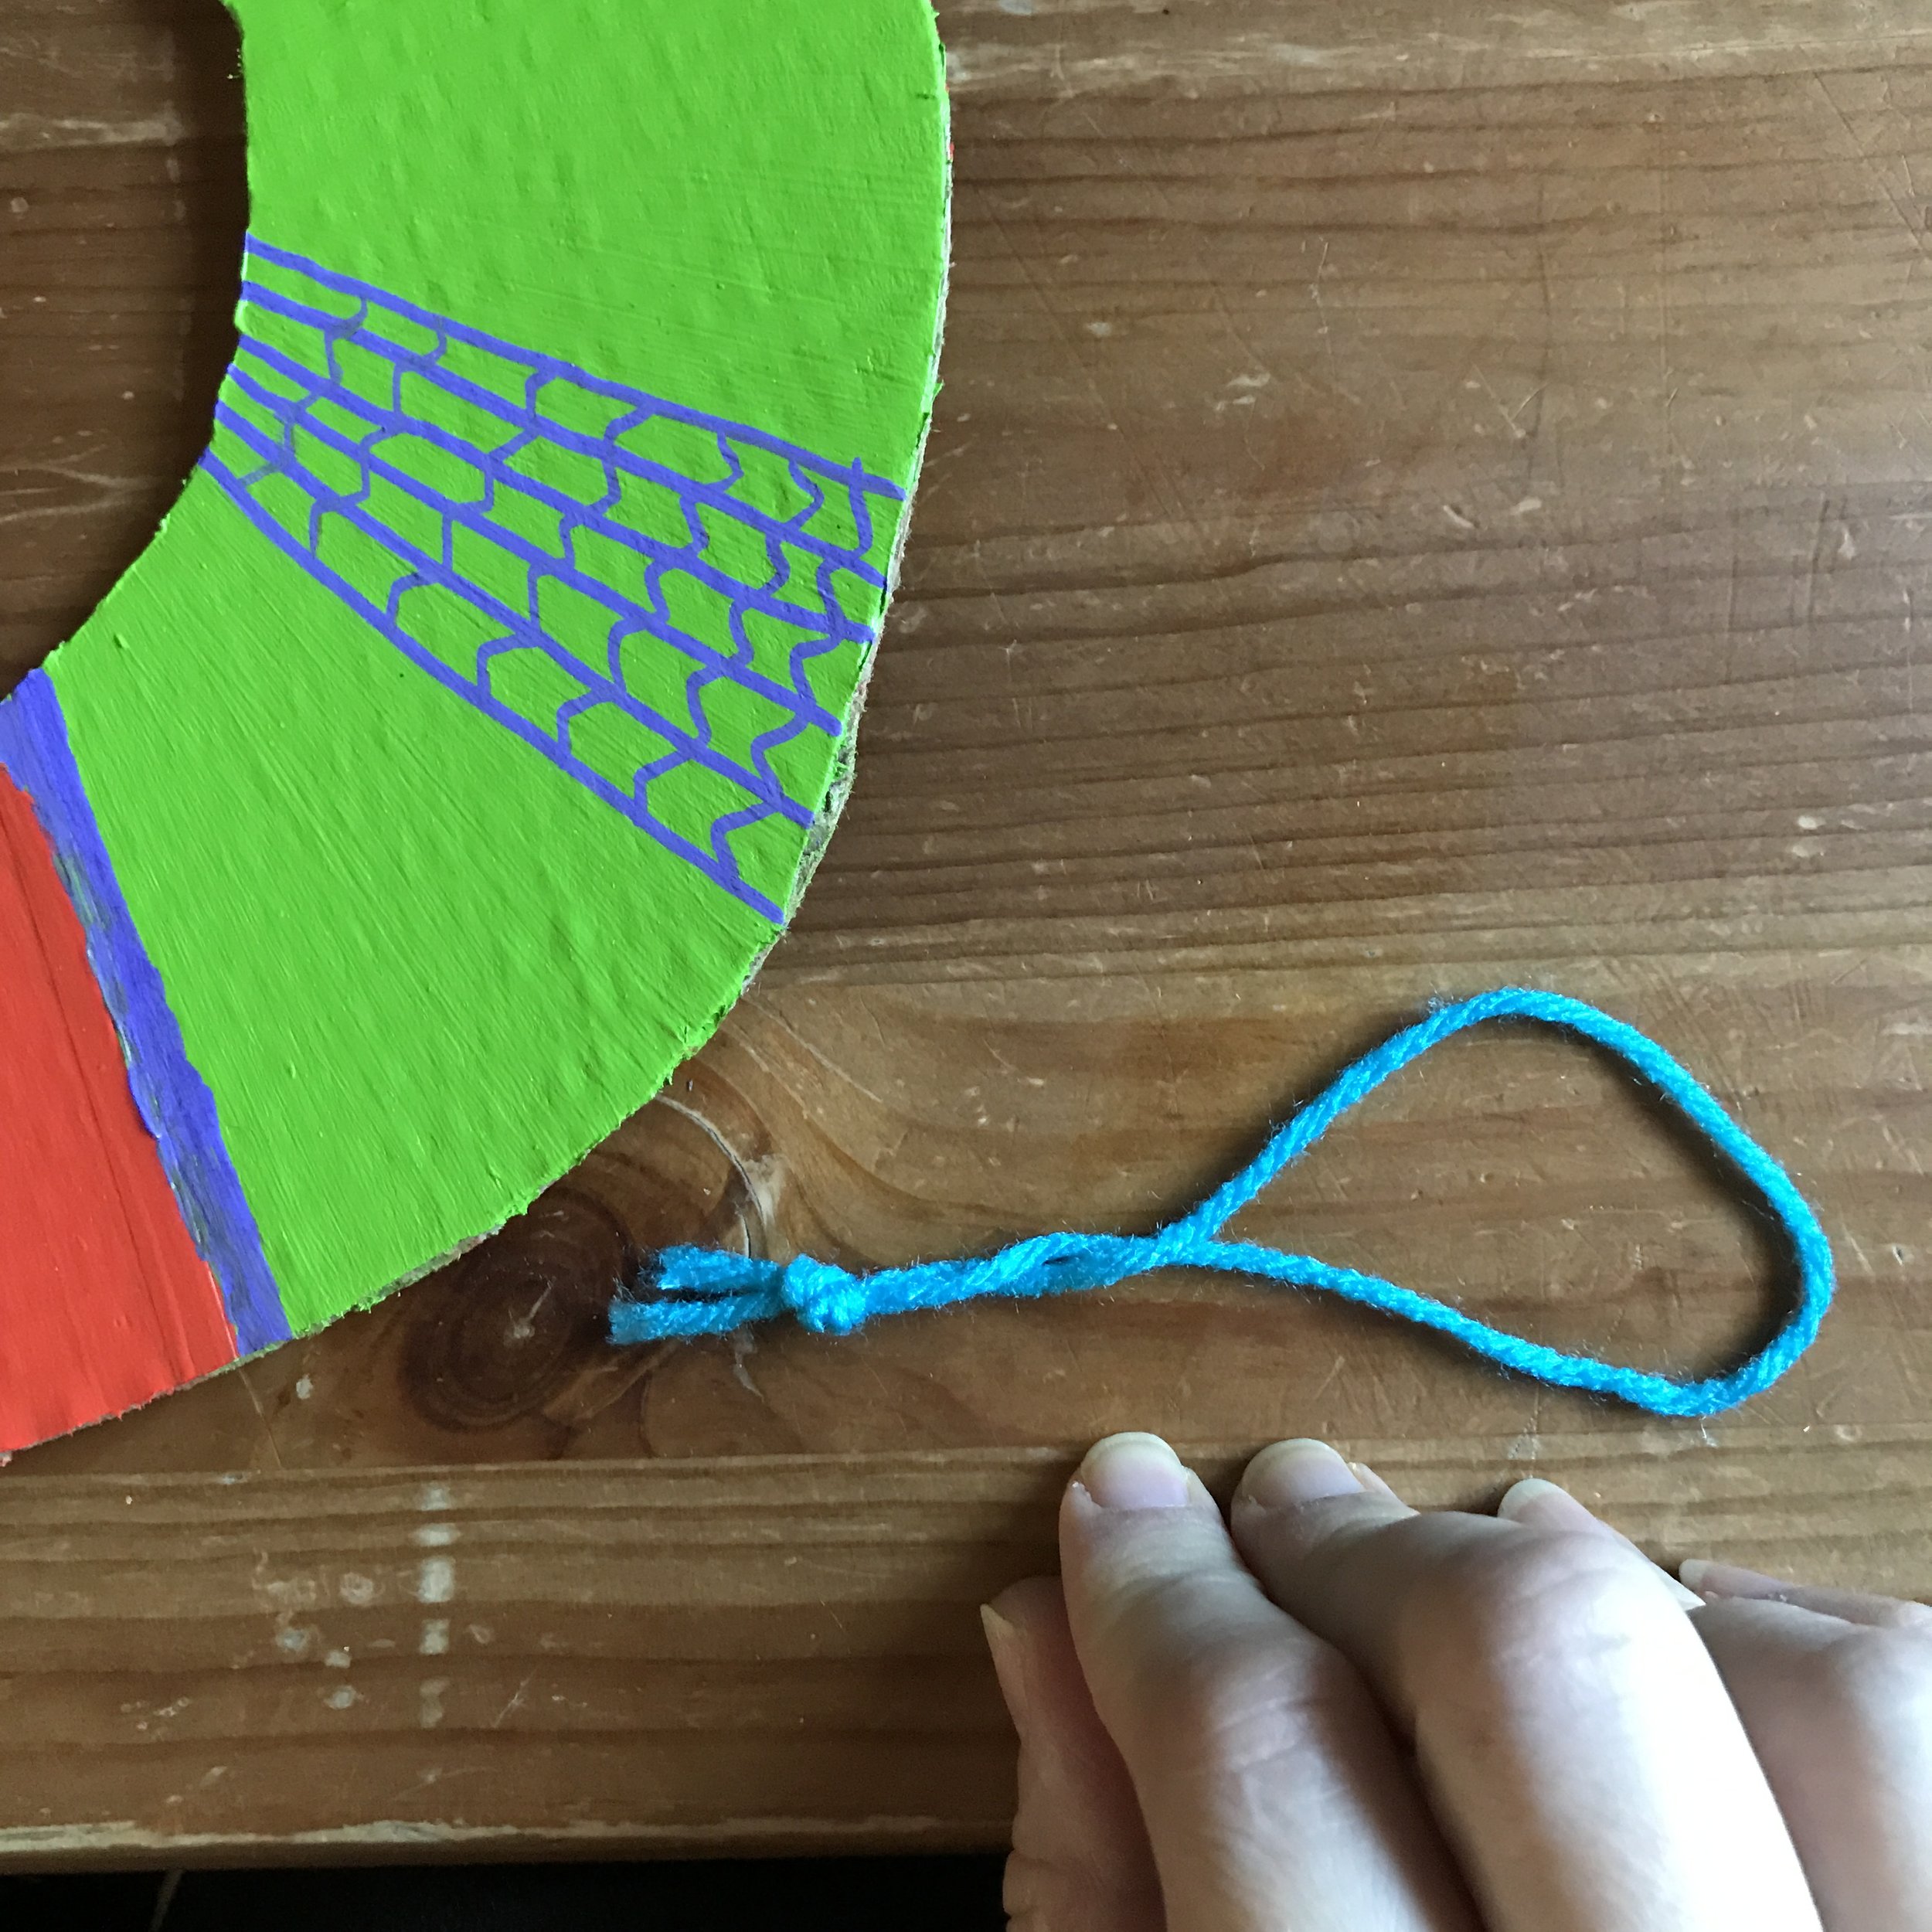
Allow the bats to cure for about 3-5 minutes before flipping your wreath over to attach the hanging loop. Take your string, ribbon, or twine and cut a small length about 3 to 4 inches long and tie it in a little loop. Spread a small line of glue on the back of your wreath at the top where you would like it to hang. Then carefully with tweezers or very cautiously with your fingers, drop the loop into the glue and press it into place with the back of your paintbrush. Allow the glue to fully cure (usually it will become slightly opaque.)
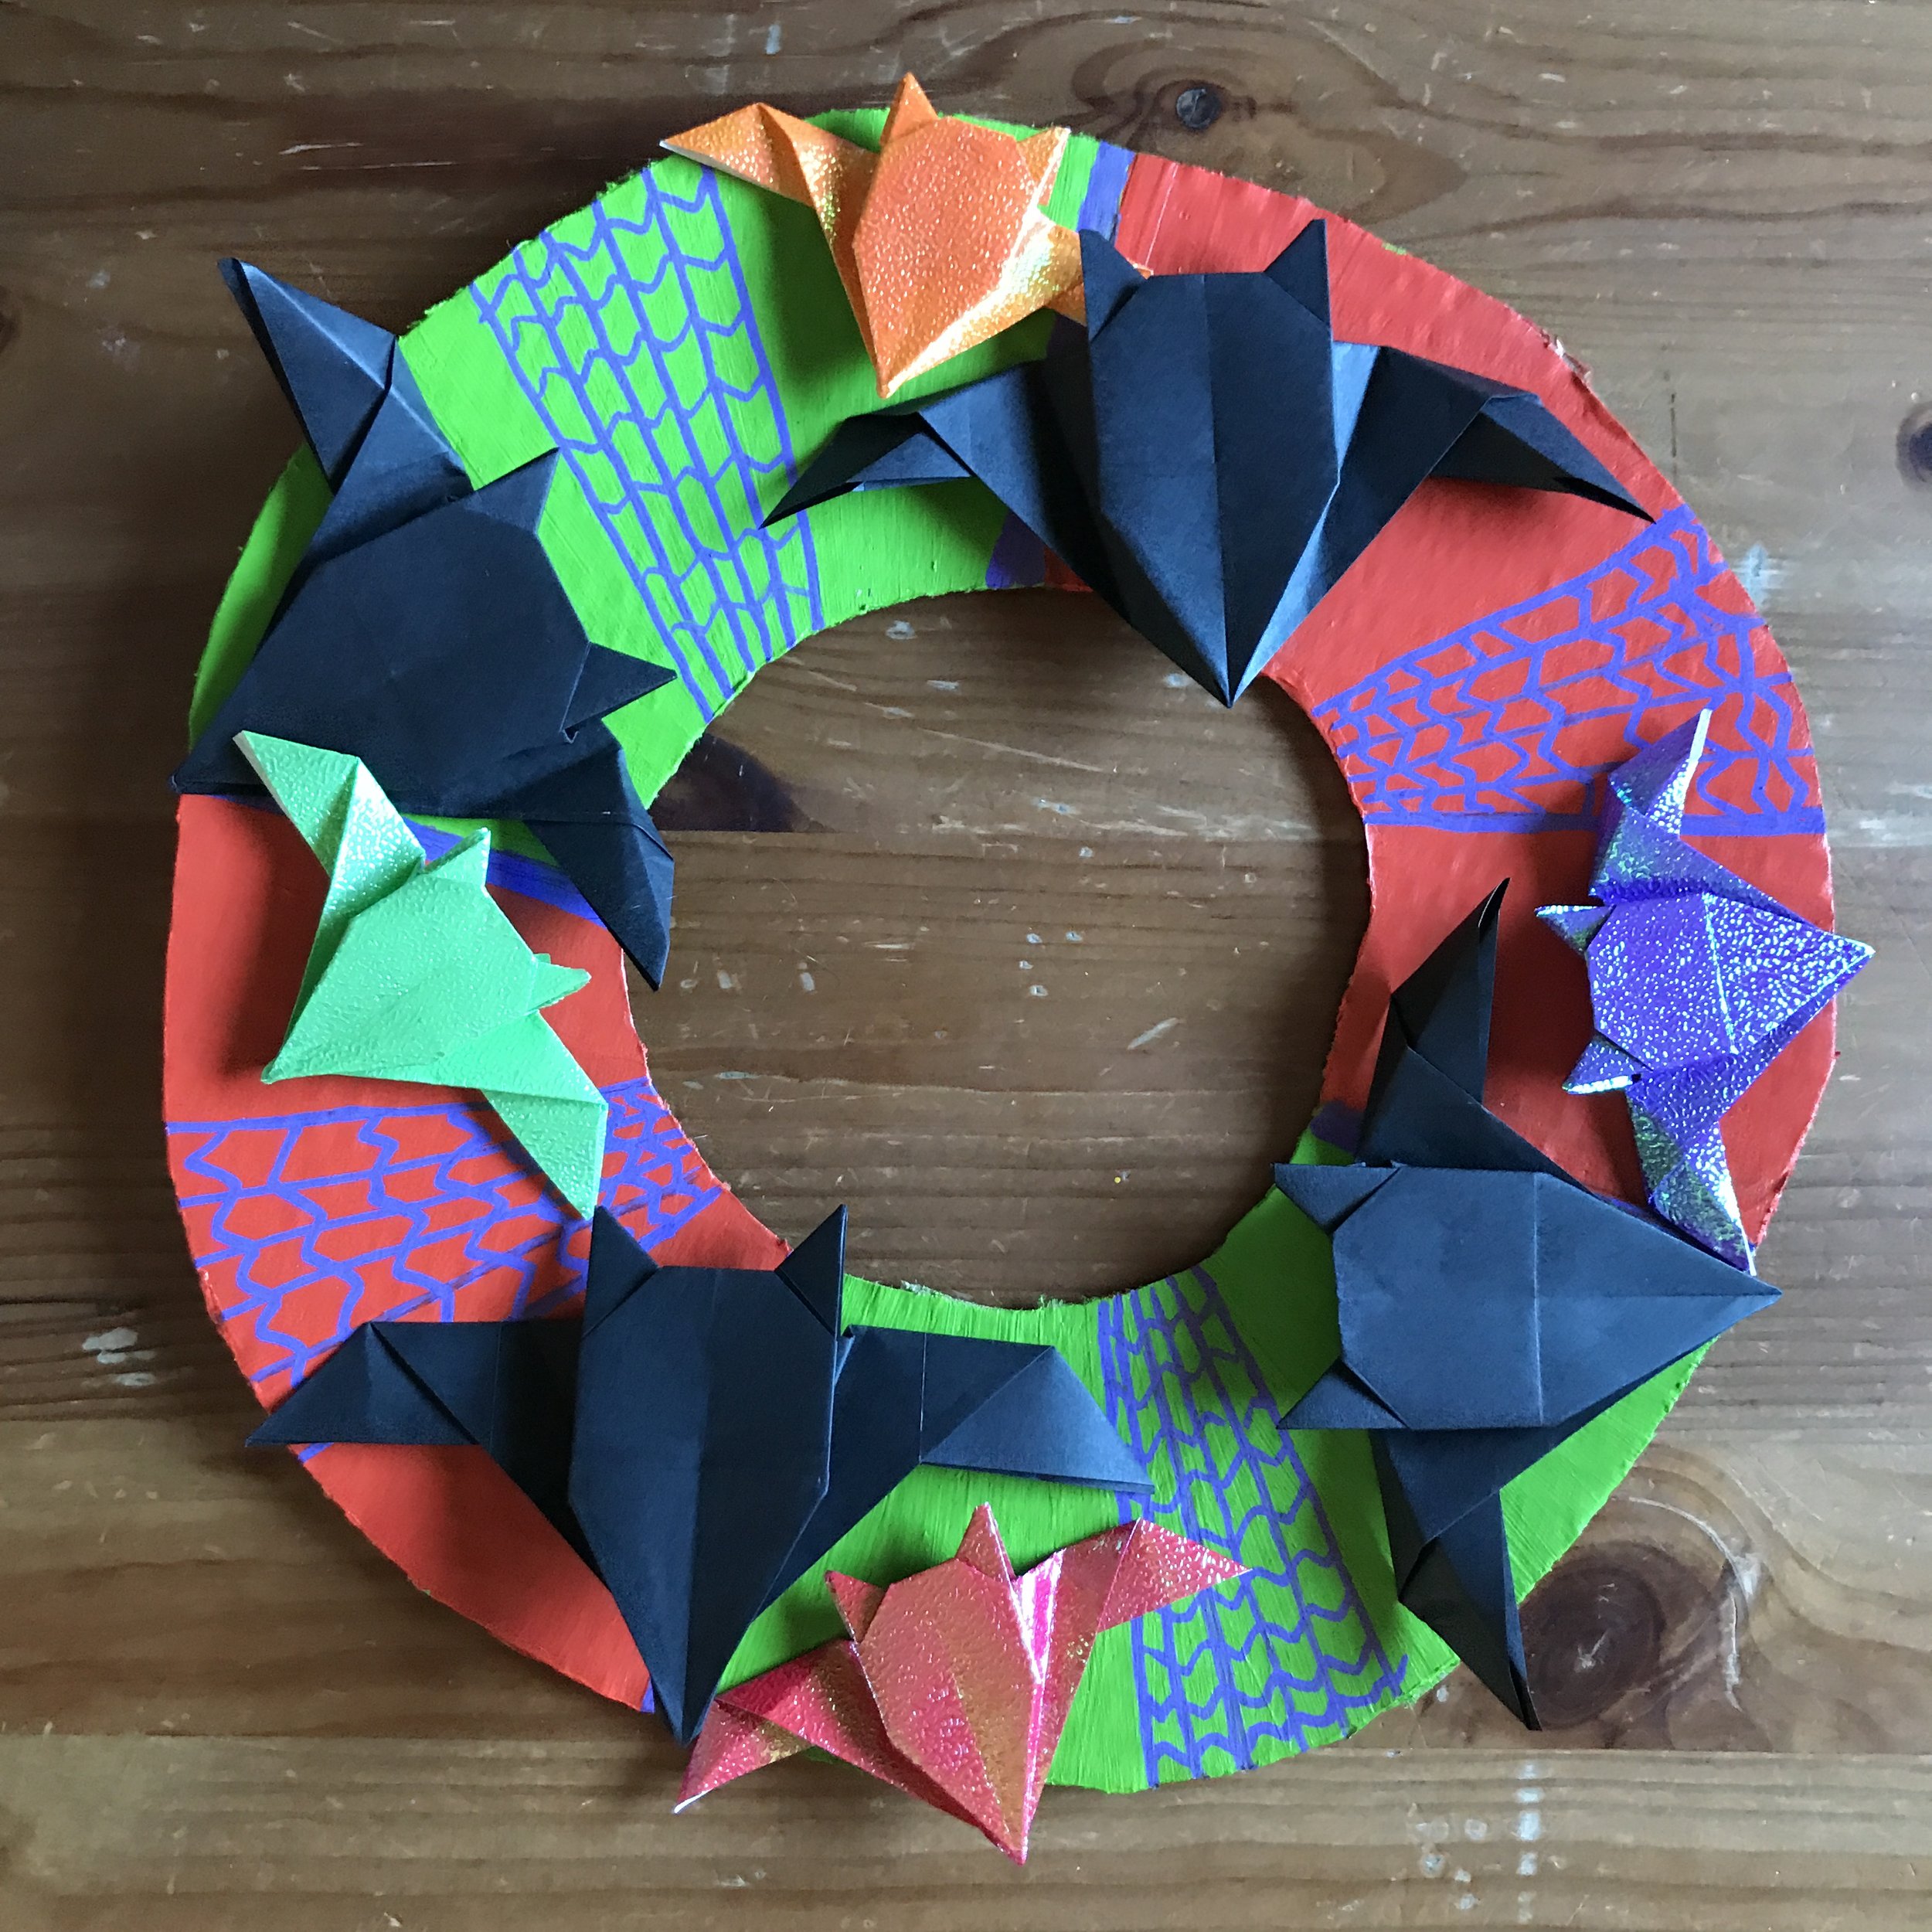
Once the glue is cured you’ll be able to hang up your wreath any place you see fit! Looks great on a wall above your kiddos artwork gallery from school or daycare, if you need any suggestions. Mine is hanging up above a rustic folksy wood cutout of a jackolantern! If you’ve used shiny paper for your bats, put it in a place with lots of sunlight for maximum sparkle!
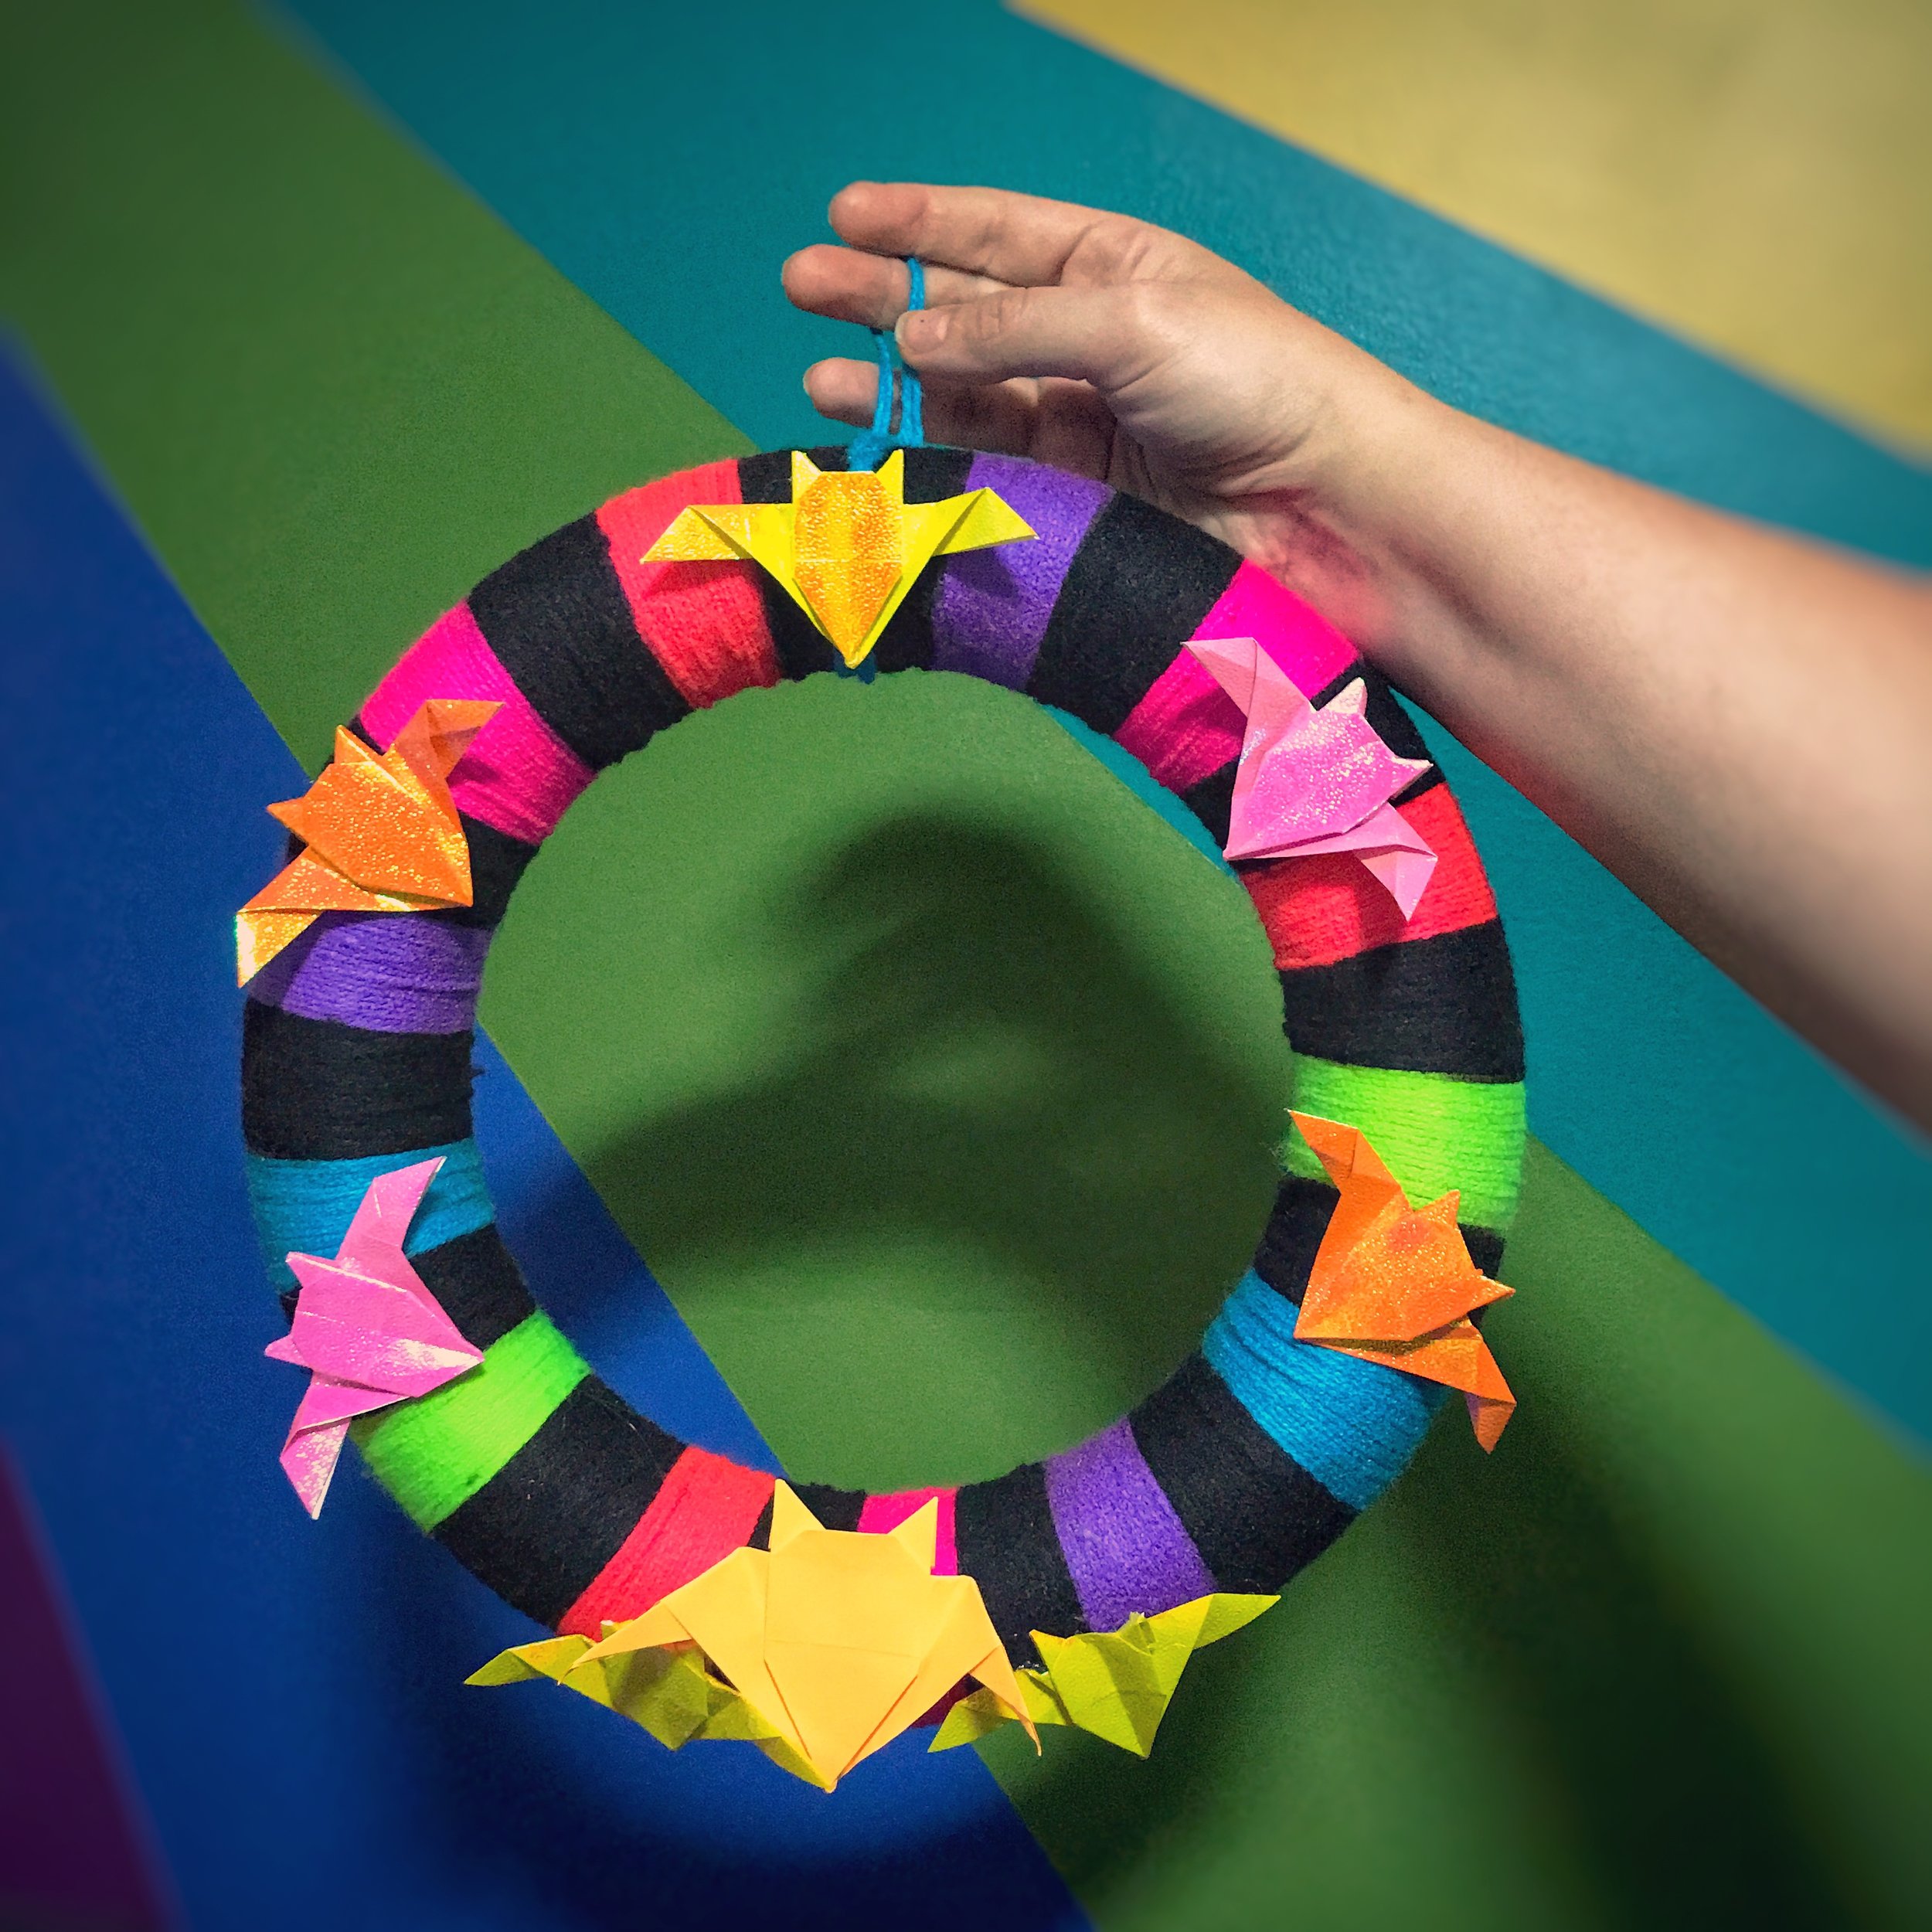
OPTION TWO:
DIY YARN AND BAT WREATH
MATERIALS
Styrofoam Wreath Form
Origami Paper Squares
Yarn or Twine or Ribbon; 1 skein of yarn for small styrofoam wreath forms; large ones may require 2-3!
Exacto Knife and/or Scissors adults only
Hot Glue Gun adults only
Before we start the instructions, we highly recommend winding your skein of yarn into a ball prior to starting this craft. Using a wound ball will make it far easier to wrap the wreath form than leaving it in a skein like your dear sweet instructor here has done, hahaha! There are ball-winders available at many knitting shops, but your knitter friends may also have one. If not, just watch a quick tutorial about ball-winding to get yourself started. It’s actually pretty fun to do! ONWARDS TO CRAFTING!
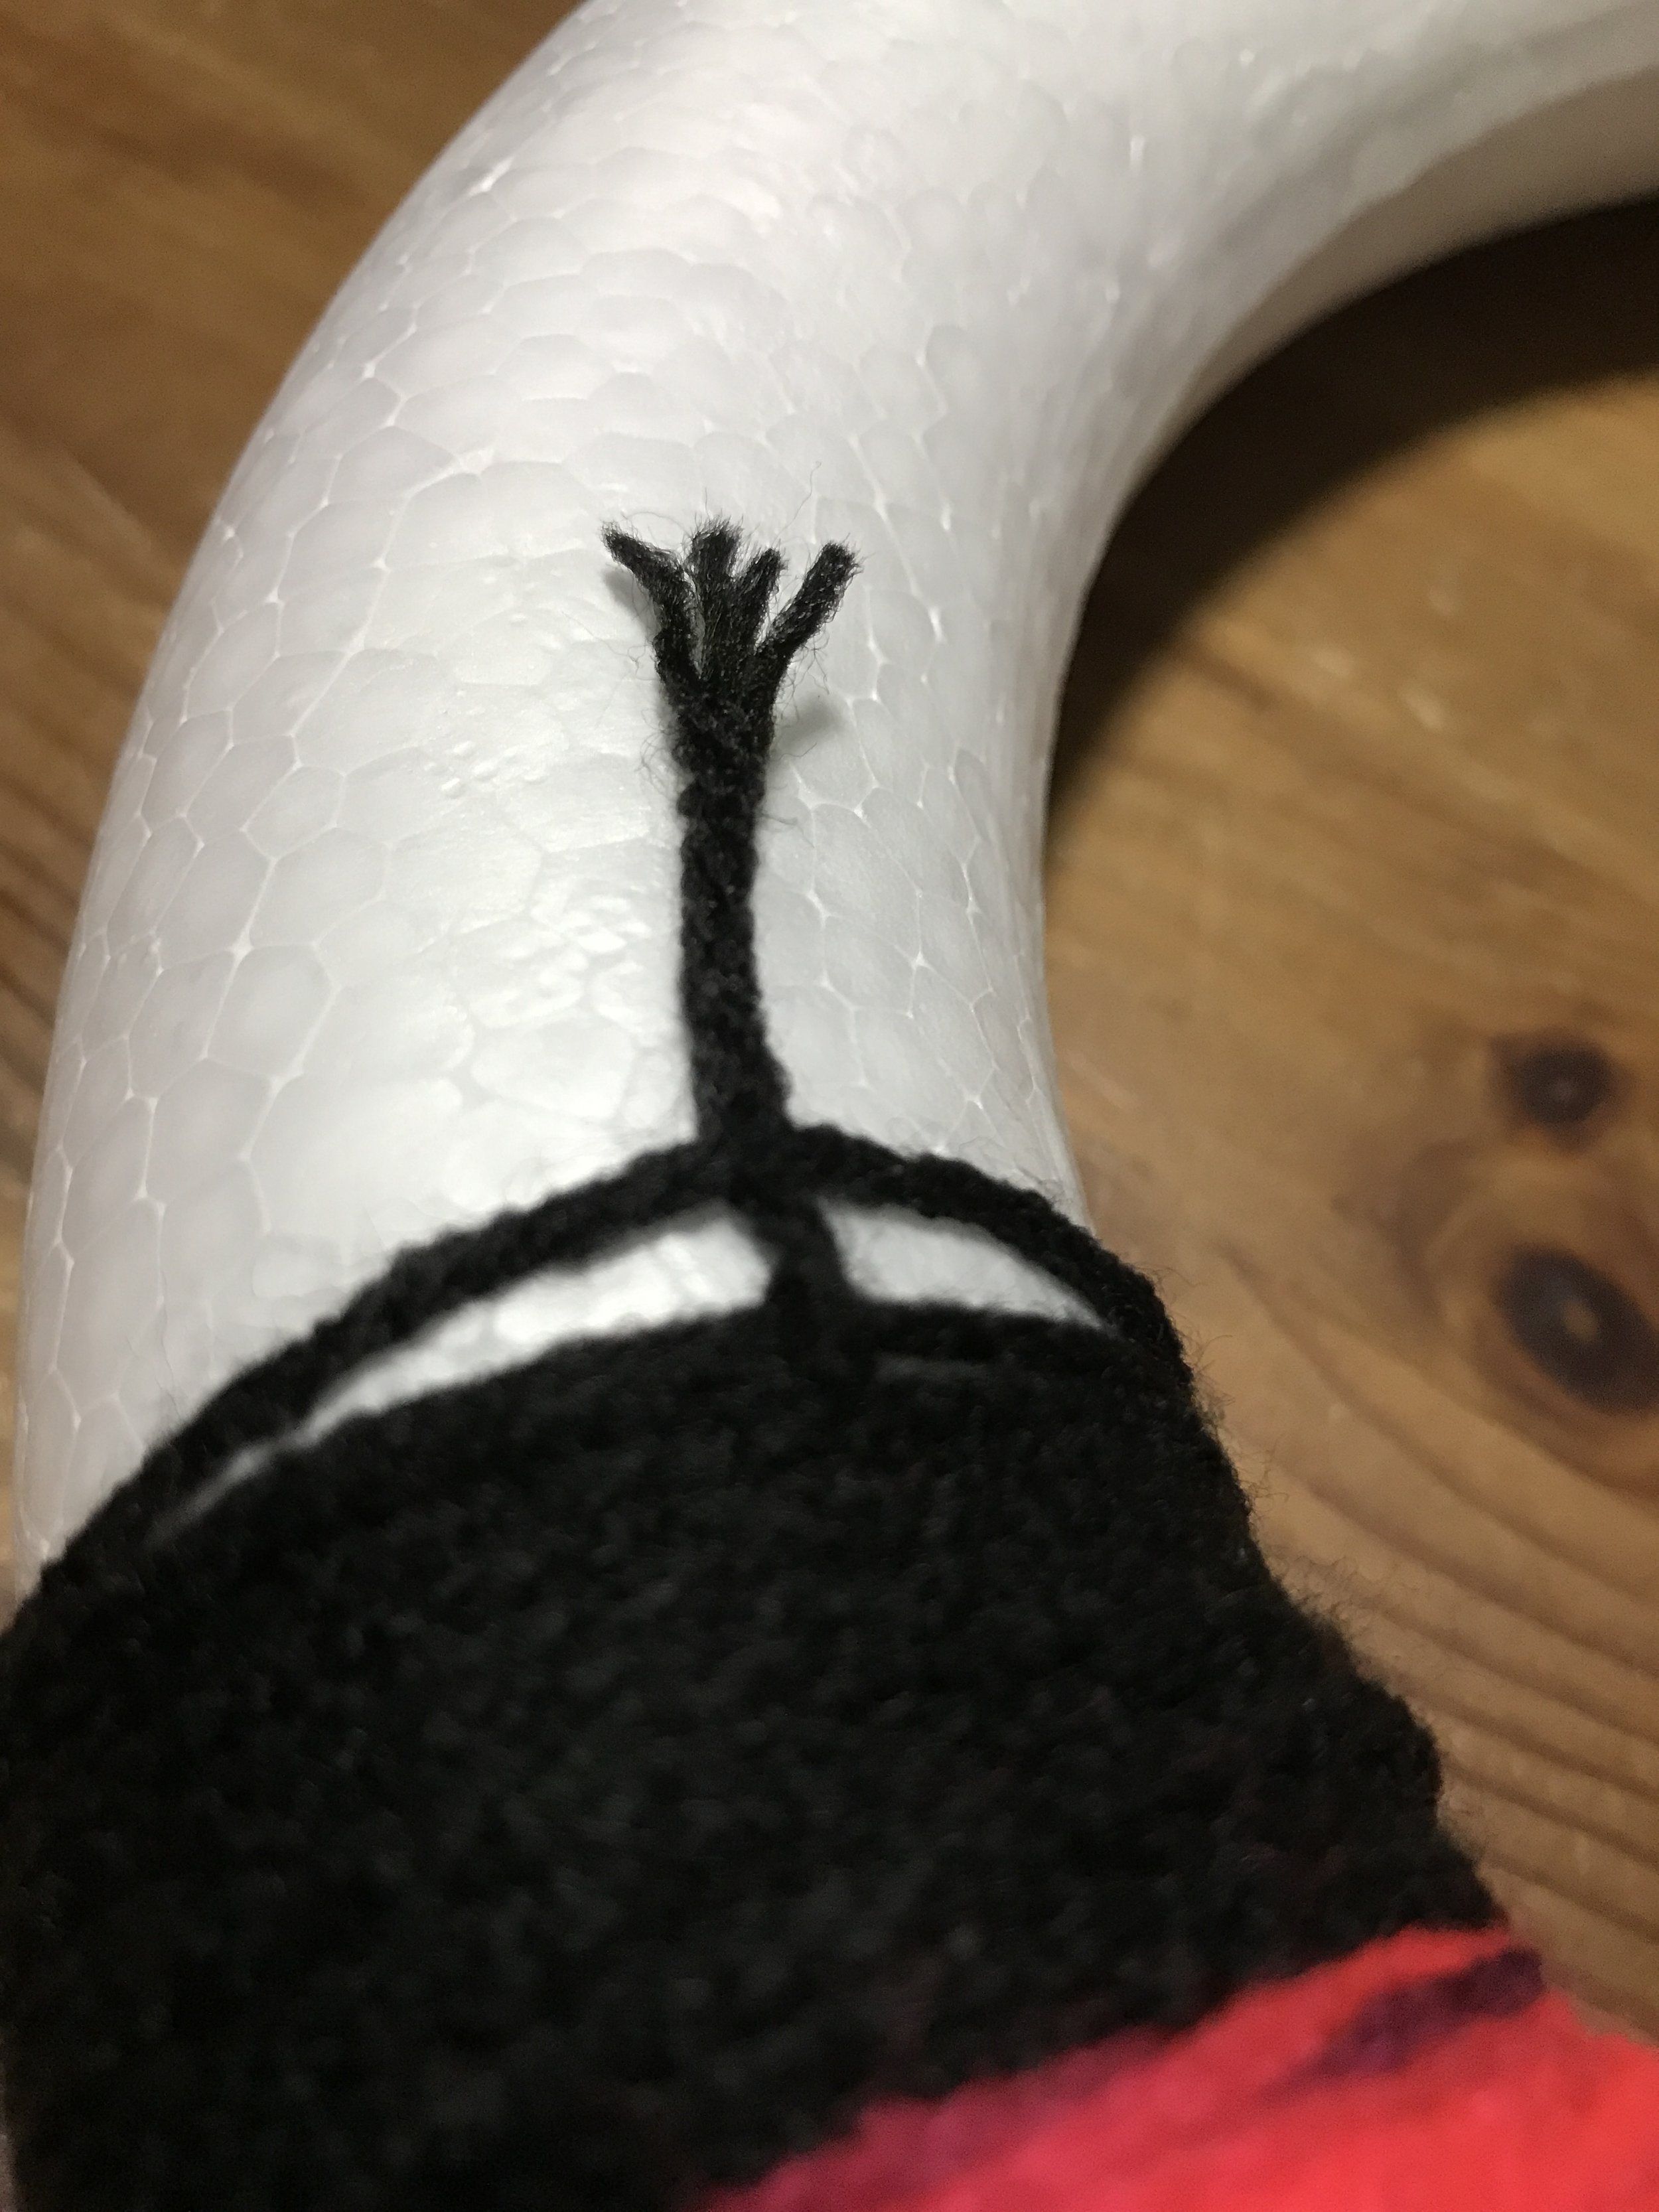
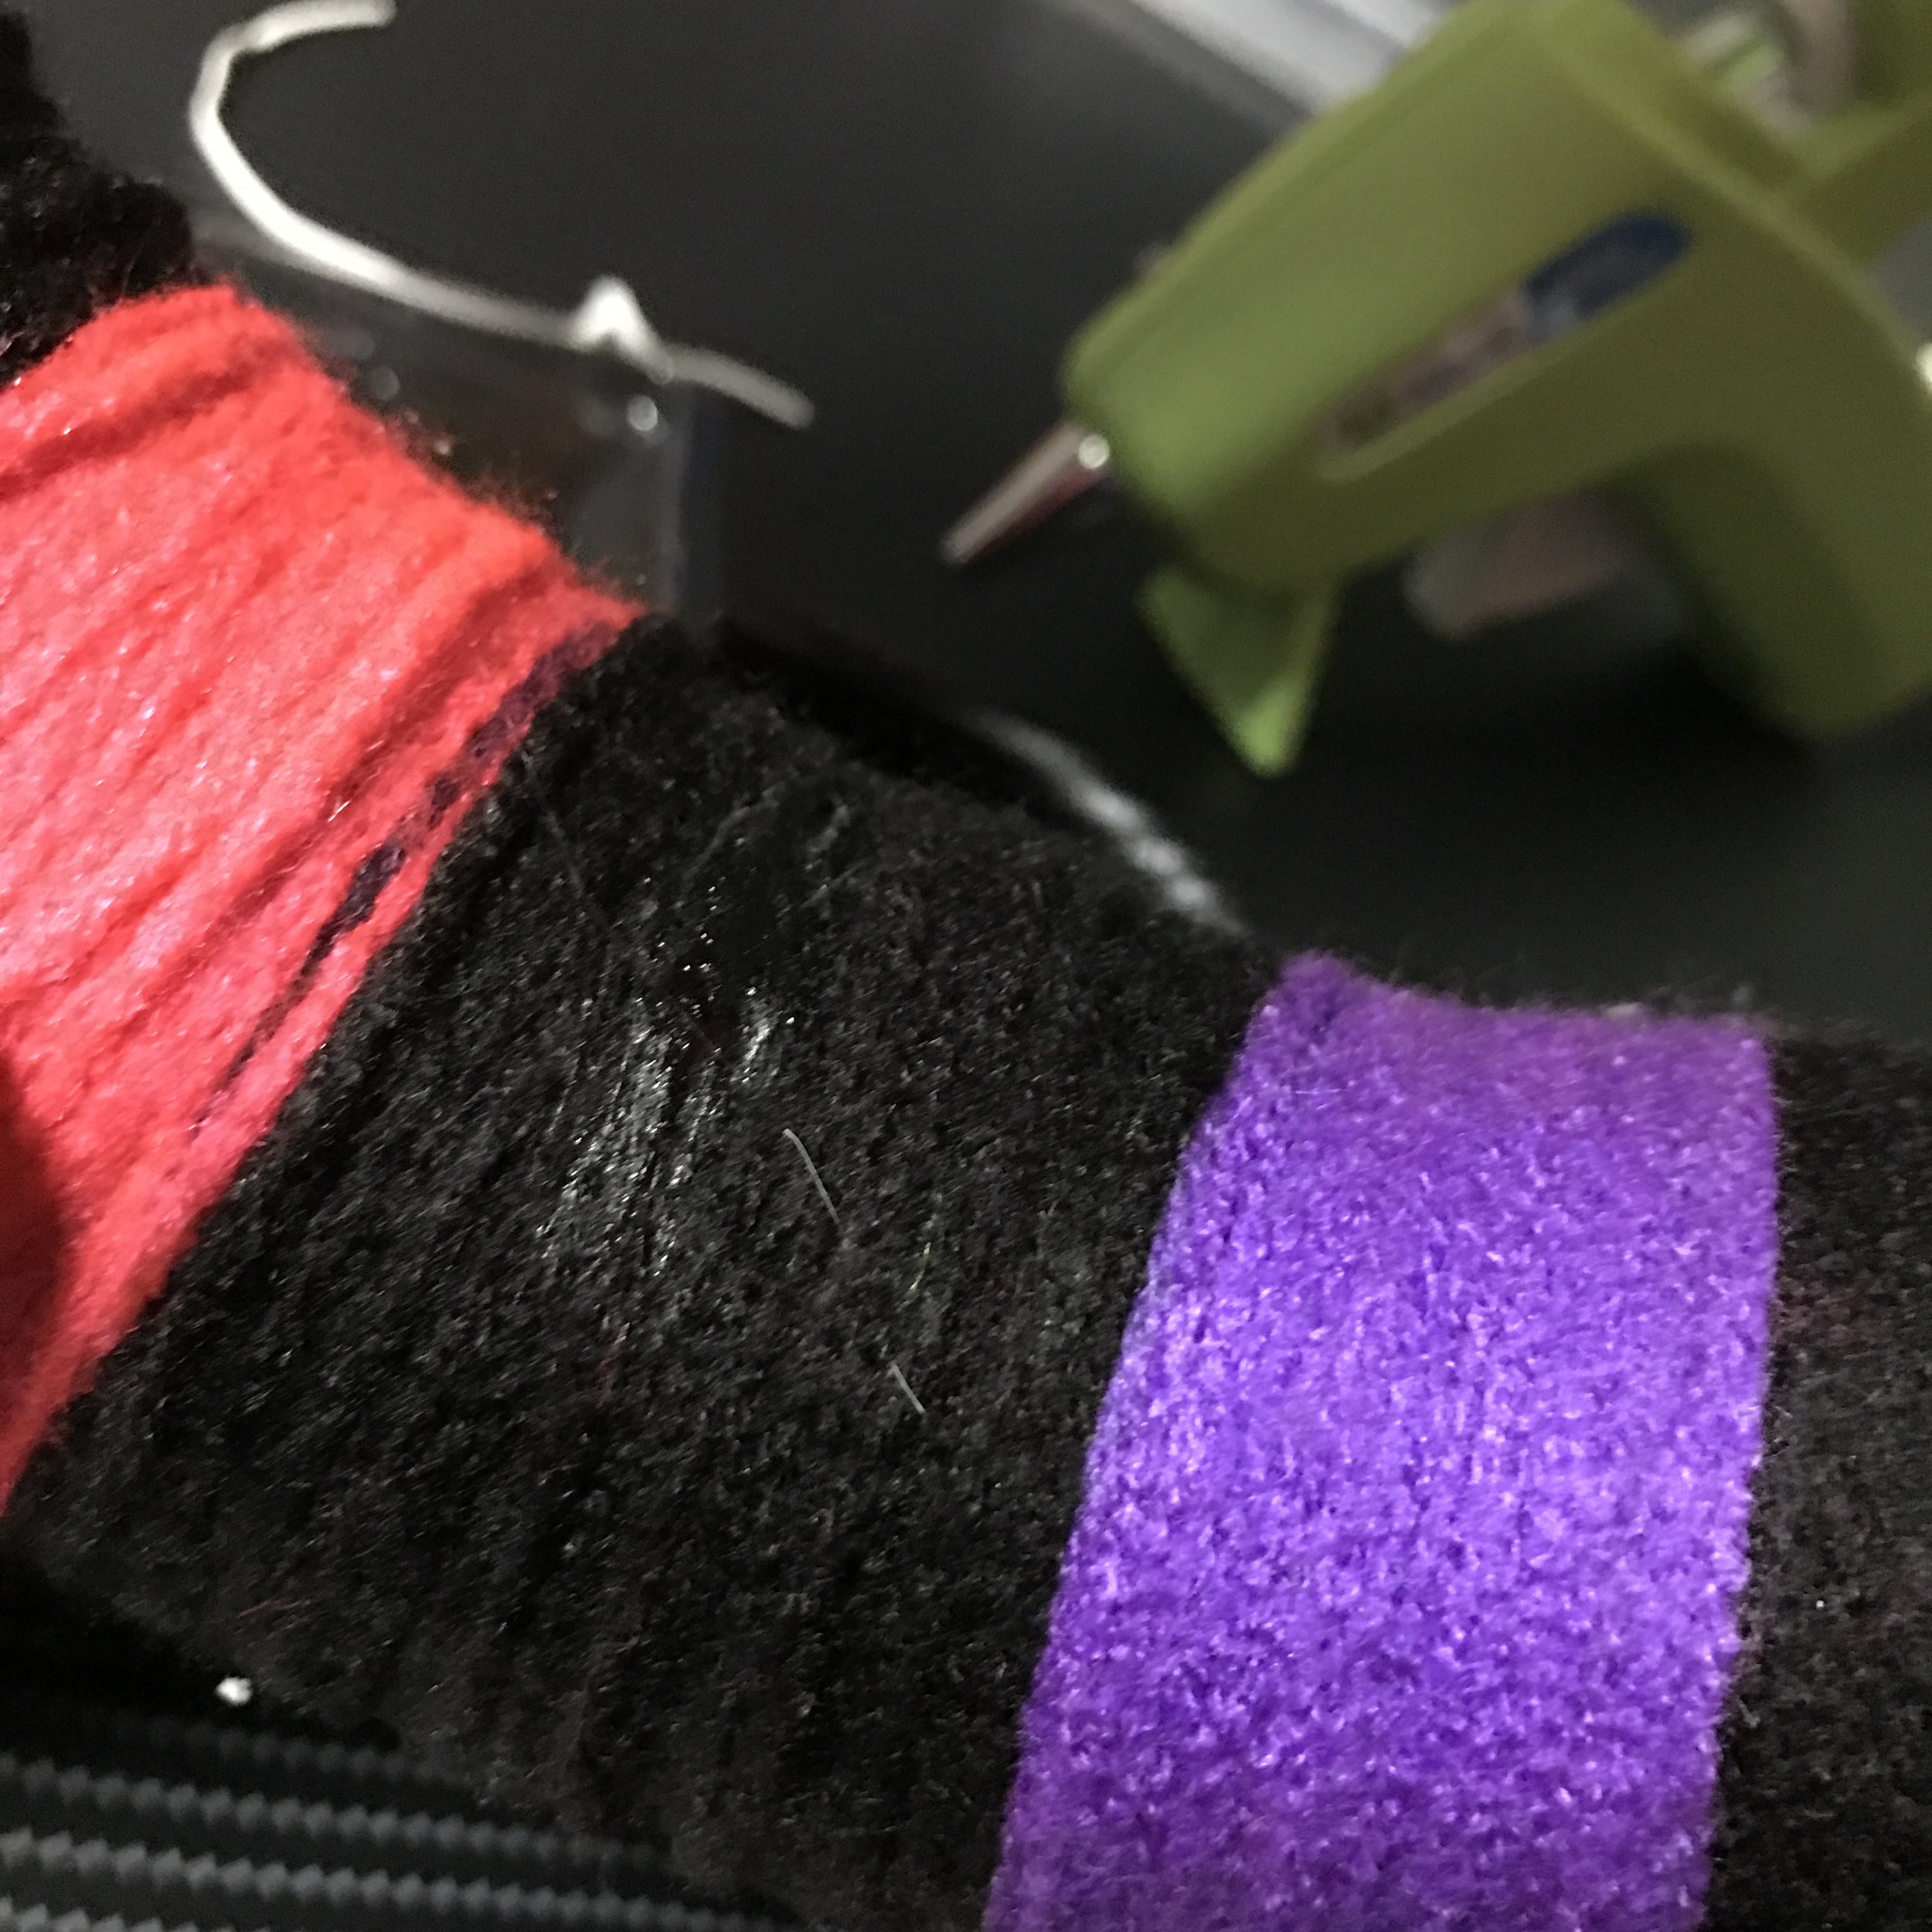
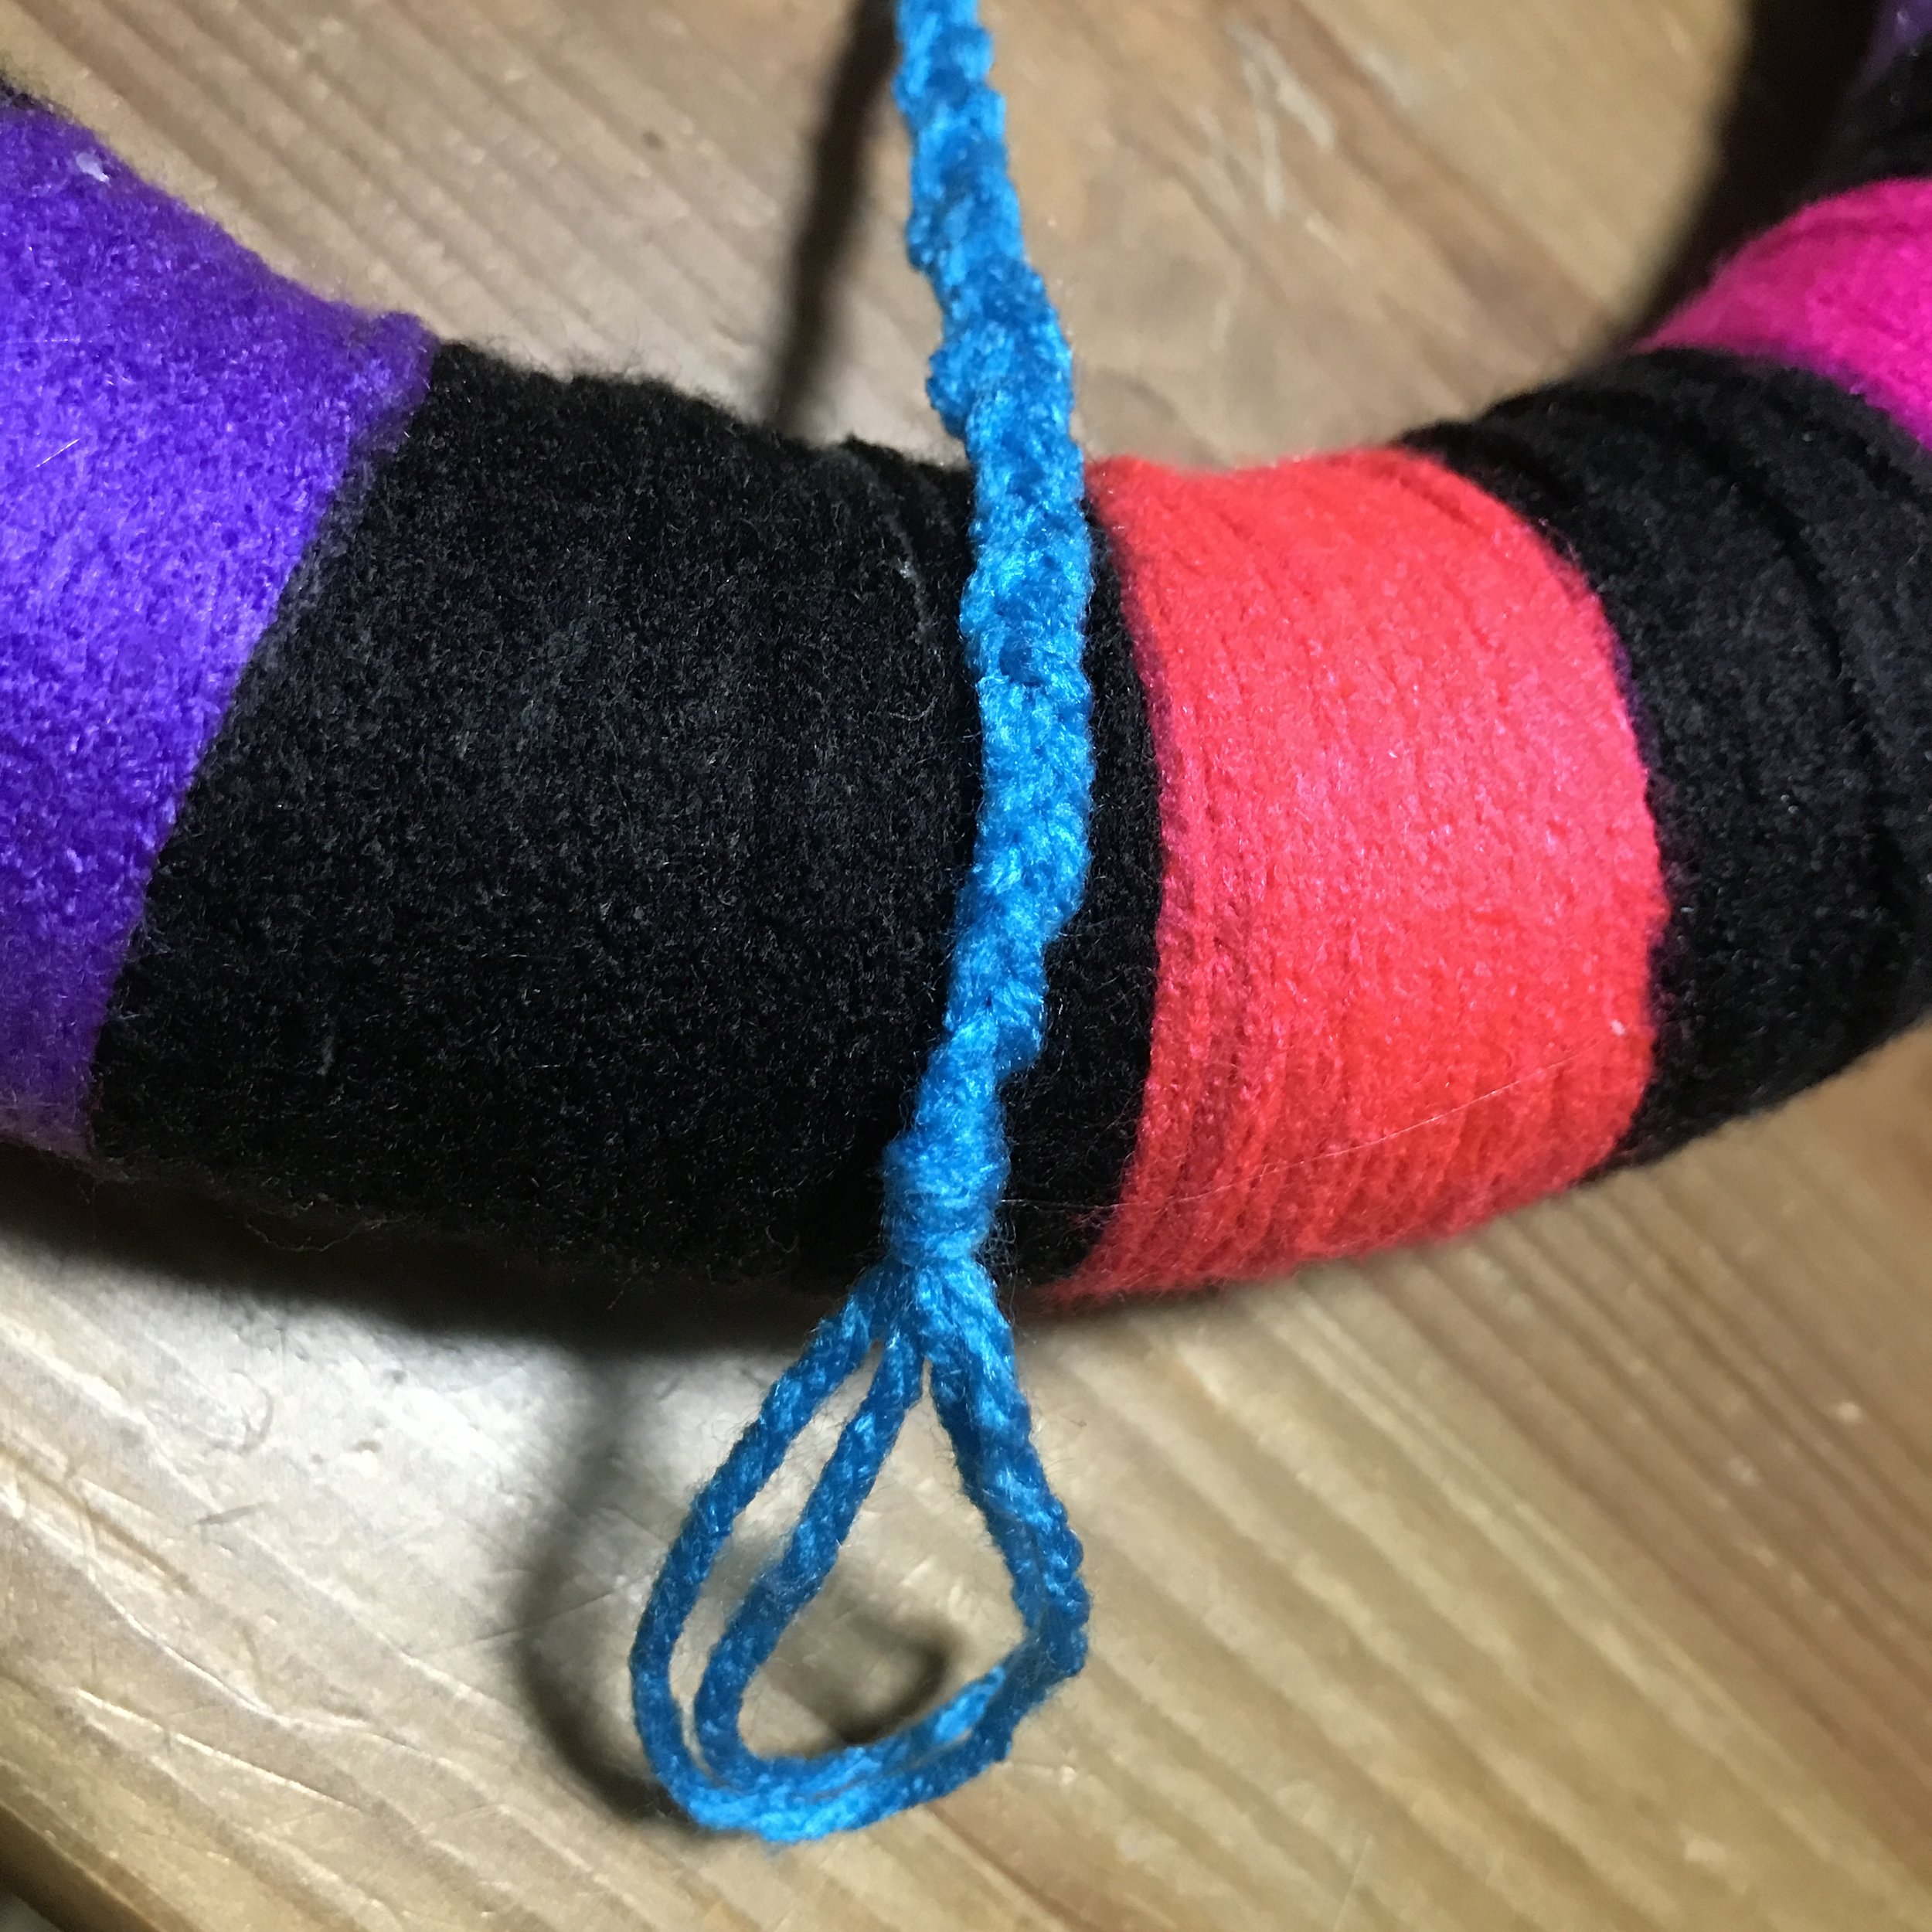
First things first we need to anchor the yarn to our styrofoam form! We’ll do so by creating a loop of the yarn and knotting it in place, then securing that knot and first loop with a glue gun by a trusted adult or a teenager with adult supervision. Glue guns can get extremely hot and cause severe burns!!! Use tweezers, chopsticks, or the back of a paintbrush to secure the string/yarn’s end in the glue to stick it to the styrofoam. (Image 1 in the slide show above)
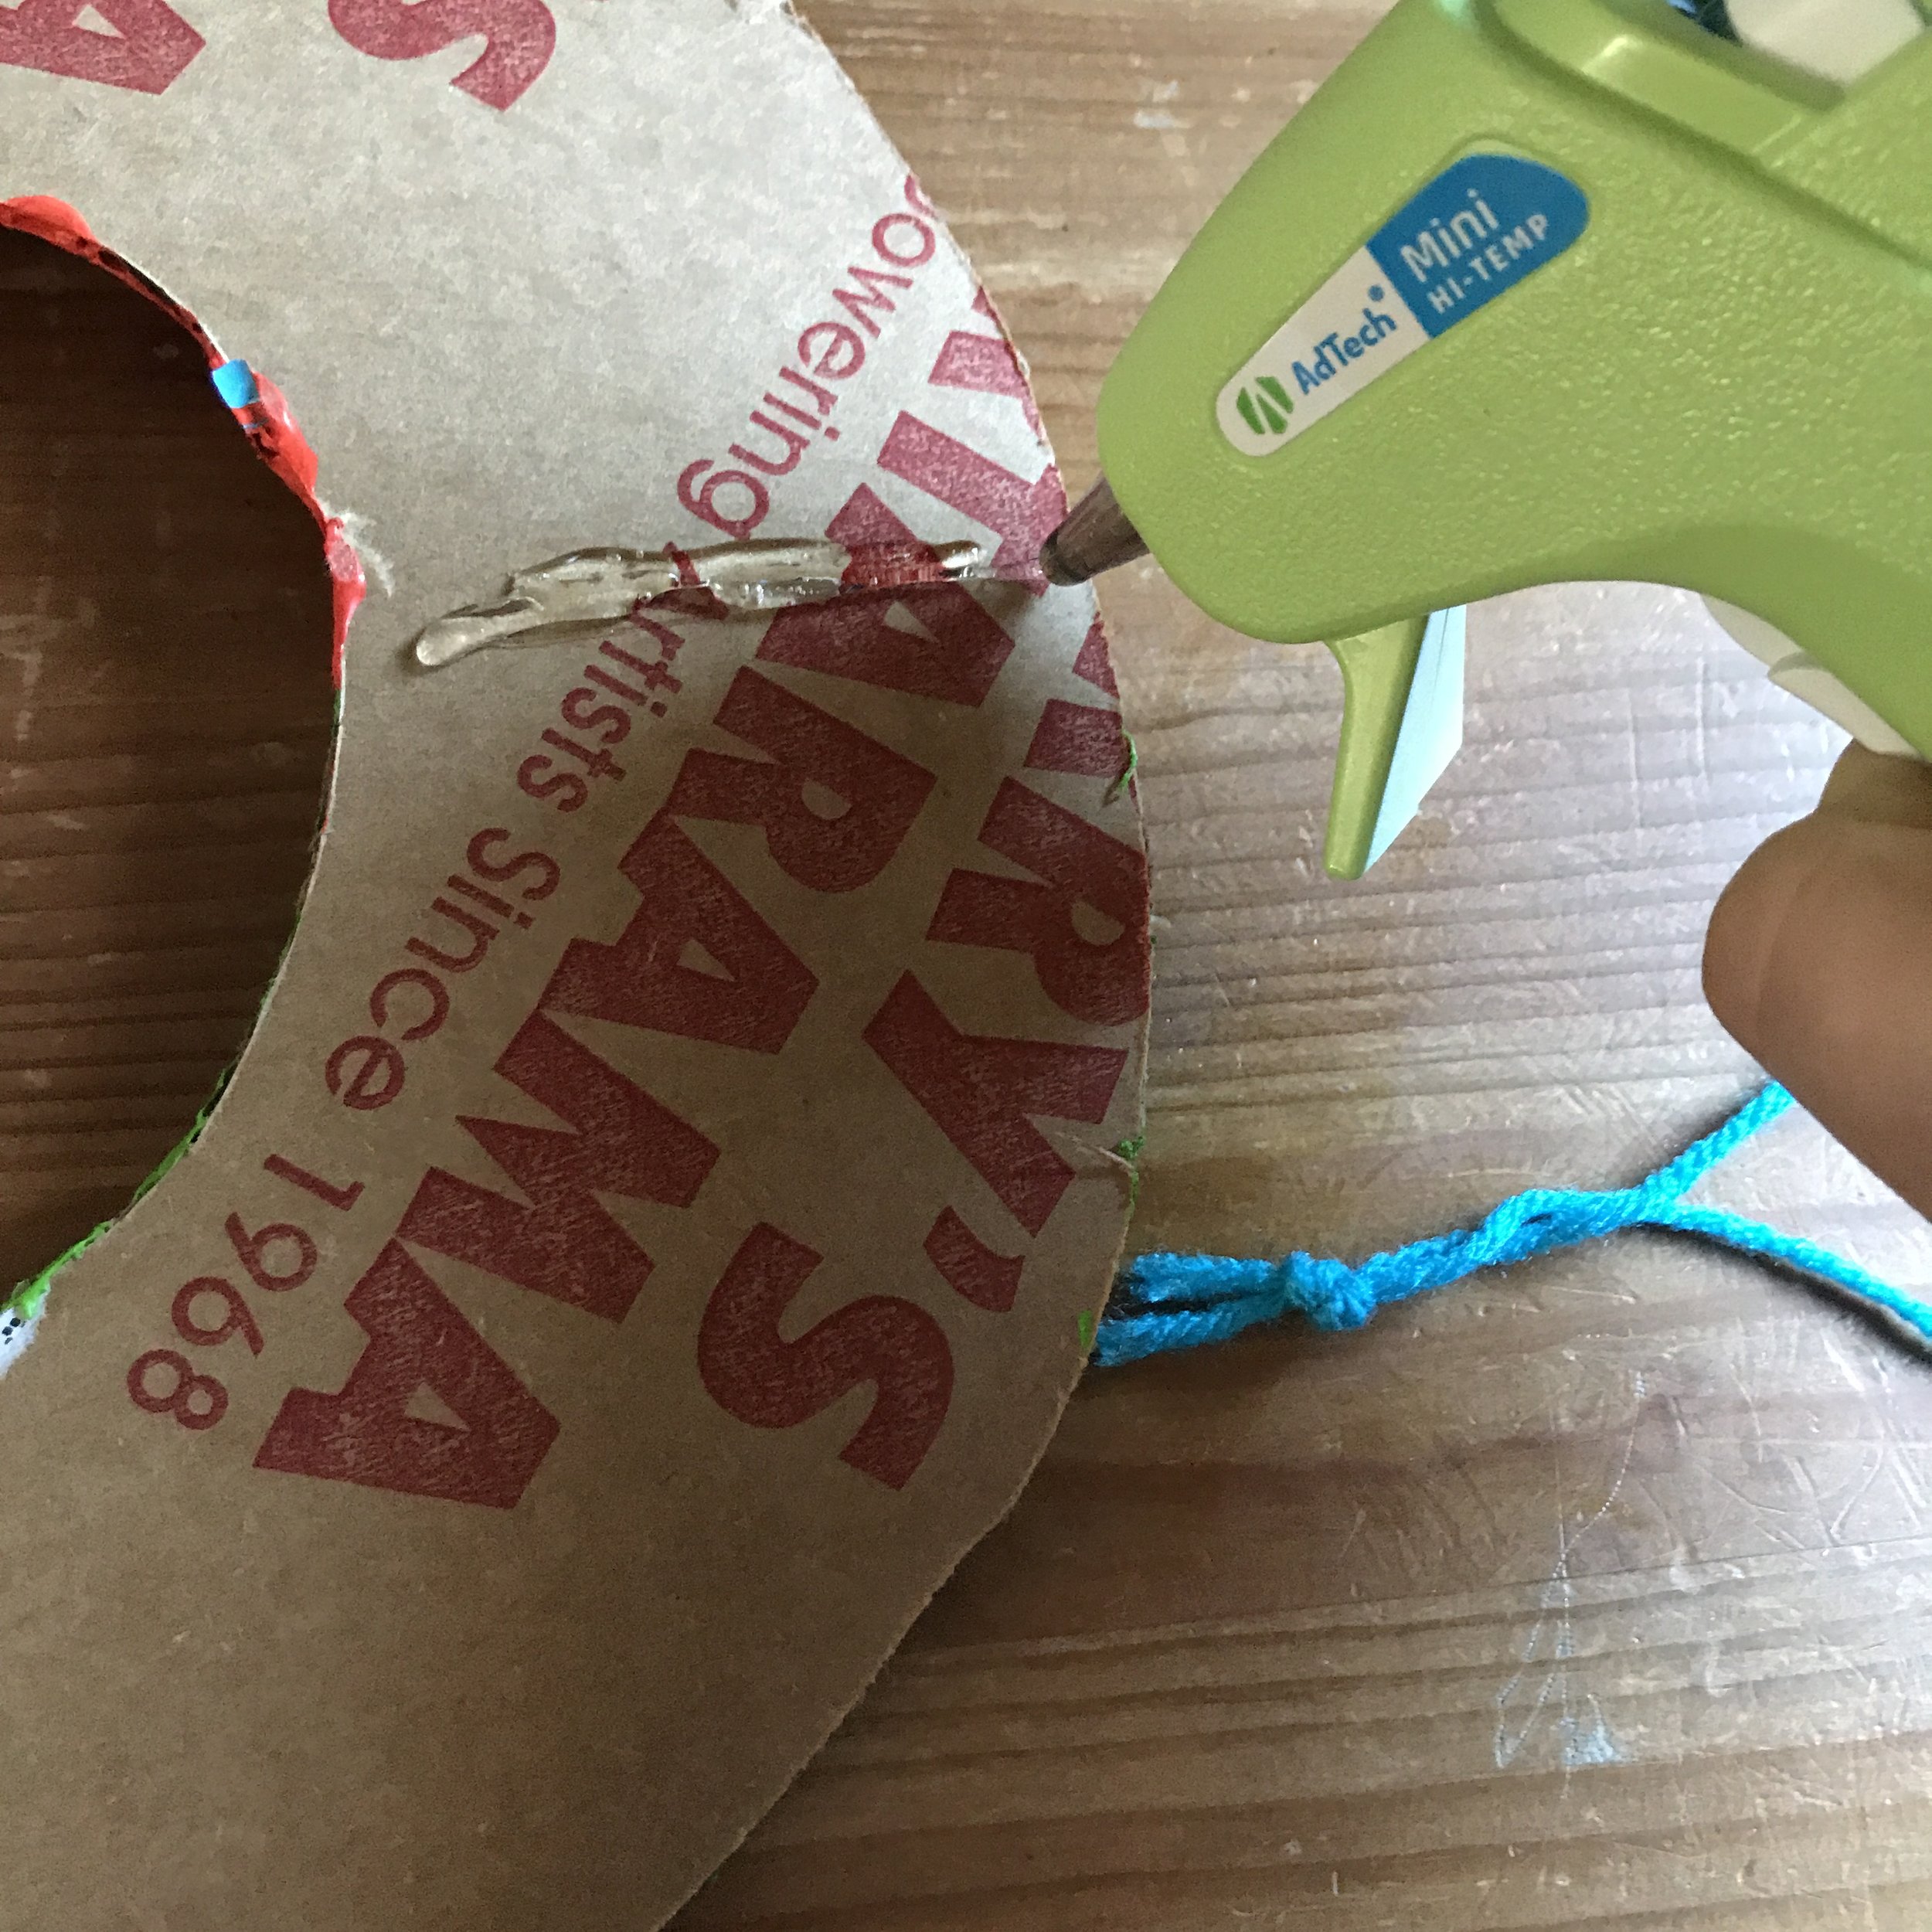
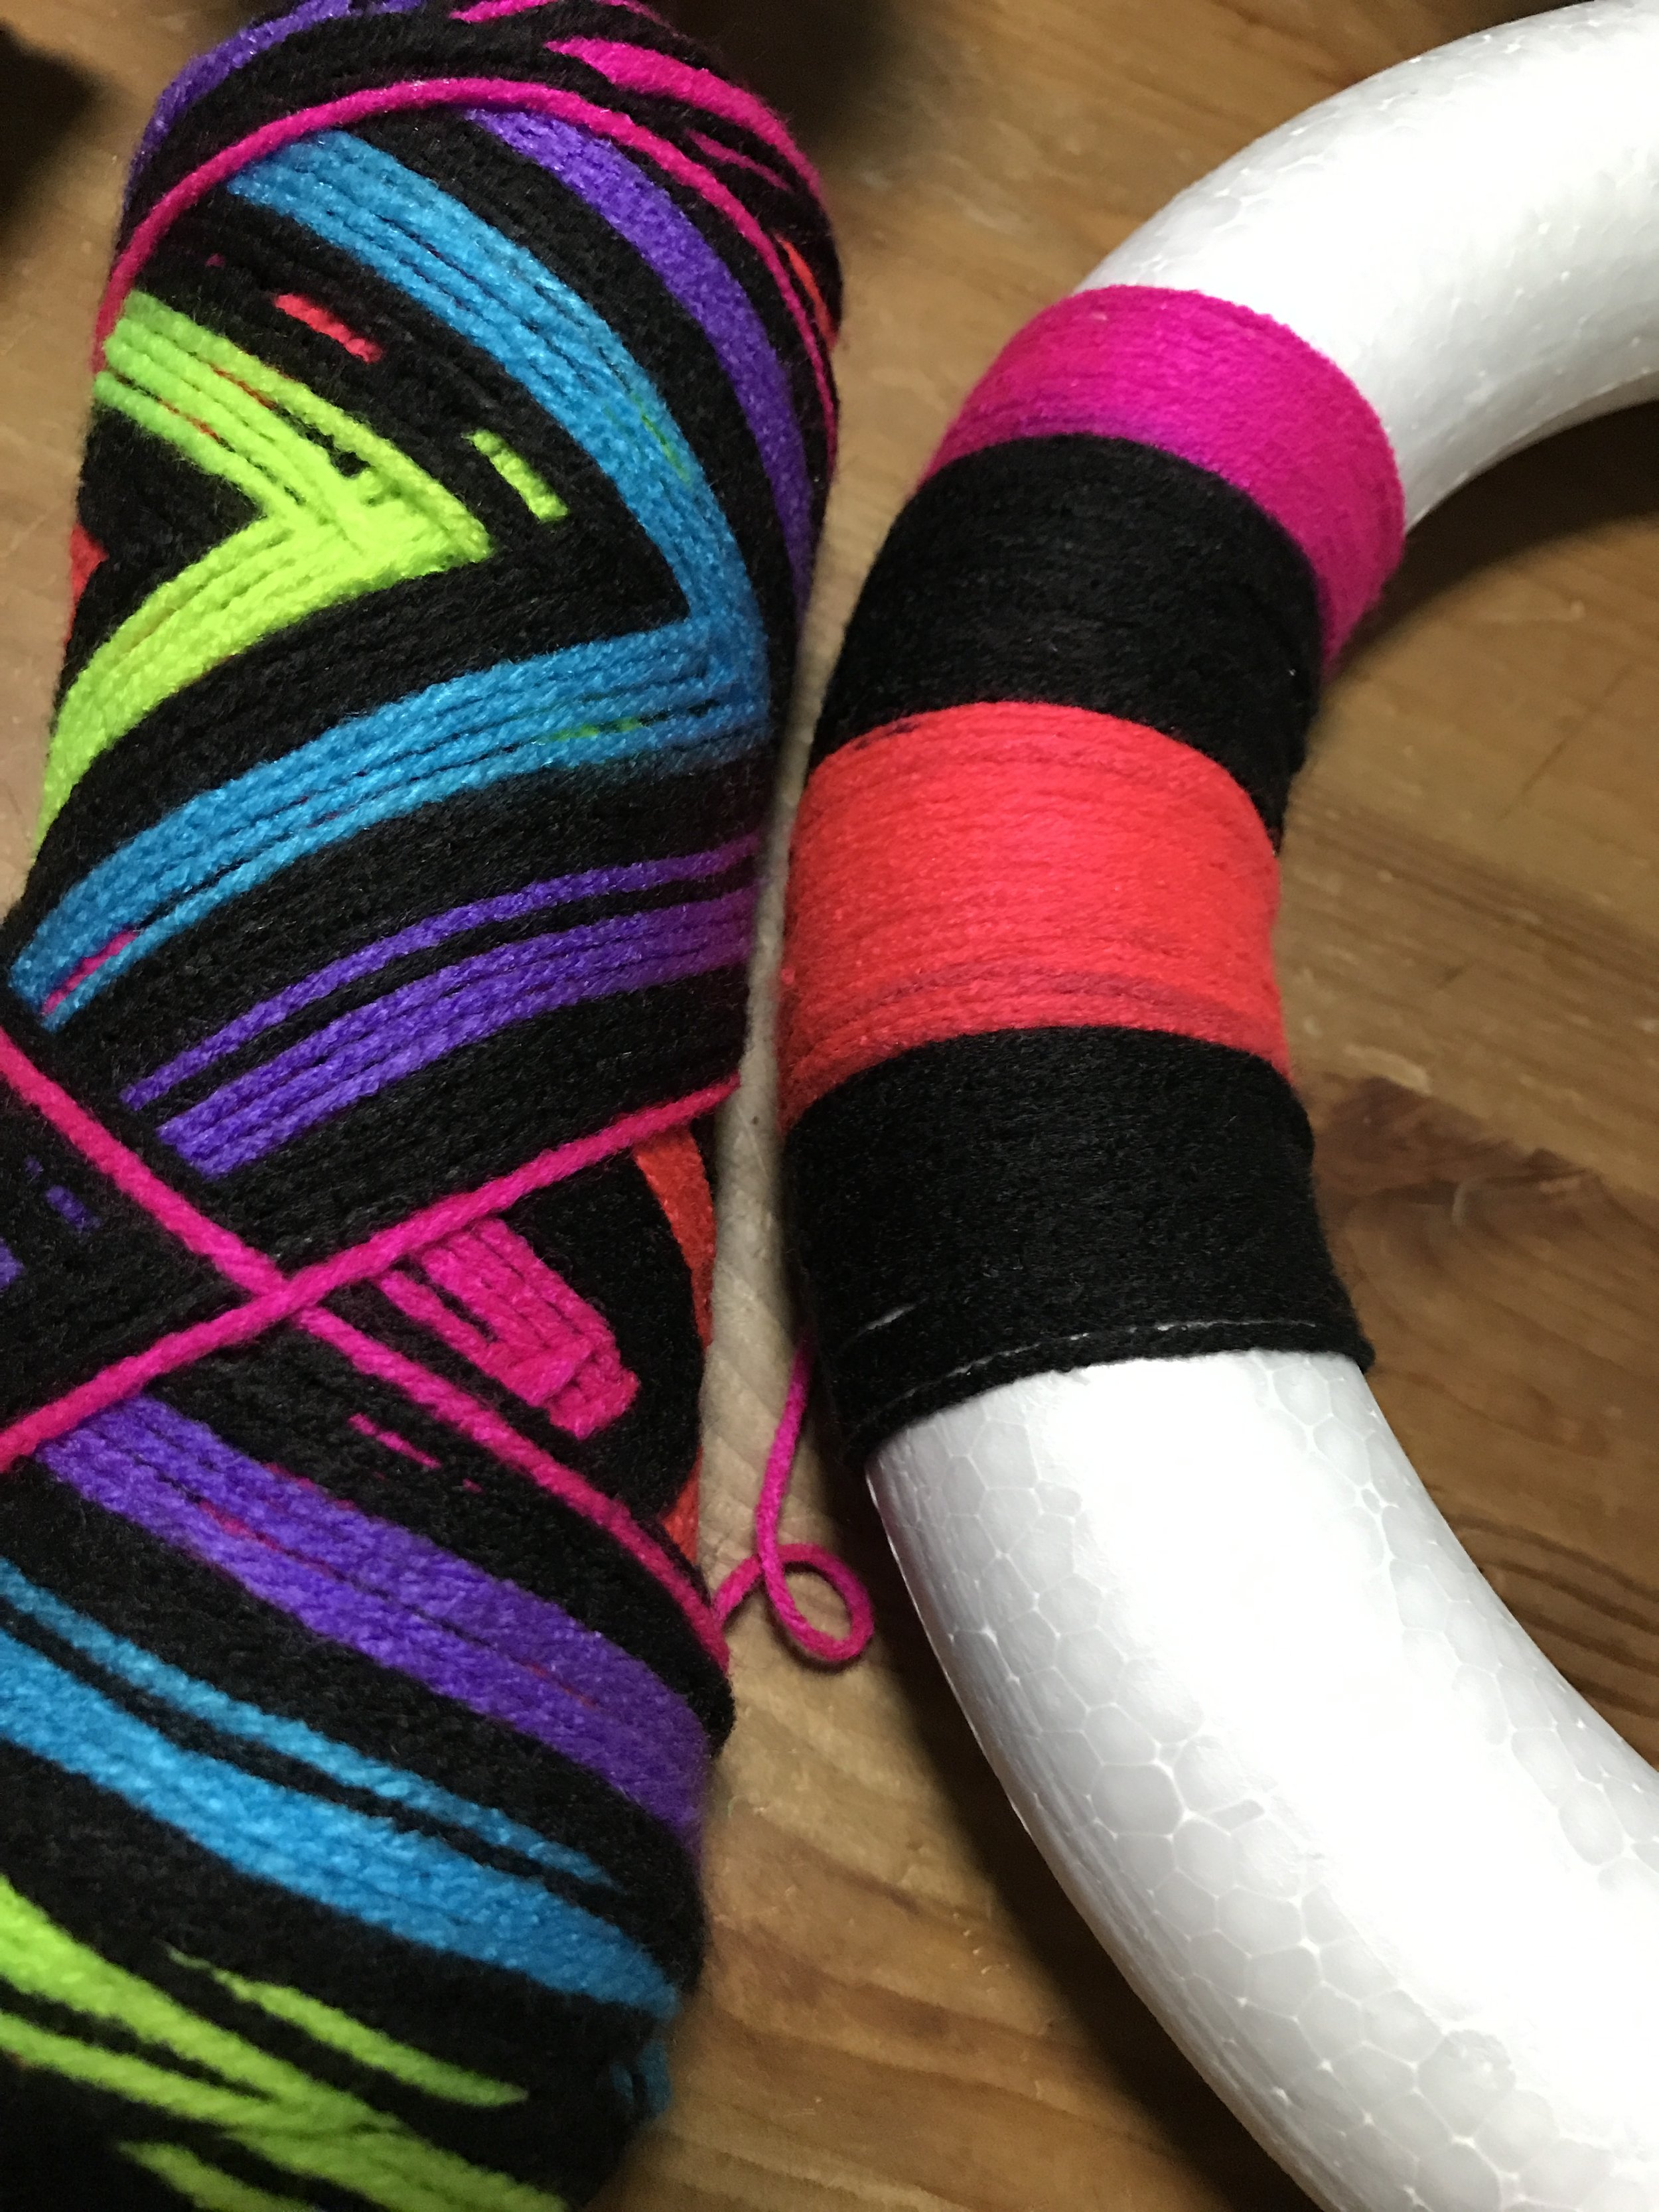
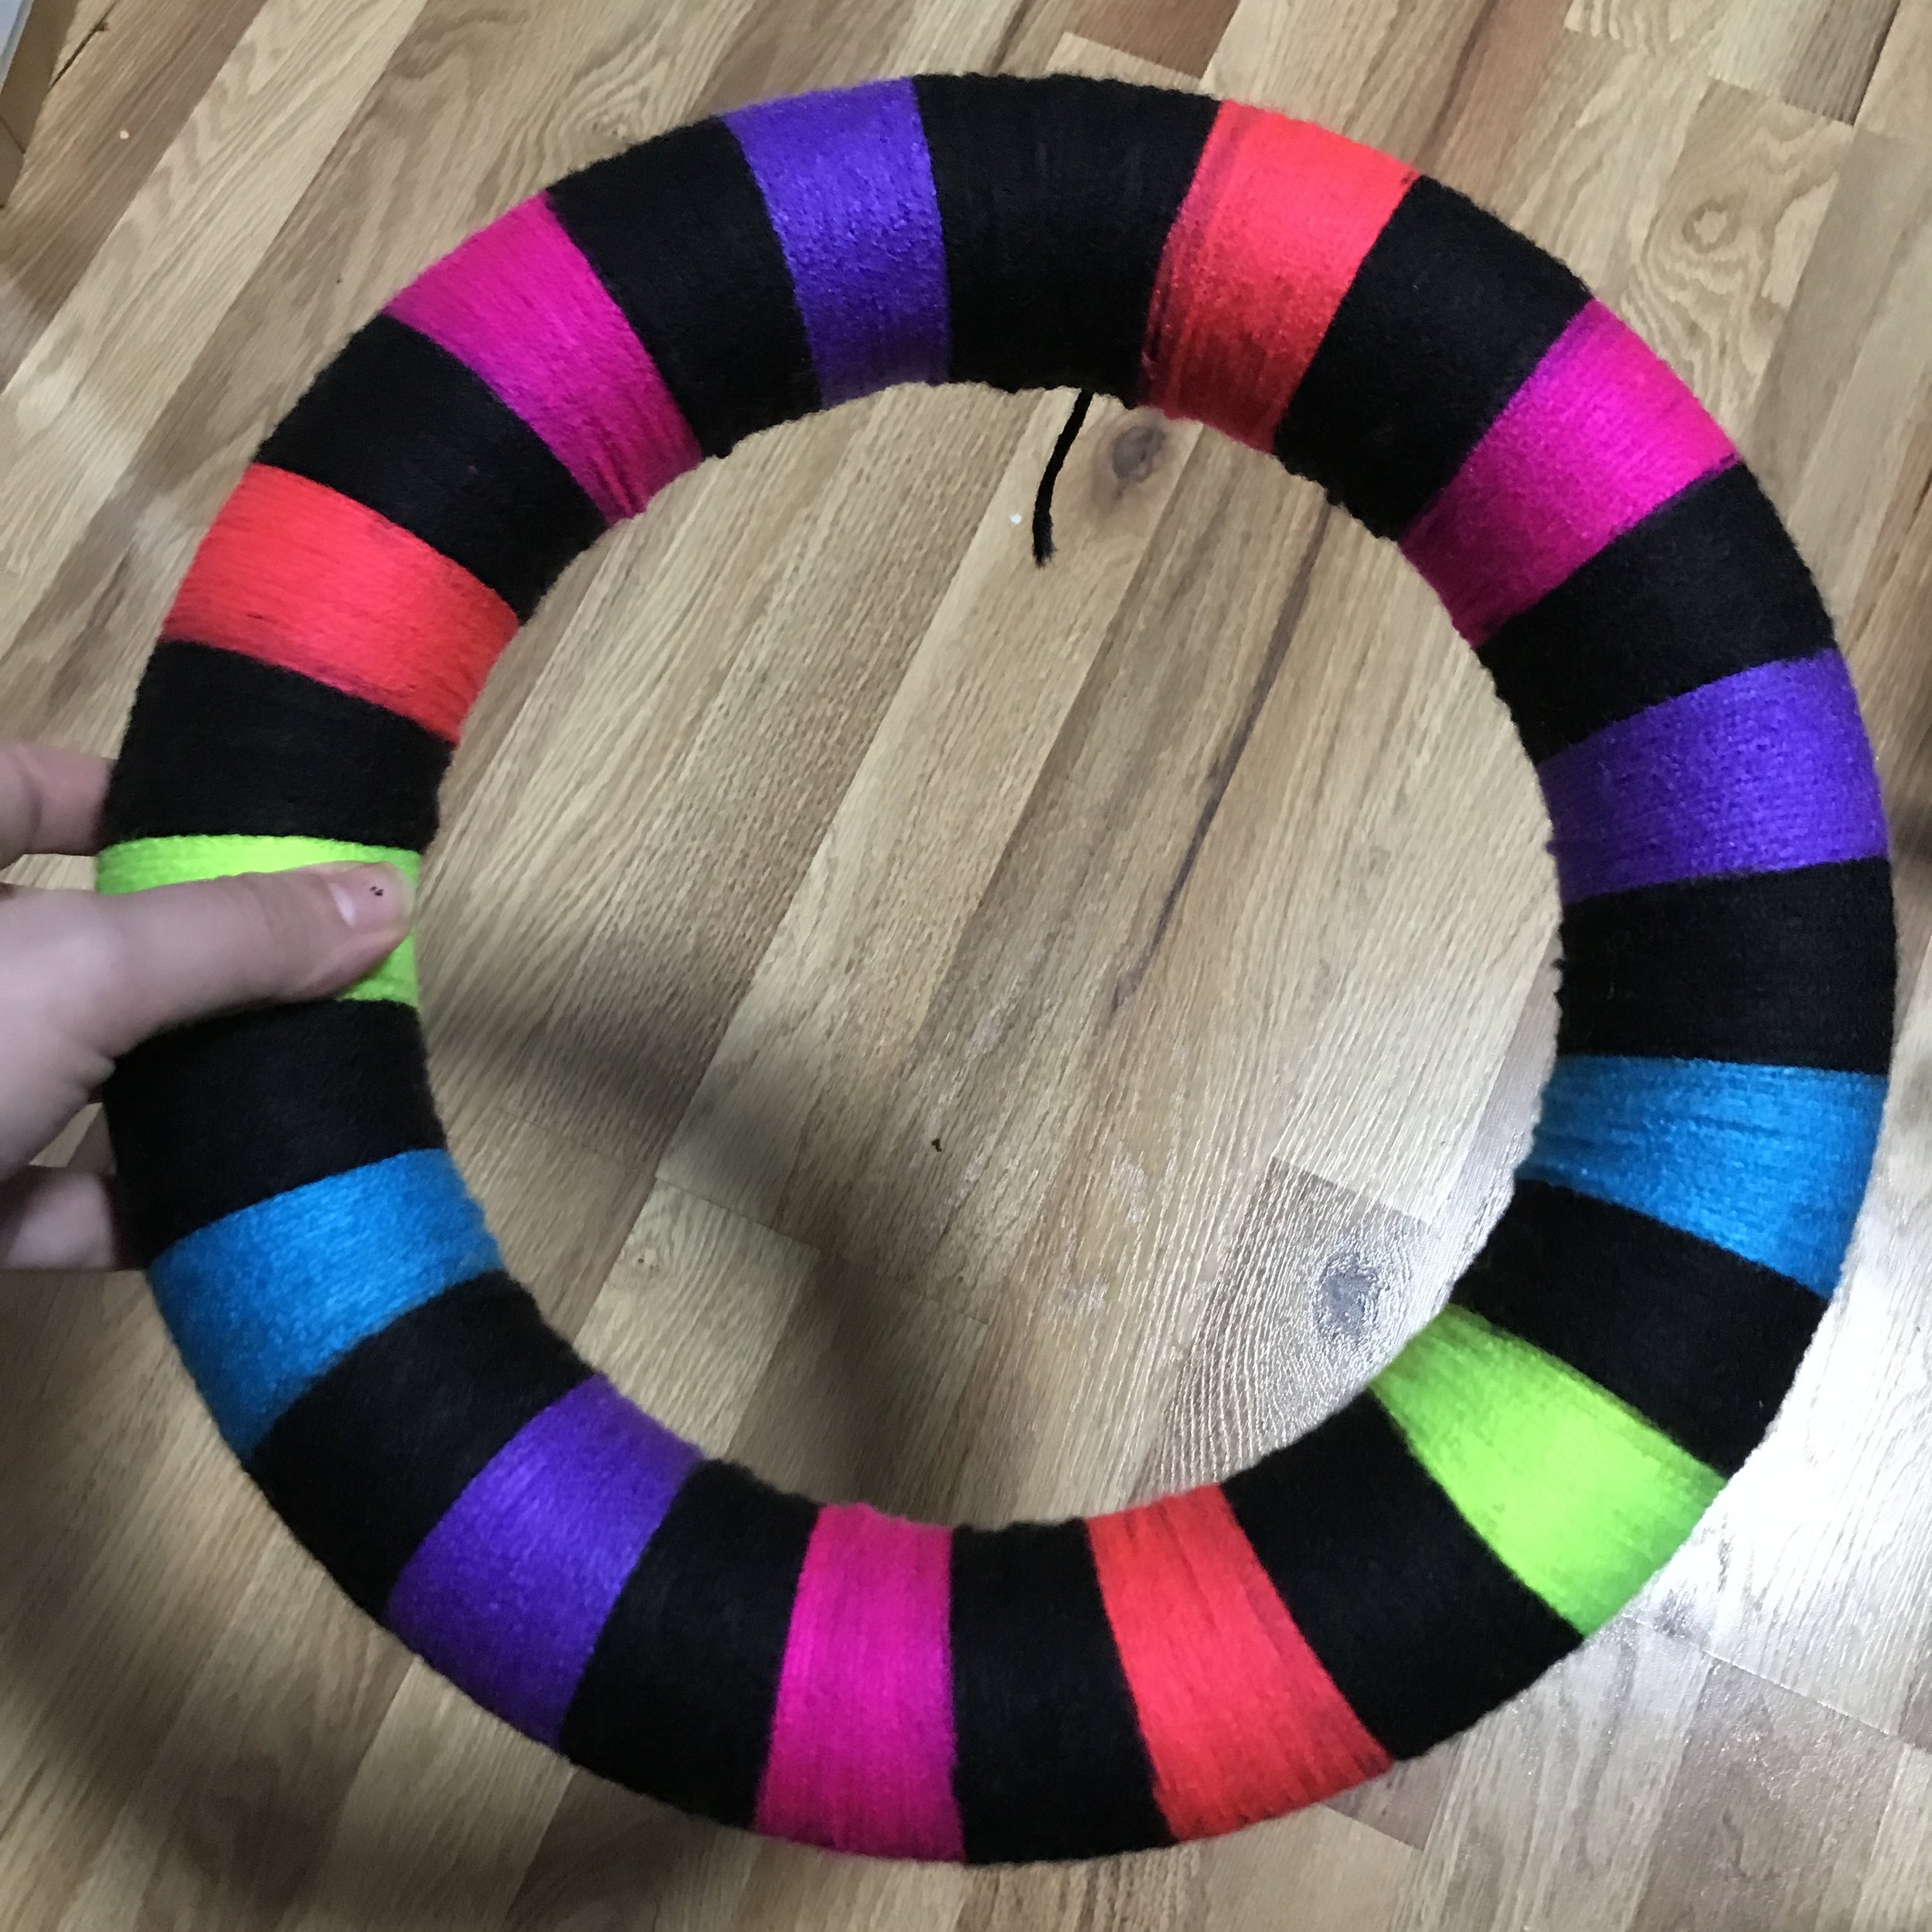
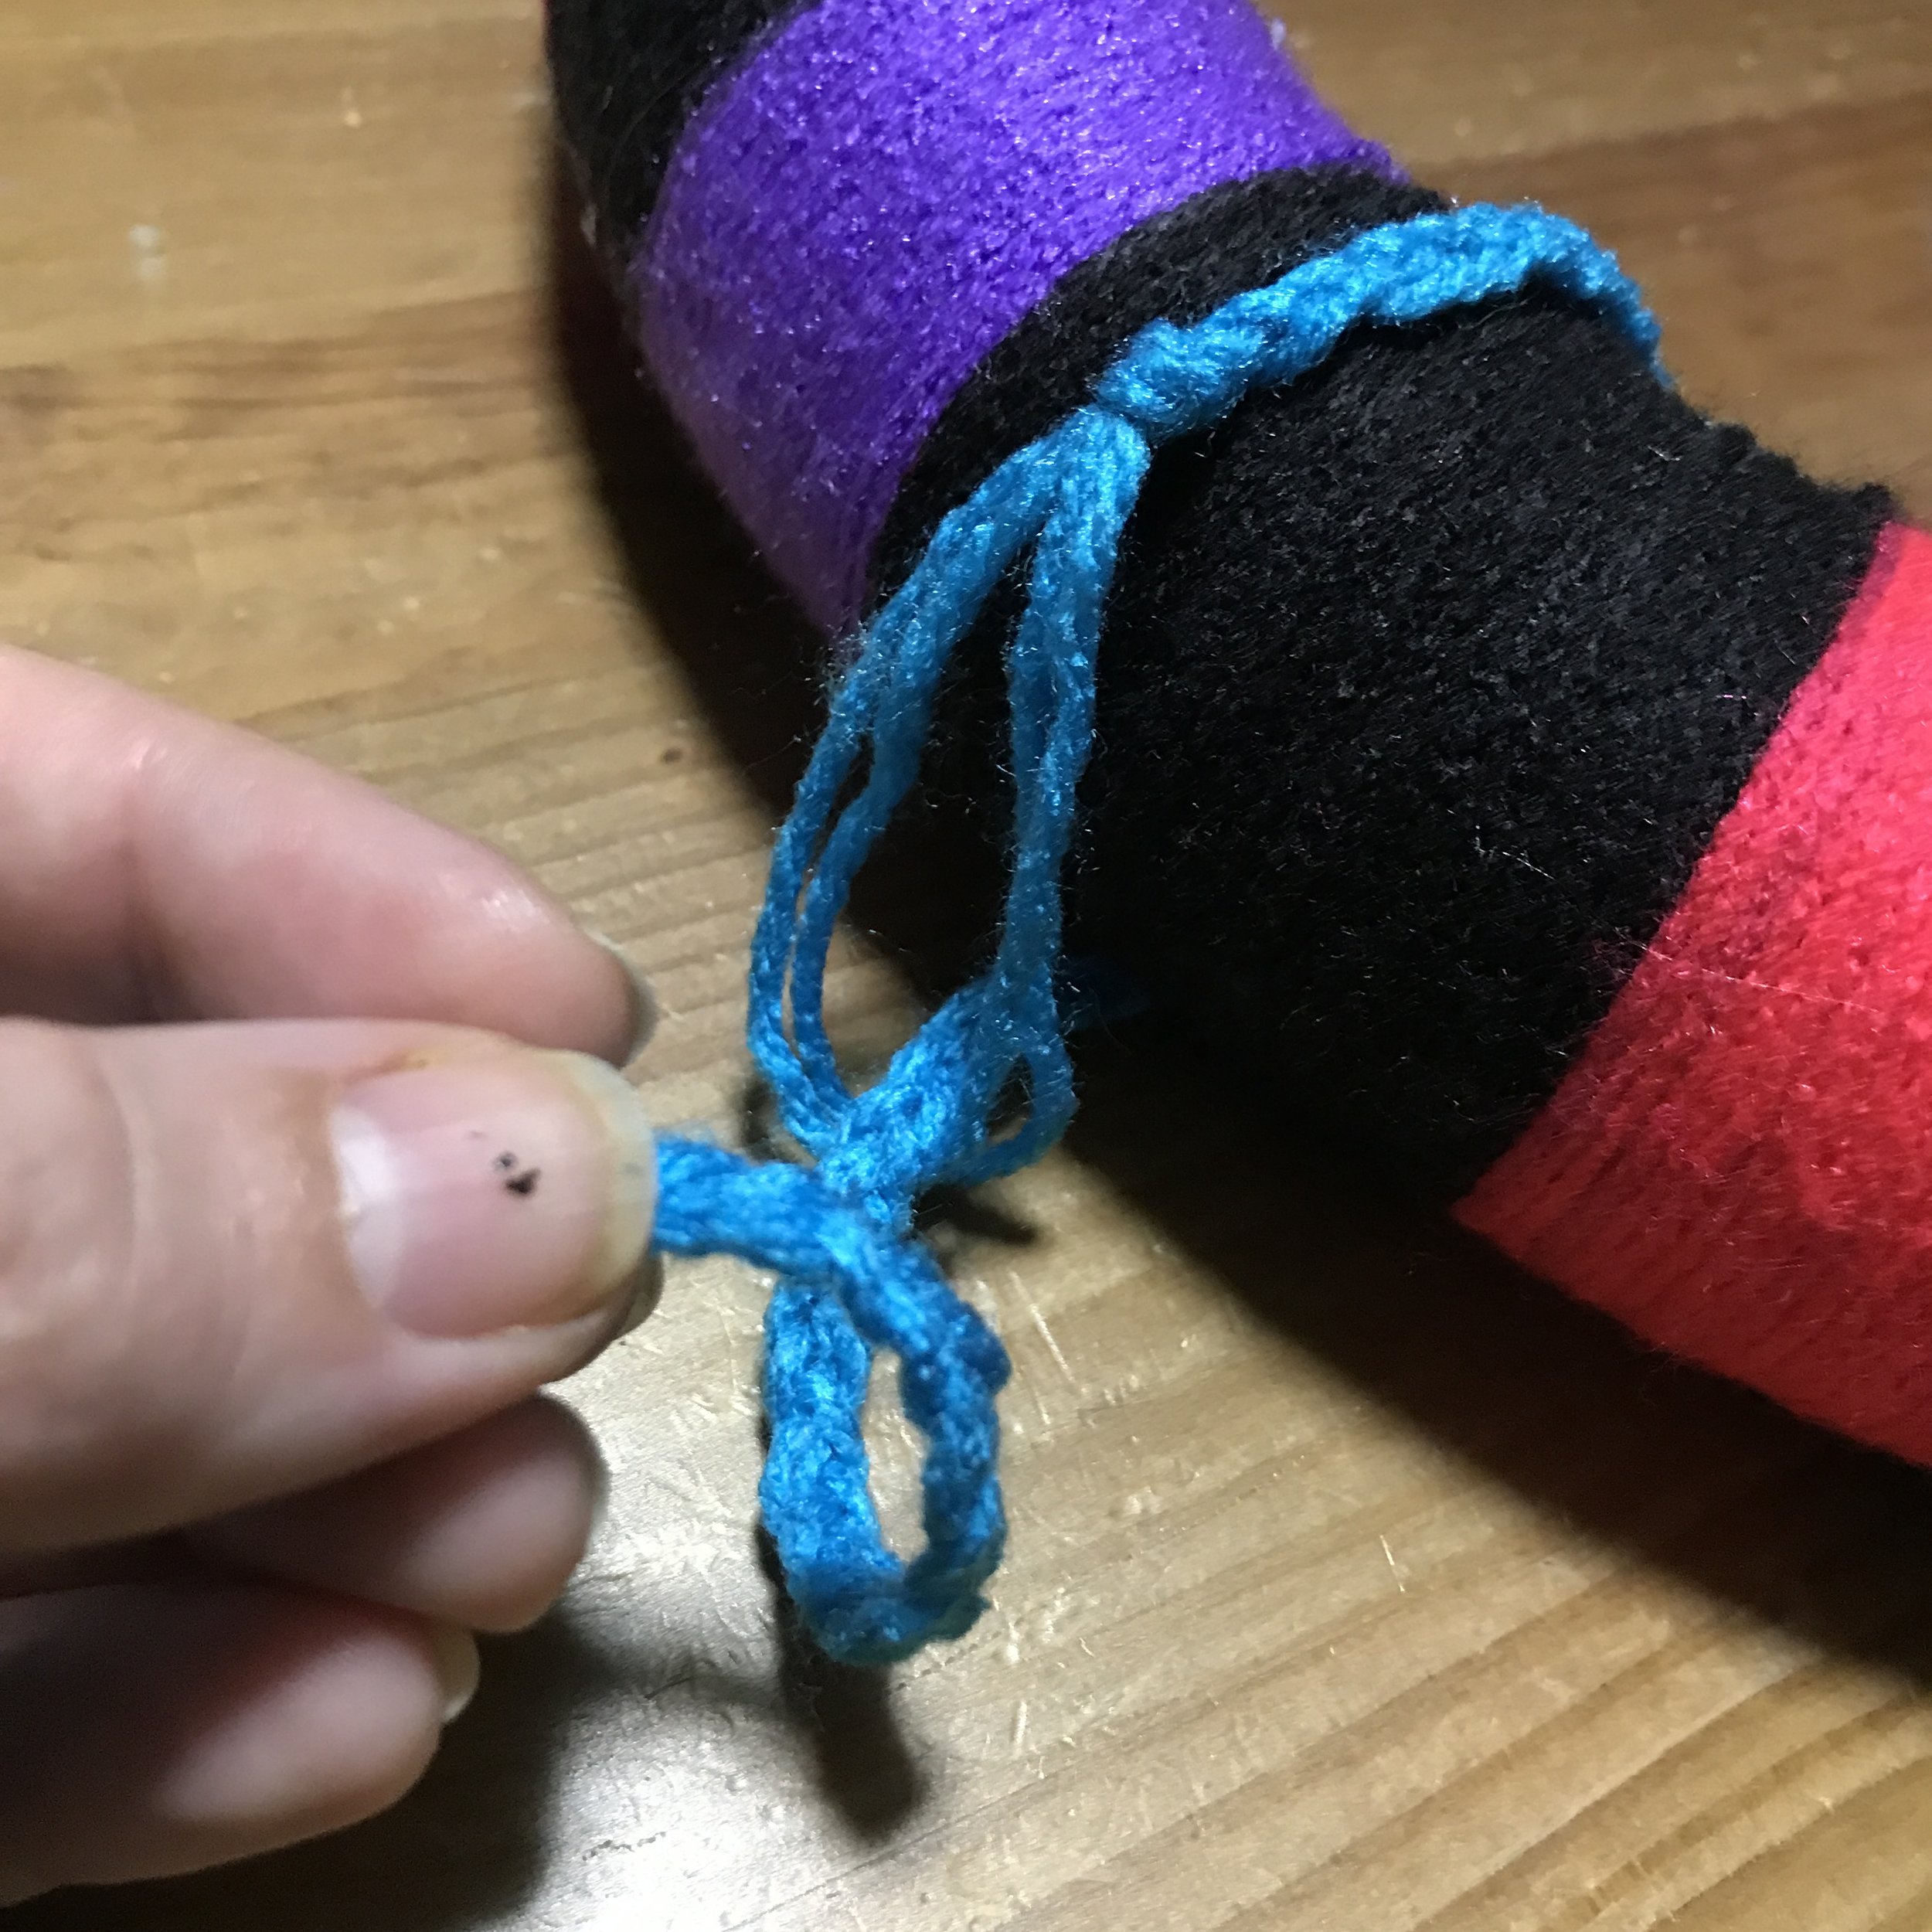
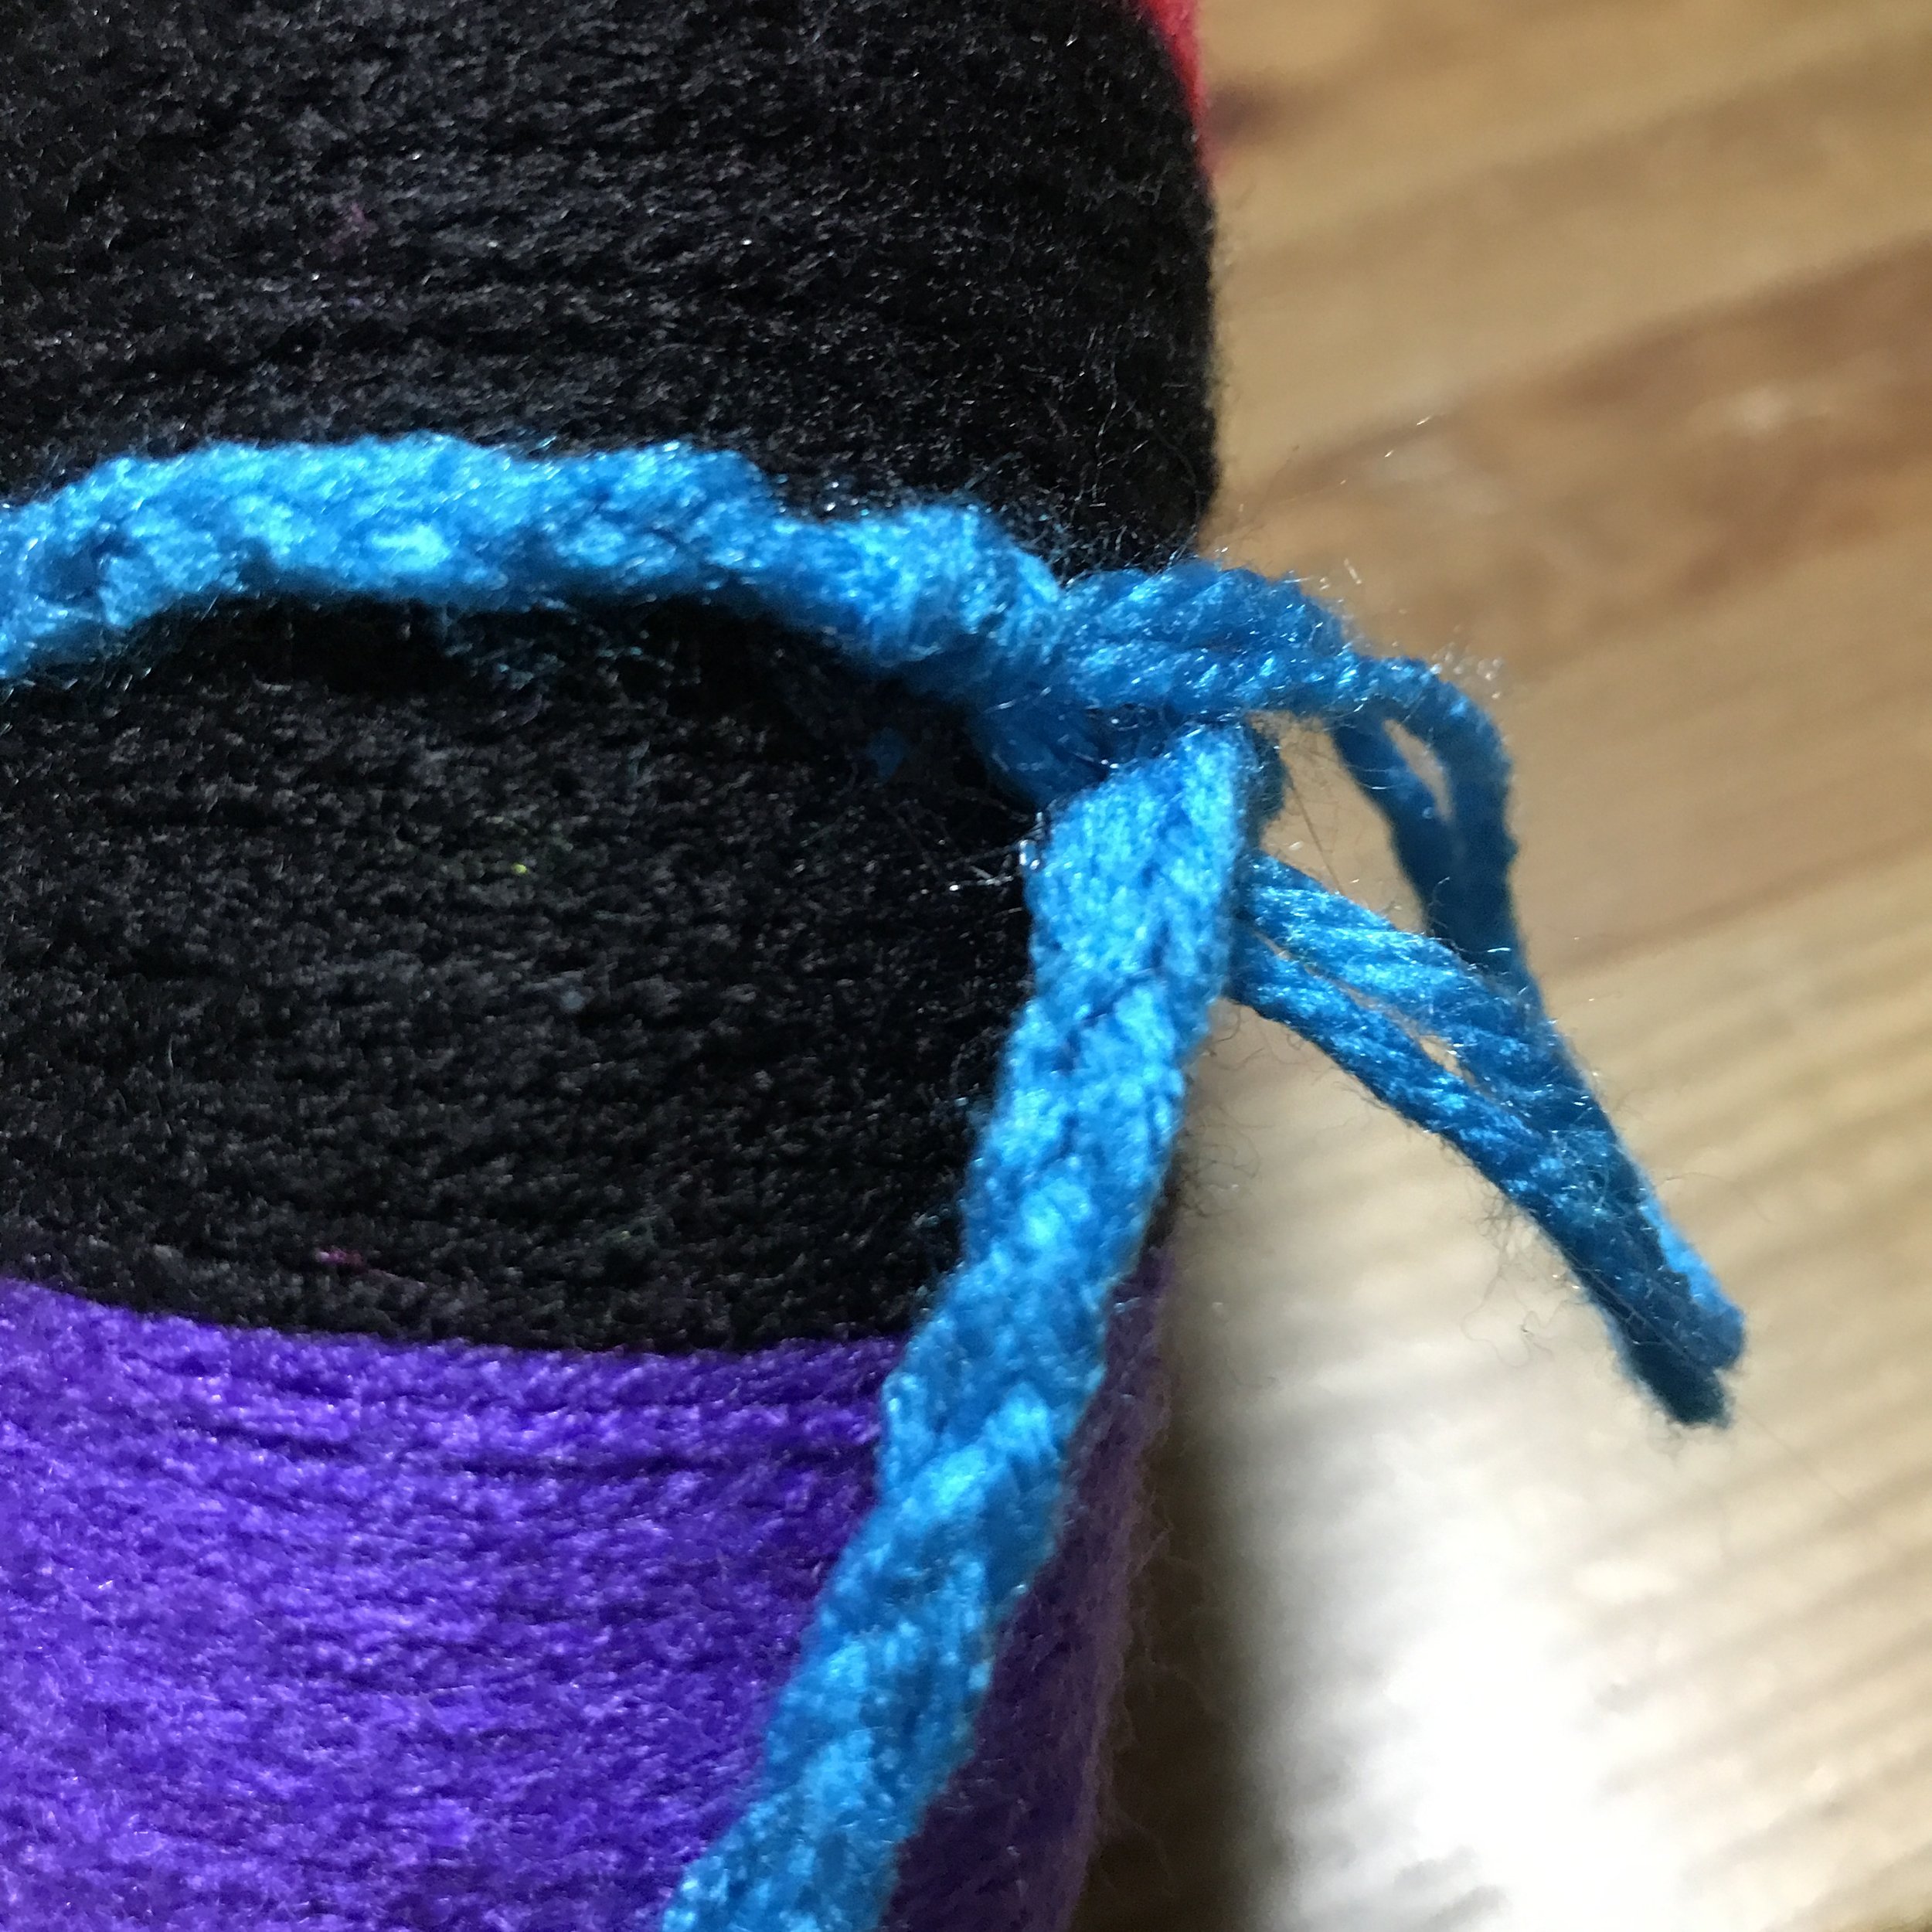
Once your string is glued in place, you’ll wrap the yarn around and around and around the form, pushing your yarn strands close together to prevent any gaps of space where you can see the foam form through it. You’ll wrap the yarn around by feeding it through the center and back out again! Continue this pattern until you have covered the entire form. (Images 2 and 3 in the slide show)
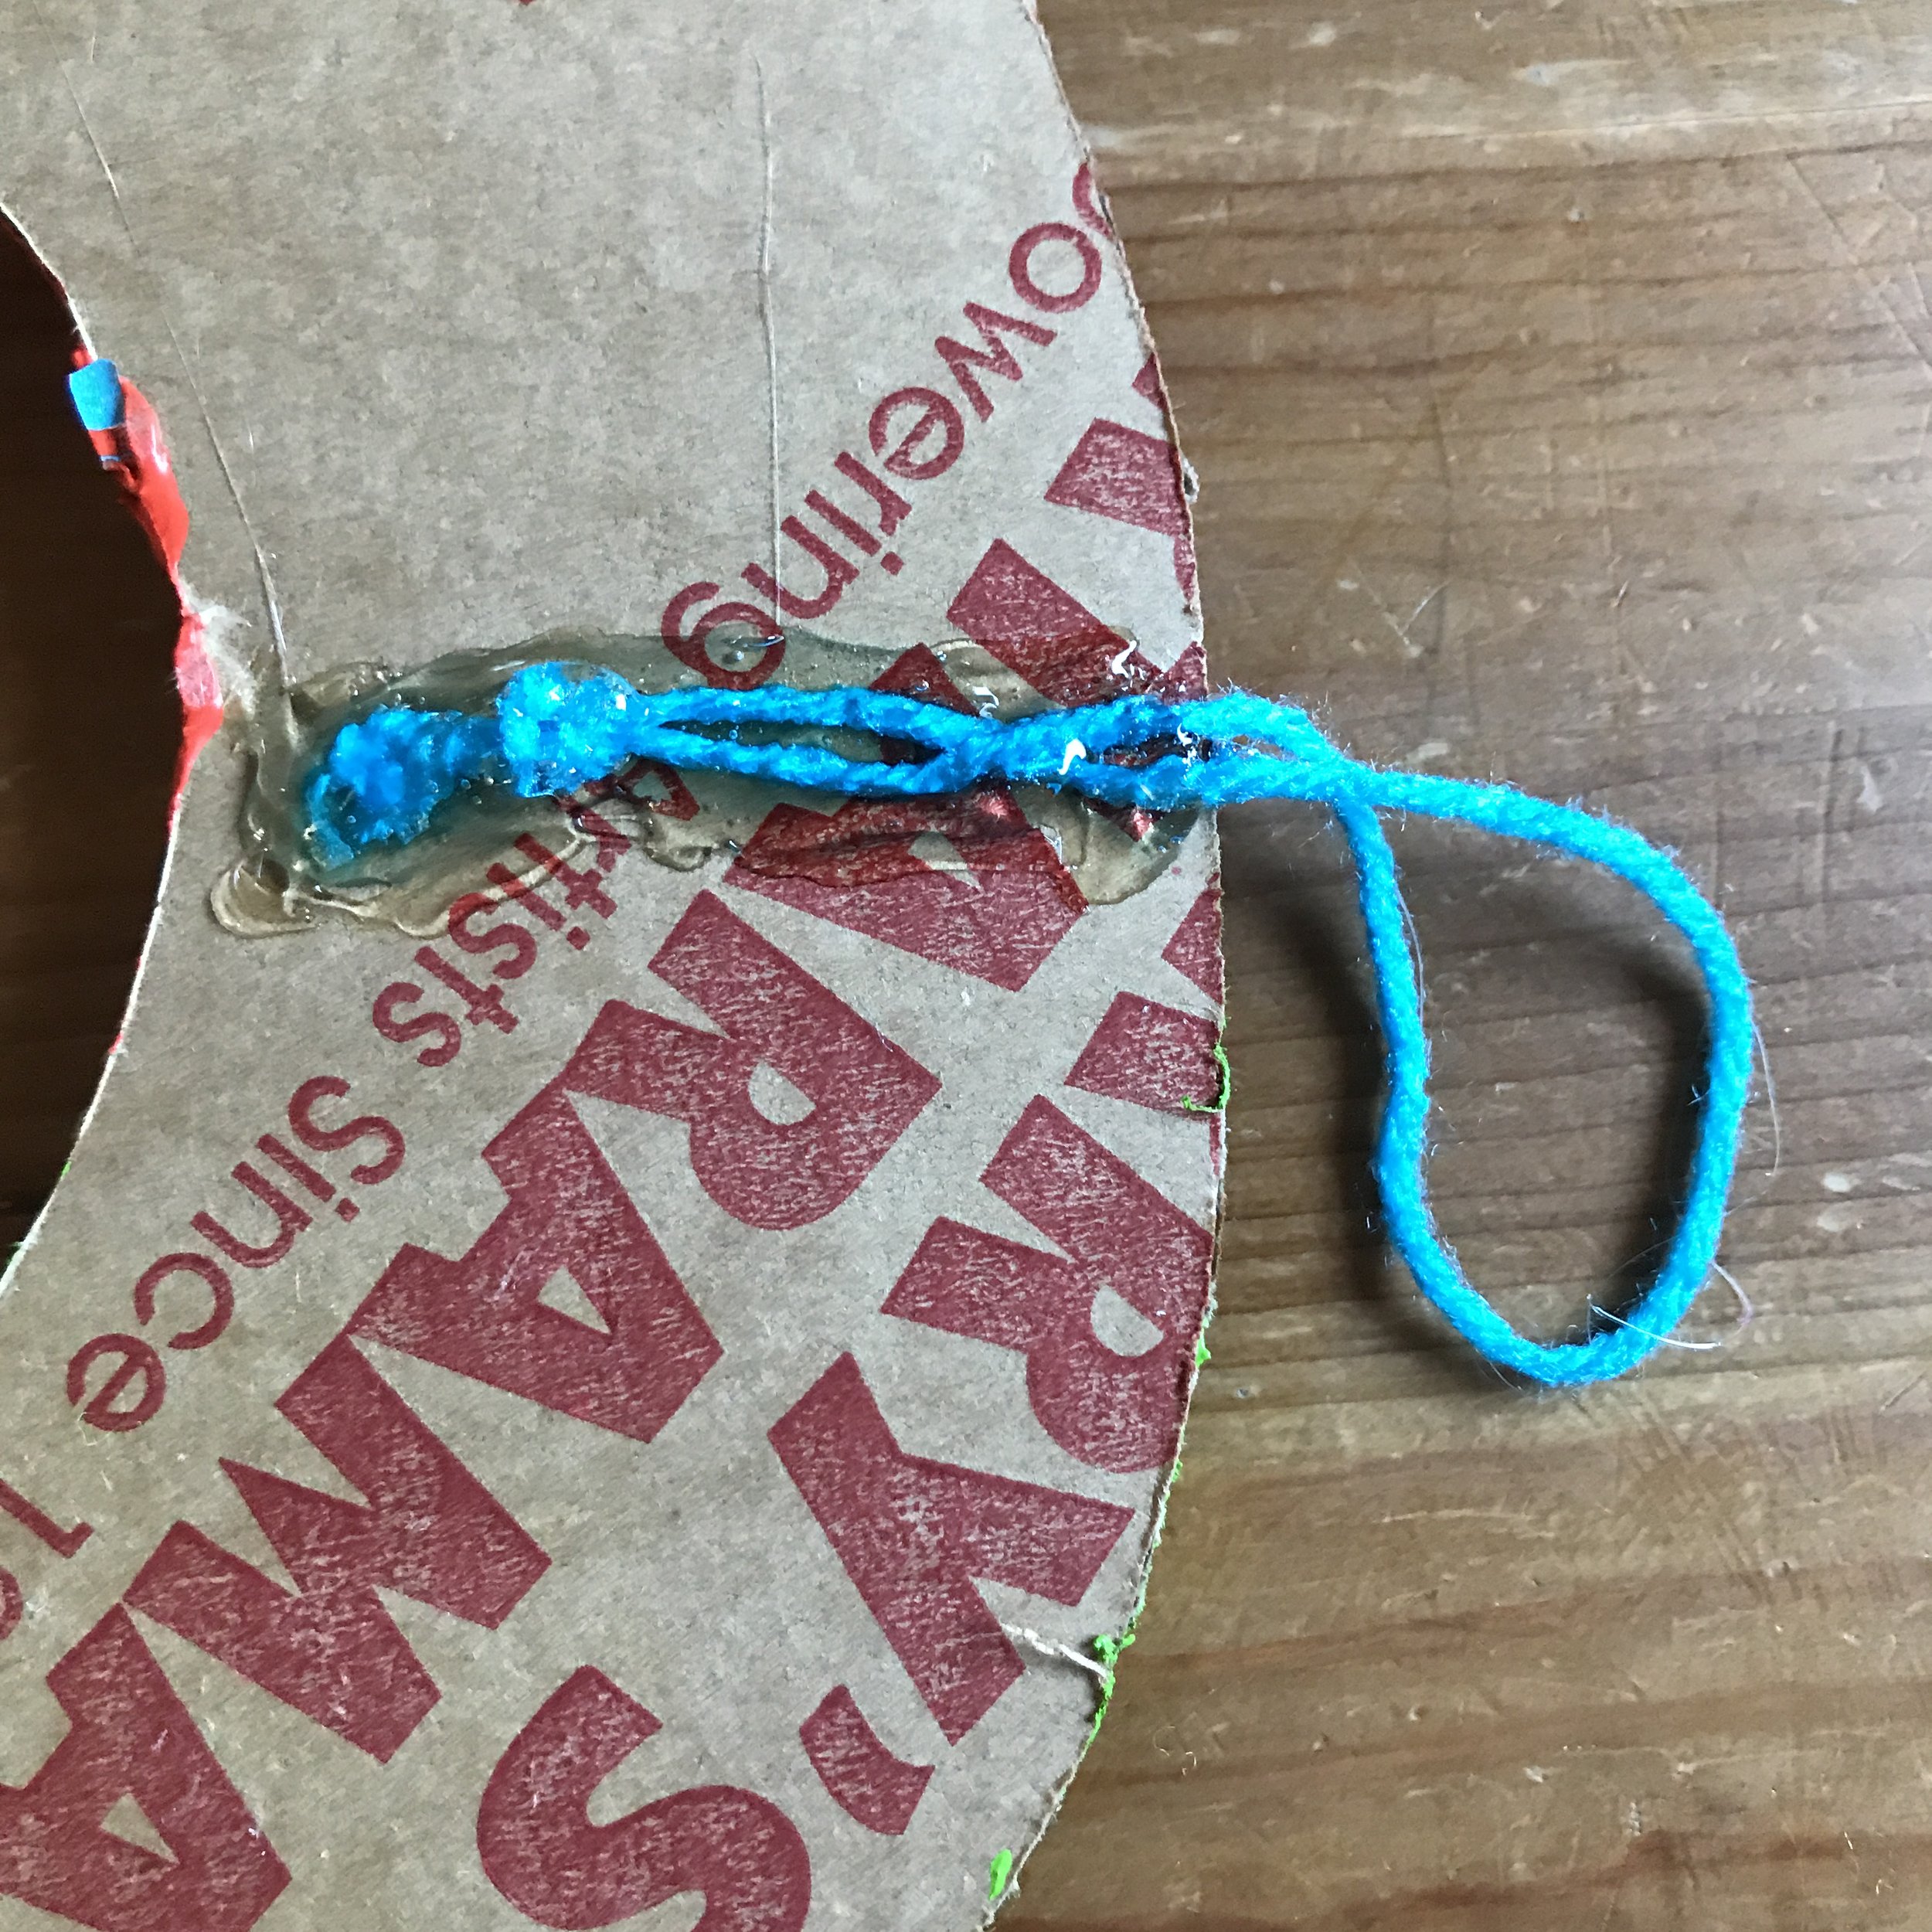
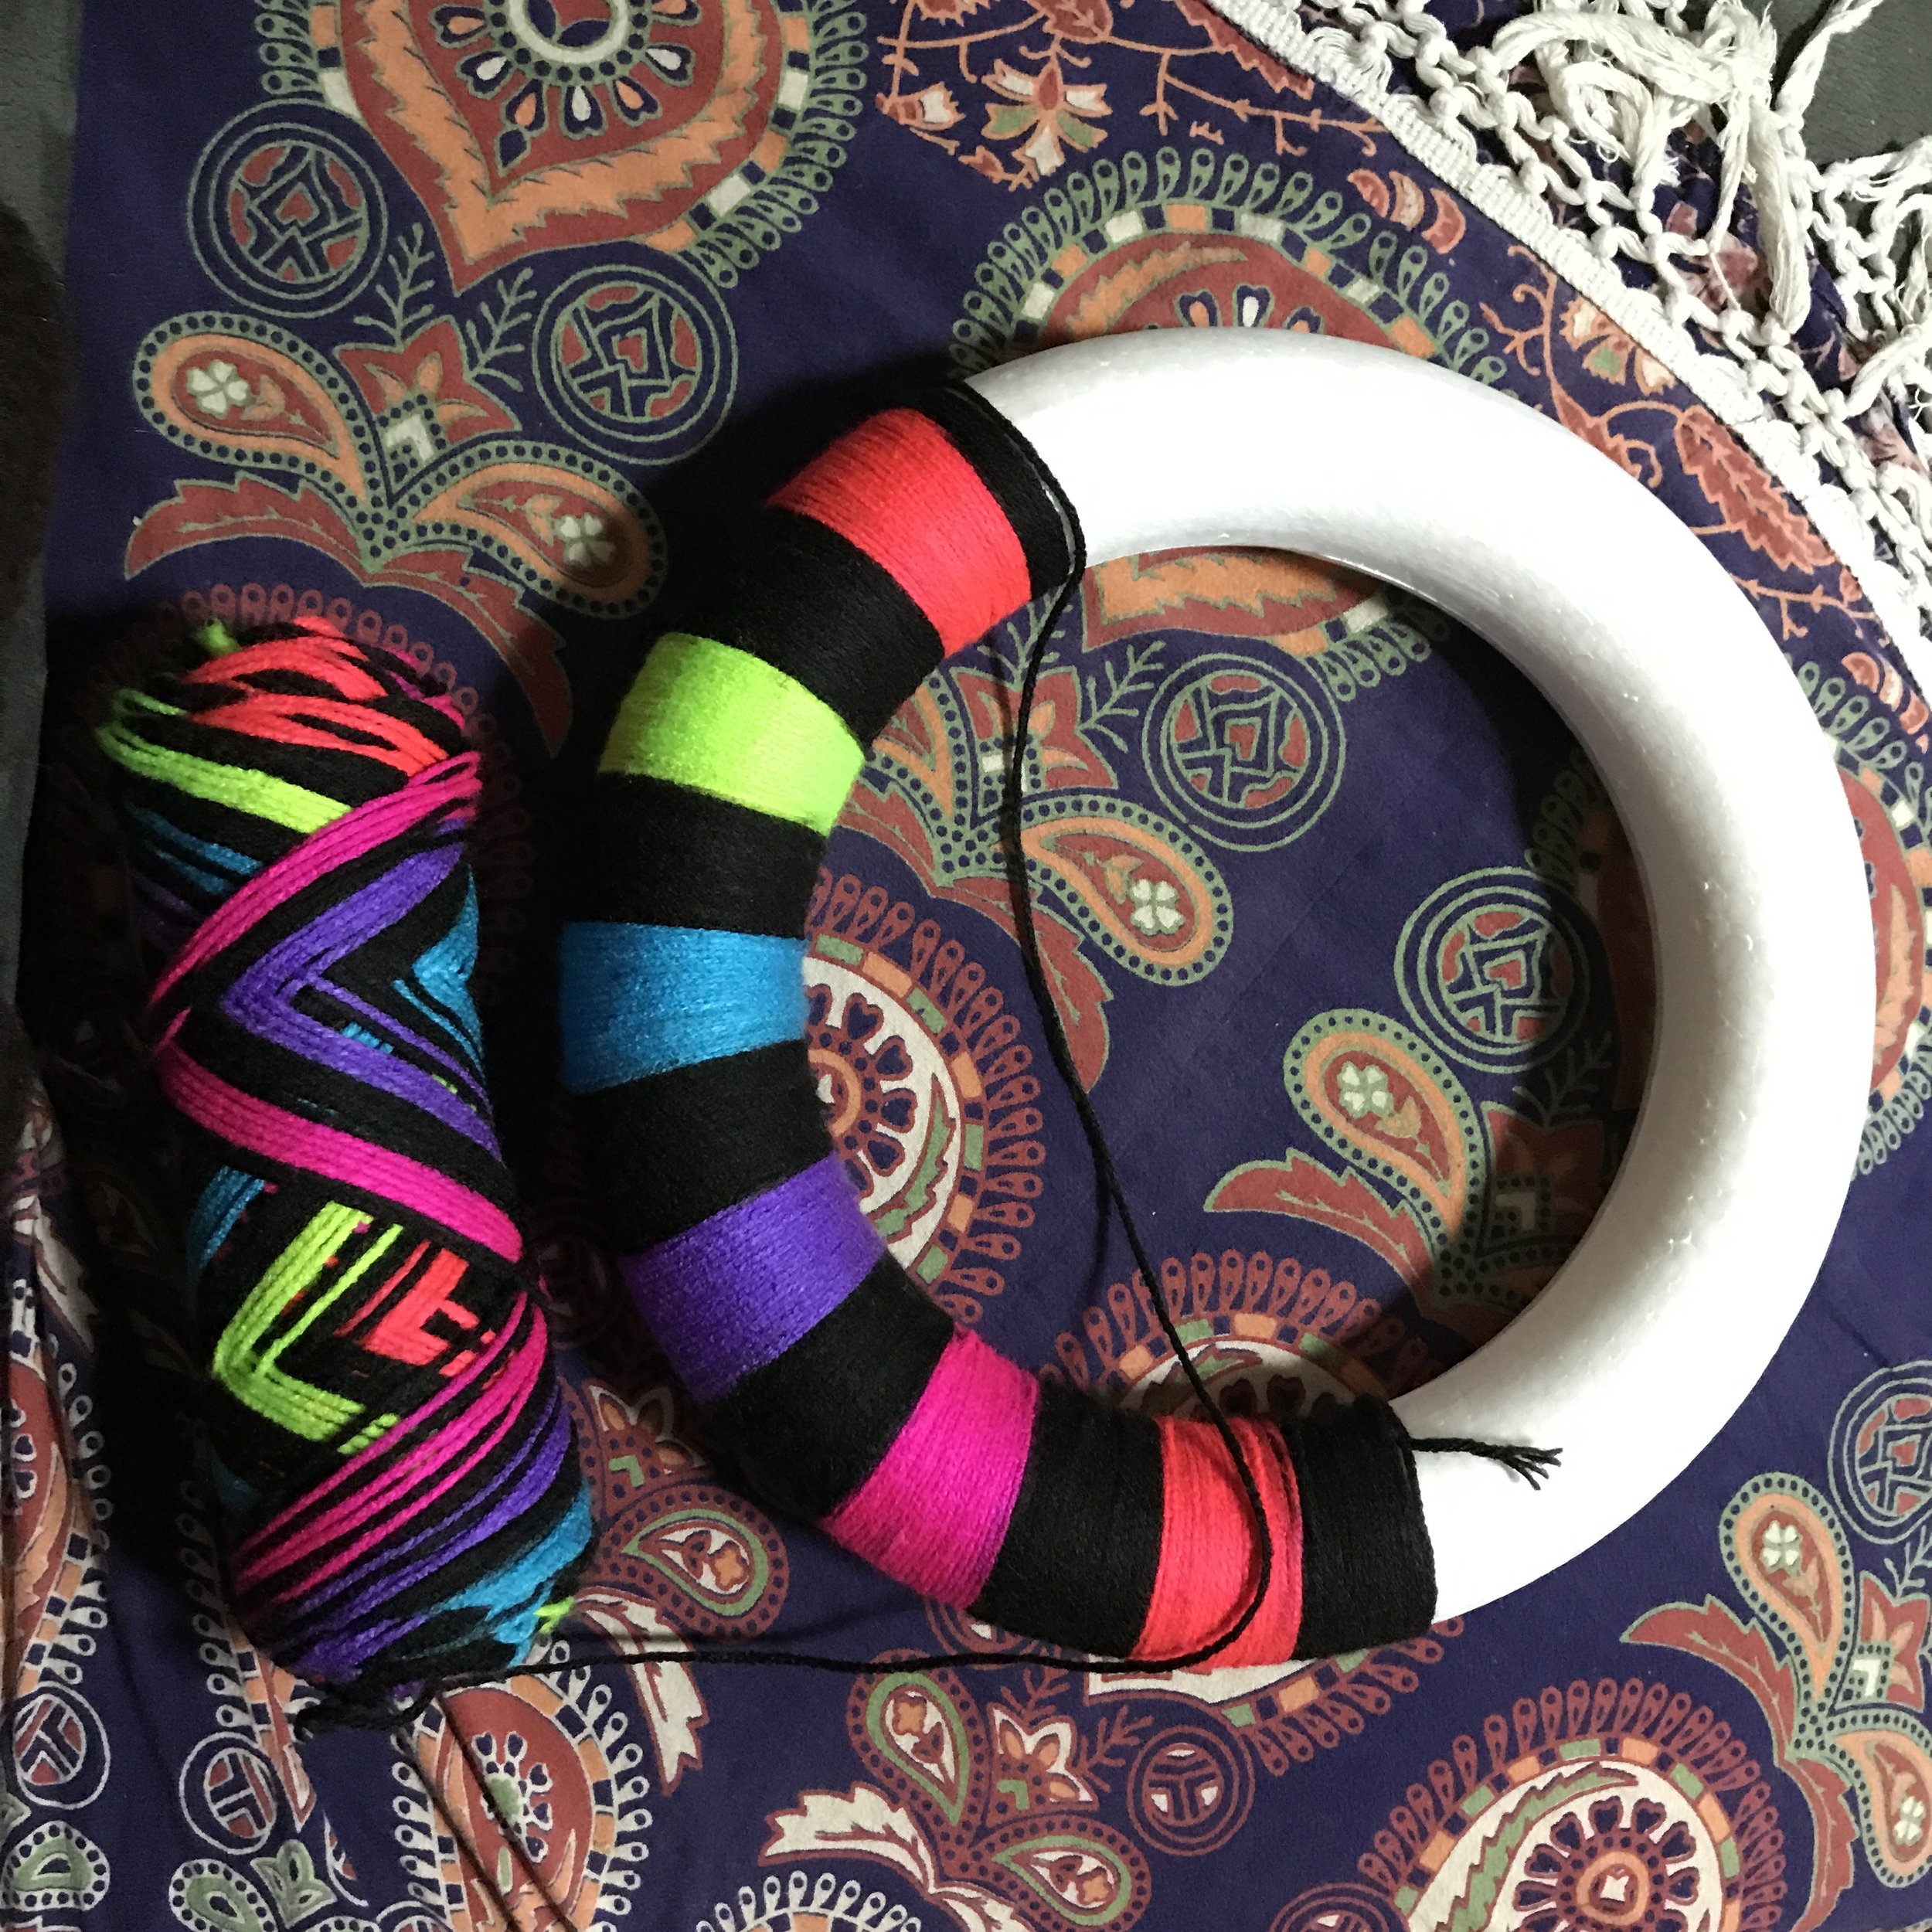
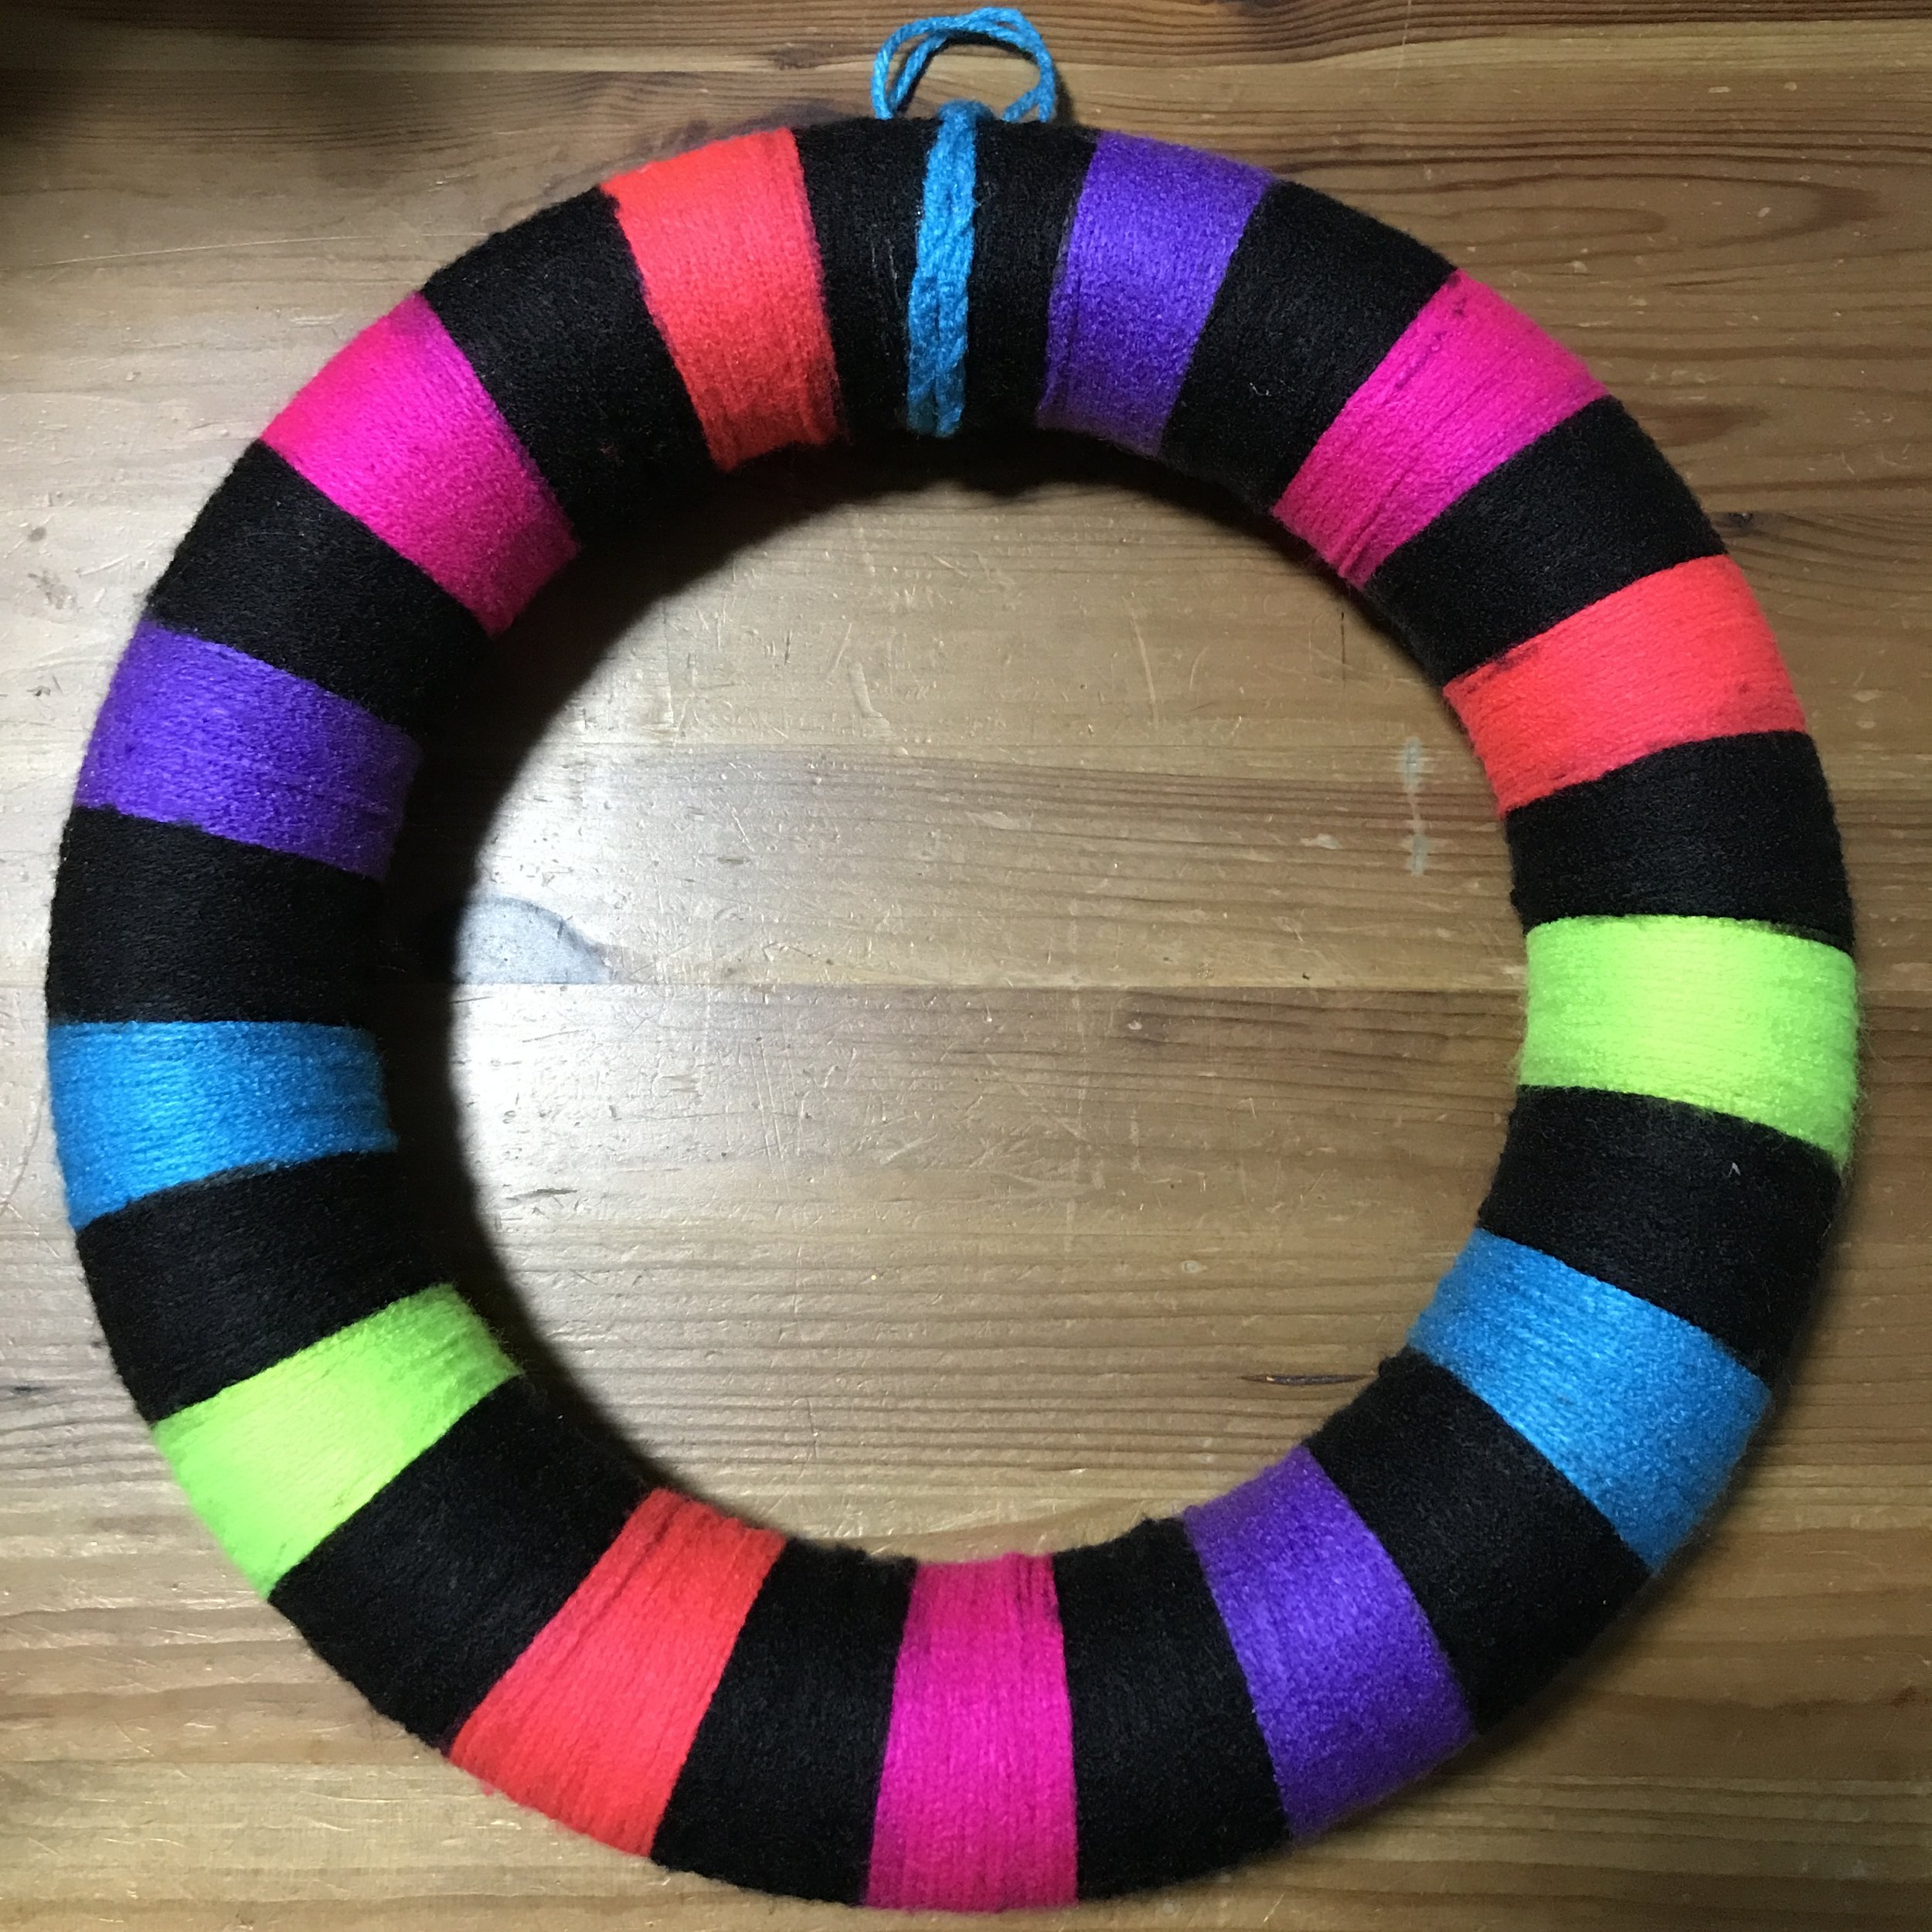
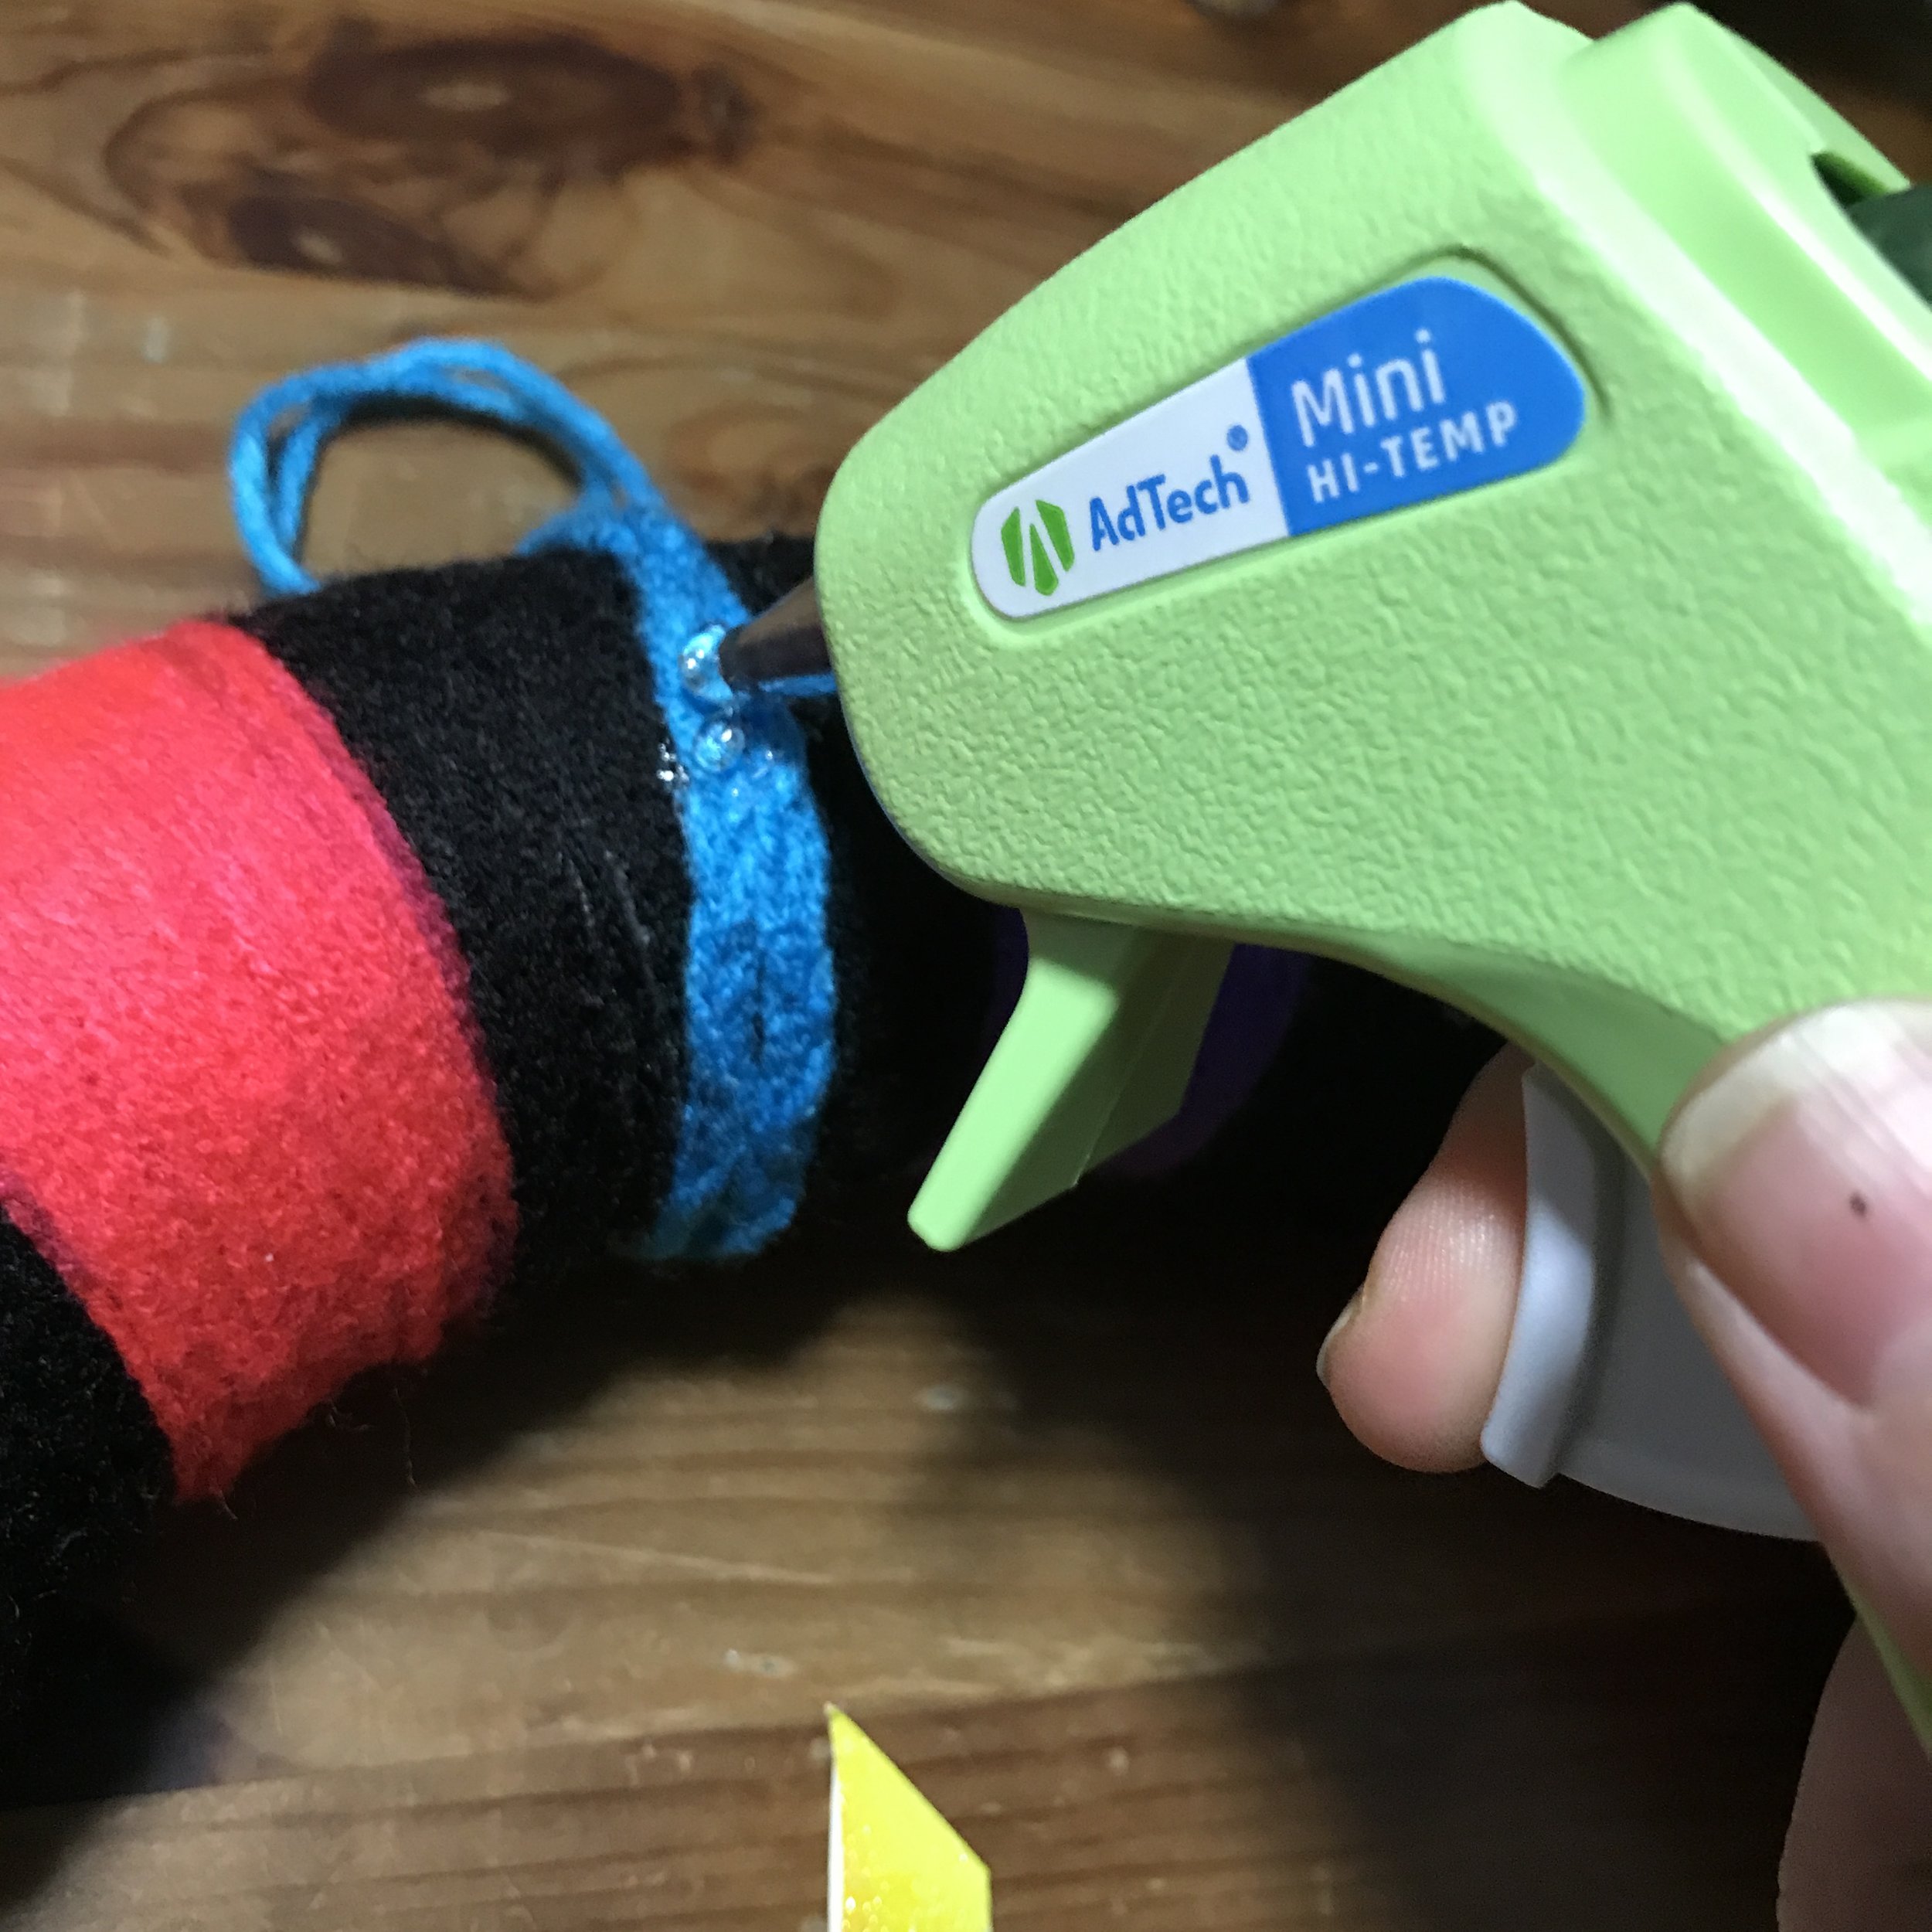
When you’ve covered the whole form, cut an extra length of the yarn about 3 to 4 inches in length to separate it from the ball, and then tie it around the foam form as you did to start it. Trim off any excess and use the glue gun to tuck the little yarn’s tail in flat against the form to hide it and make it tidy. This whole step took me about an hour, but if you’re new to this sort of task it might take a little longer. It’s a great time to sit down and watch a movie with your crafting buddies to help the time pass, but you can also use it as a moment of zen. (Image 4 in the slide show)
FOLD THE ORIGAMI BATS AND STICK THEM TO YOUR WREATH
Set aside your yarn wrapped foam form and let’s get to folding bats!
Do not try to fold the paper into what you think a bat might look like. Do not try to “get ahead” of yourself while folding, simply go one step at a time. Be patient, go one fold at a time, pause the video or slow it down if need be. Origami usually gets frustrating when the person folding it tries to “go faster” and “get ahead” of the teacher or instructions. Be patient!
So take a deep breath, remember it’s not going to always come out perfectly. It takes a little practice! But this is one of the best bat folding tutorials we could scavenge online (trust me, I tried a lot before settling on this one.)
I had a lot of fun making the bats, and I grabbed a variety of paper textures, colours, and sizes so I would have lots of interesting options to choose from! The more bats you fold, the better you’ll get the hang of it, so don’t be afraid to practice and make a big pile of buddies.
As an added bonus, if you make any extra leftover bats, you can use them in the garland craft suggested in the video!

ATTACHING THE BATS AND HANGING STRING
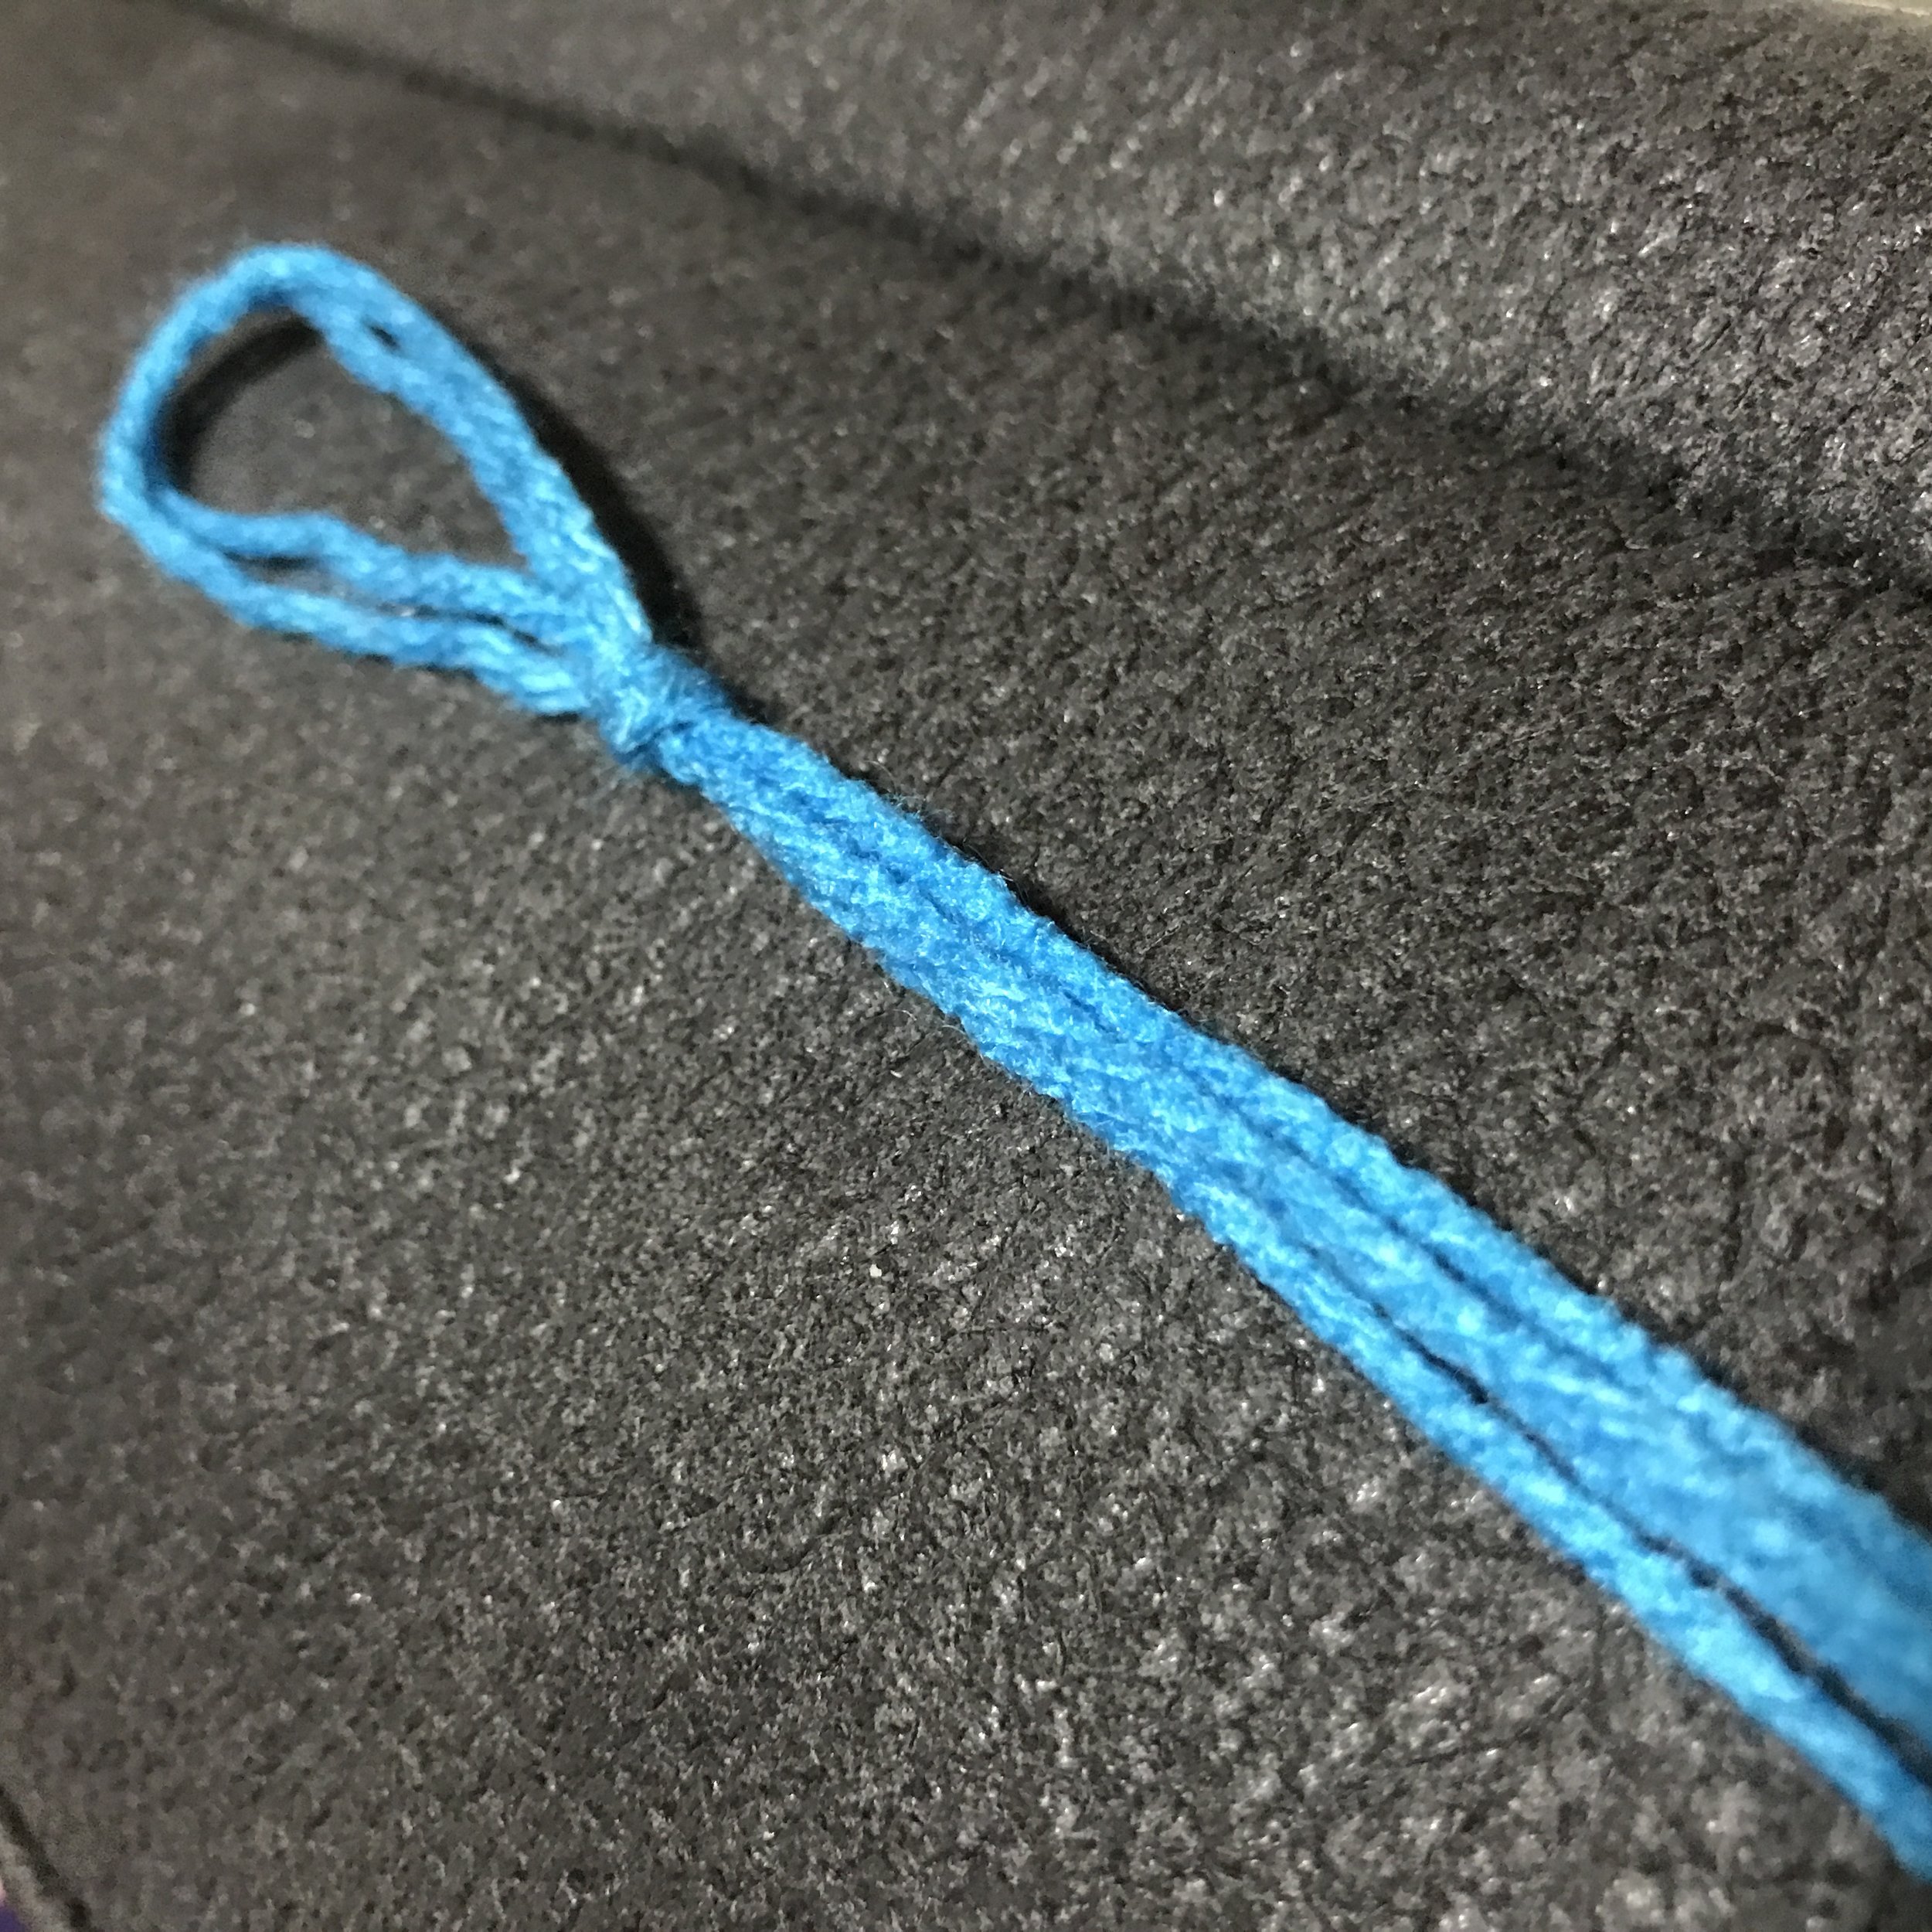
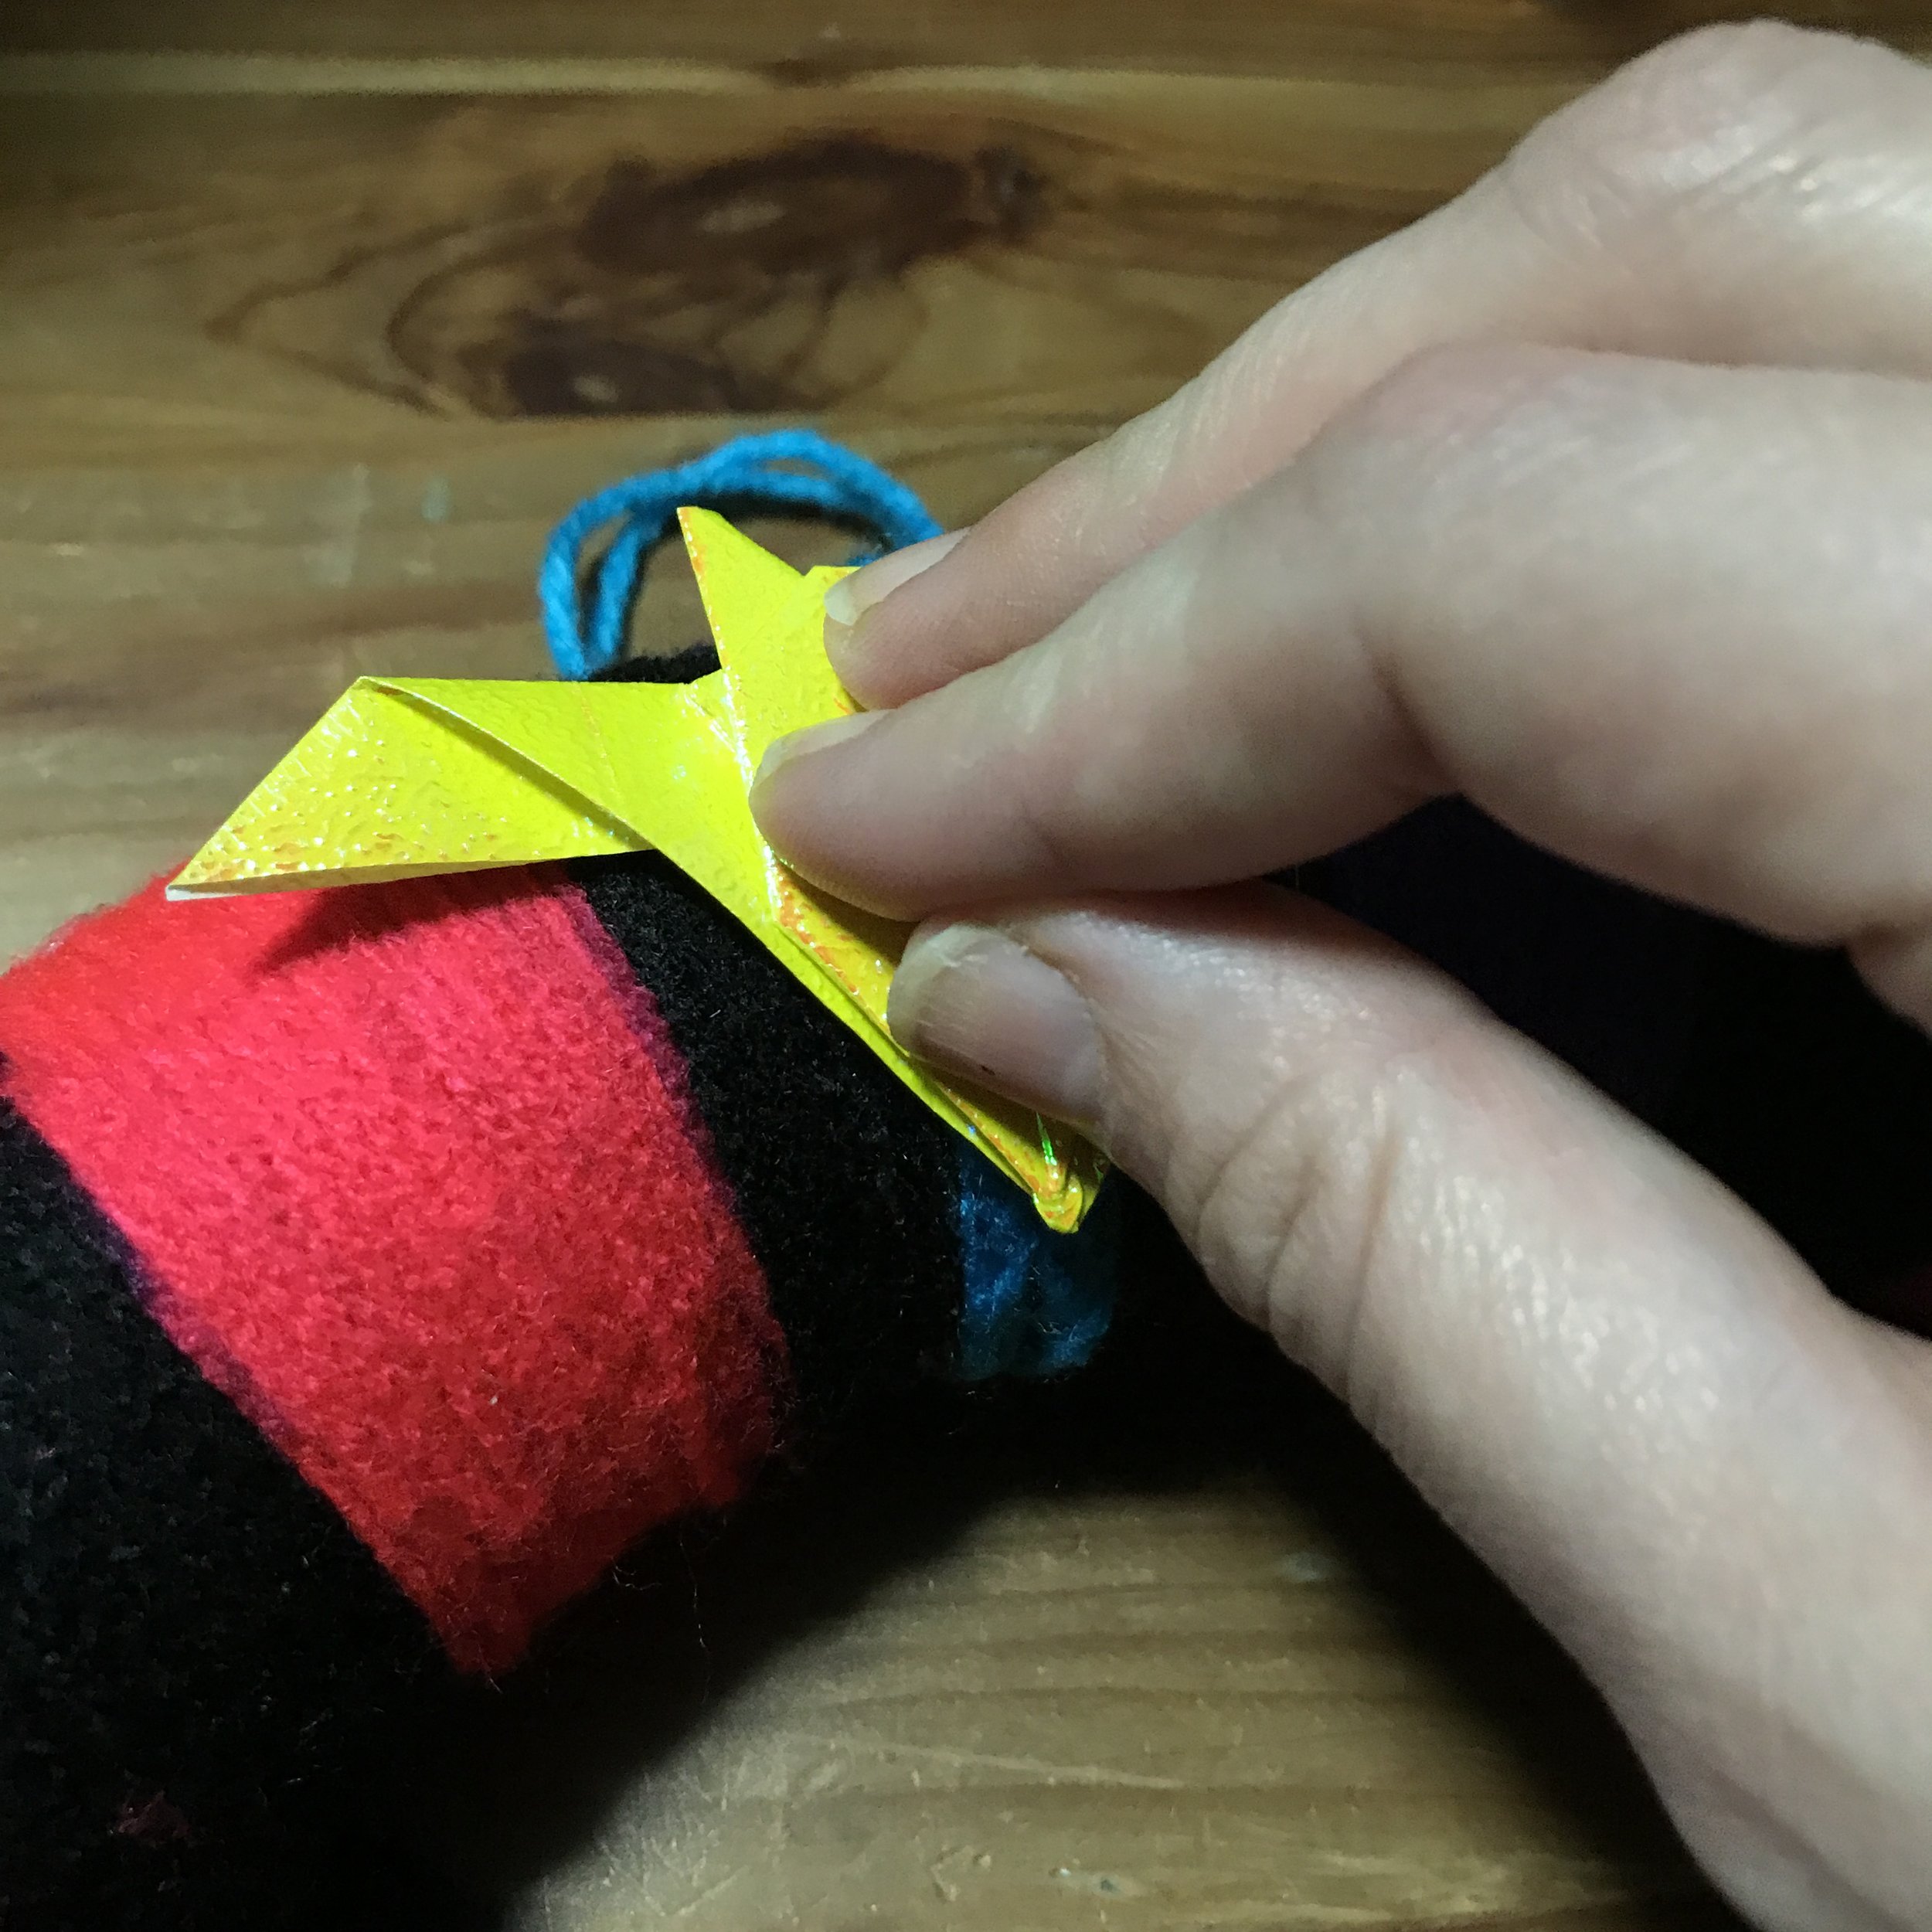
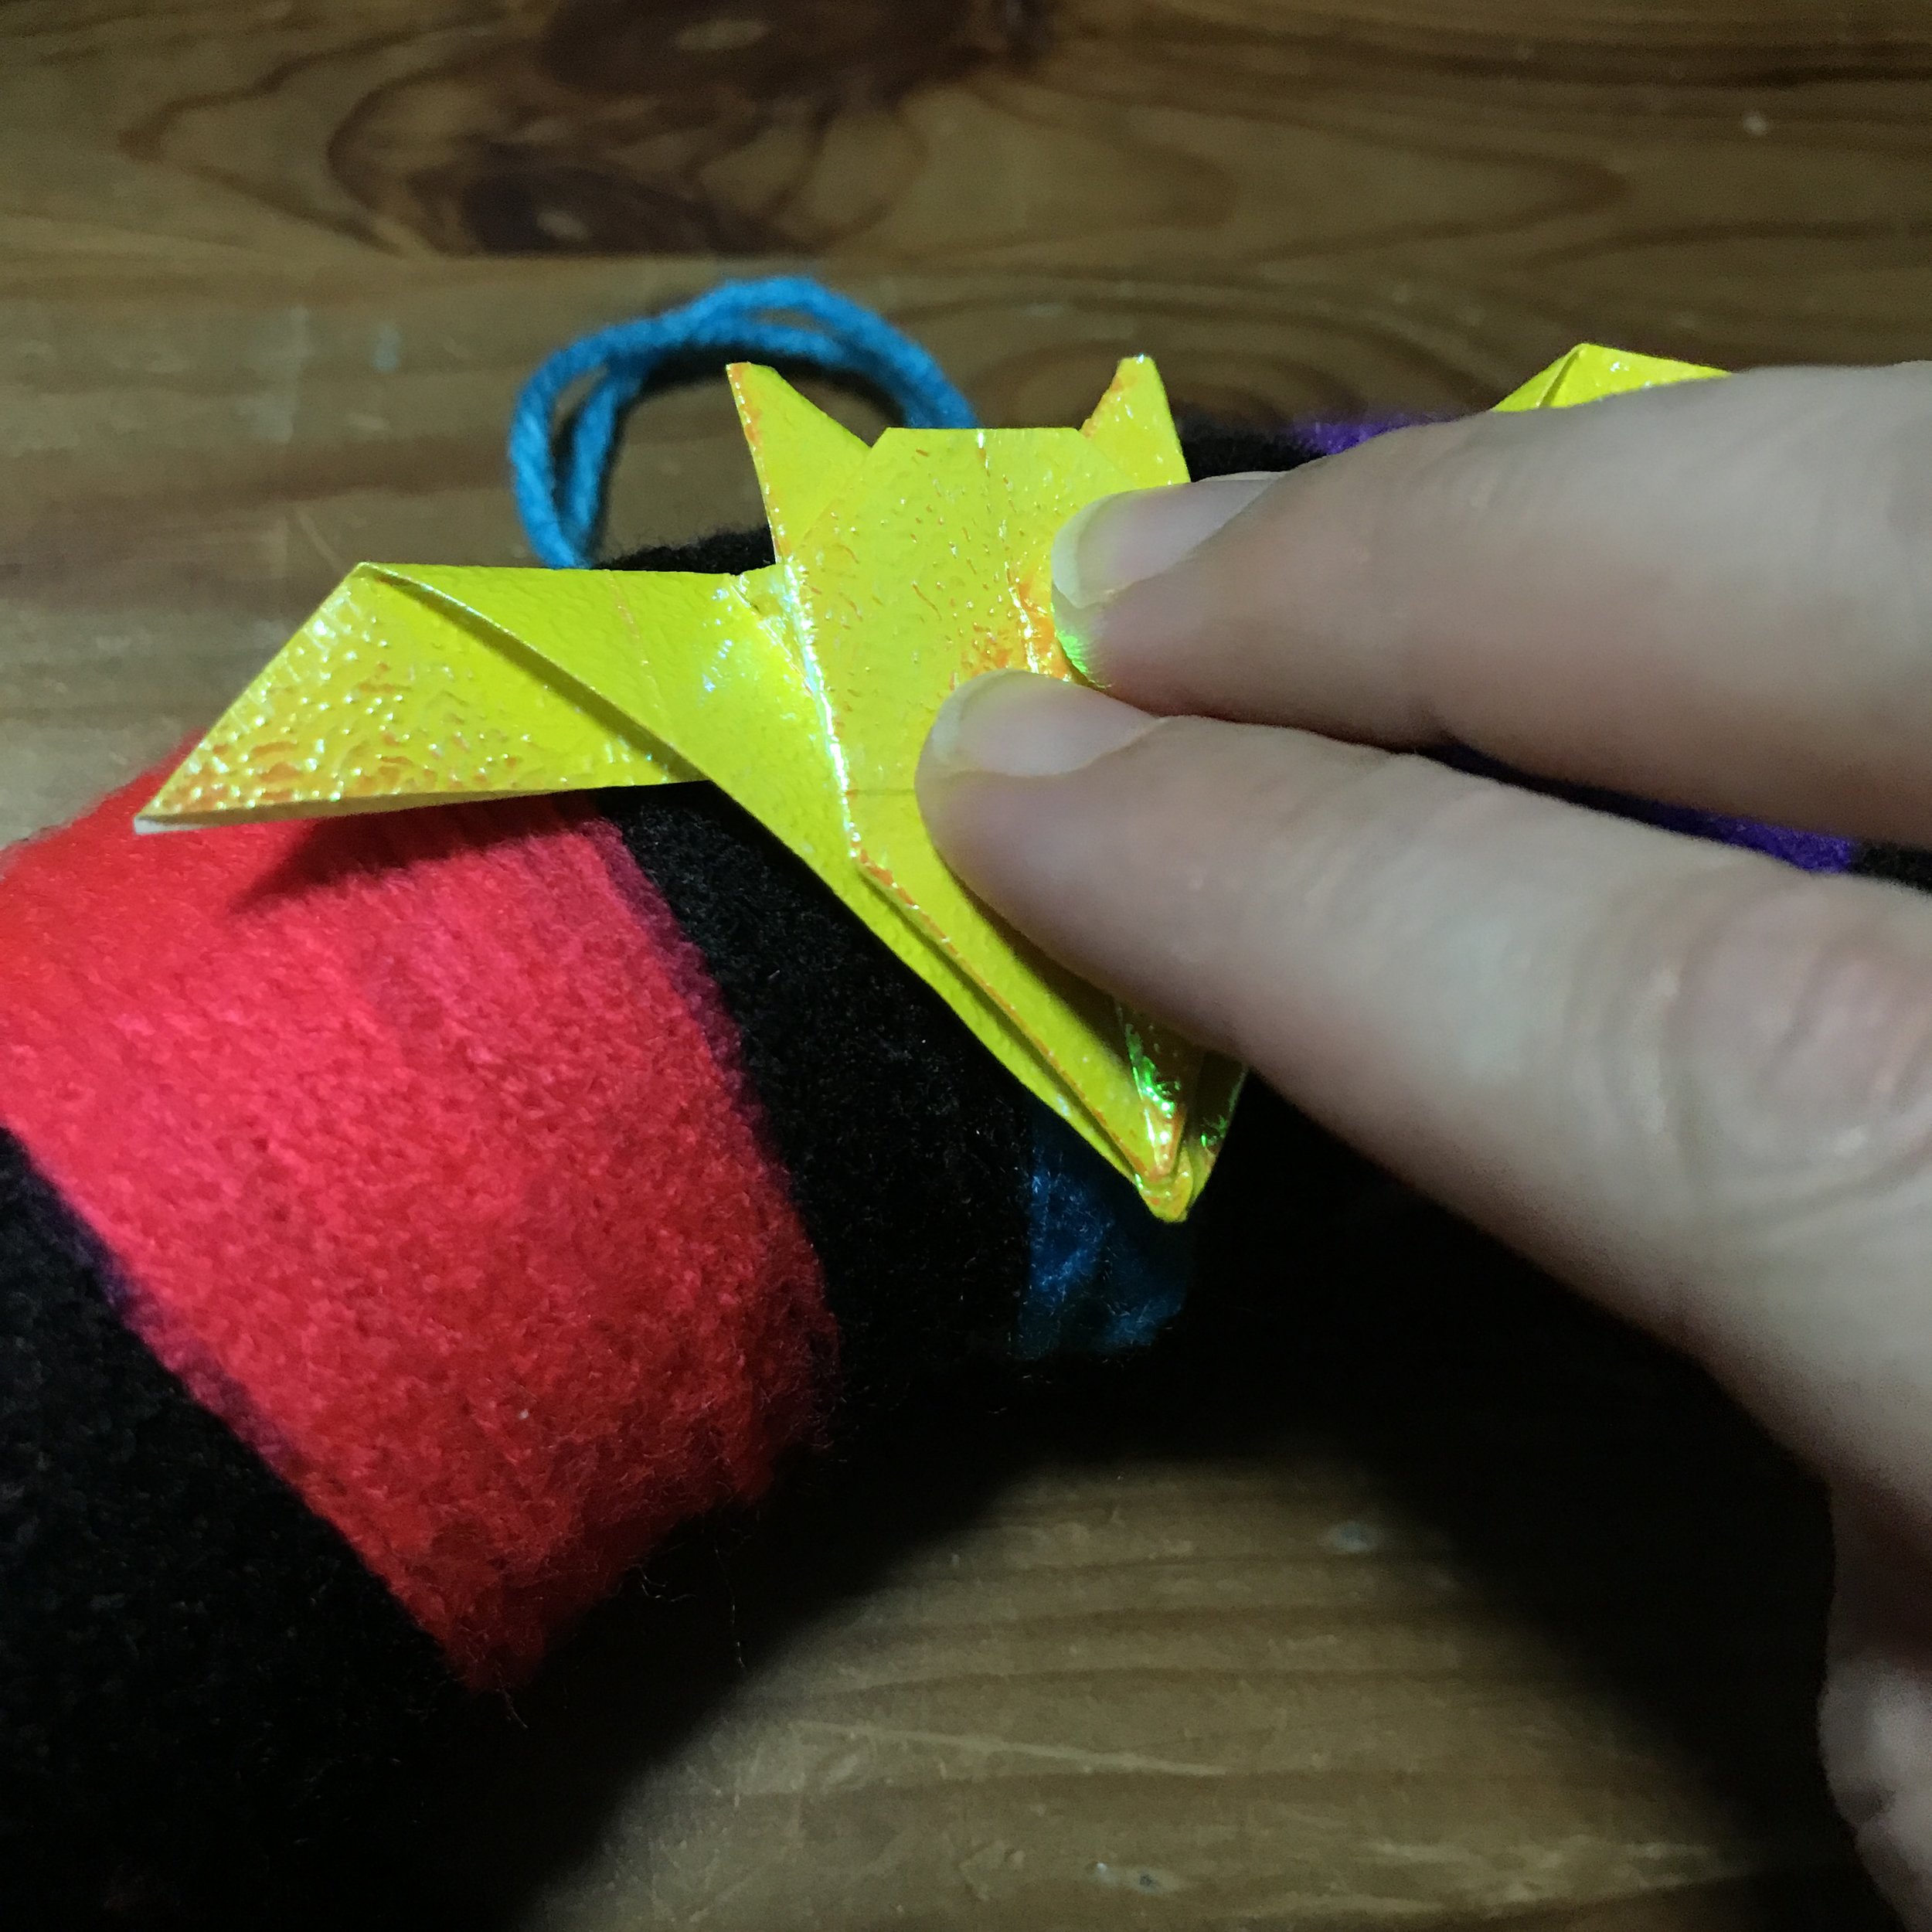
Take your yarn, ribbon, or twine and cut a small length about 3 to 4 inches long and tie it in a little loop around the foam wreath same as you did to start and end your wrapping. If you want to cut a longer strand, you can get fancy and braid it in a contrasting color! Apply a small bit of glue to the wreath where you’re going to wrap your hanging loop. Then carefully with tweezers or very cautiously with your fingers, push the yarn loop into the glue and press it into place with the back of your paintbrush. Allow the glue to fully cure (usually it will become slightly opaque) in order to anchor your wreath for proper hanging.
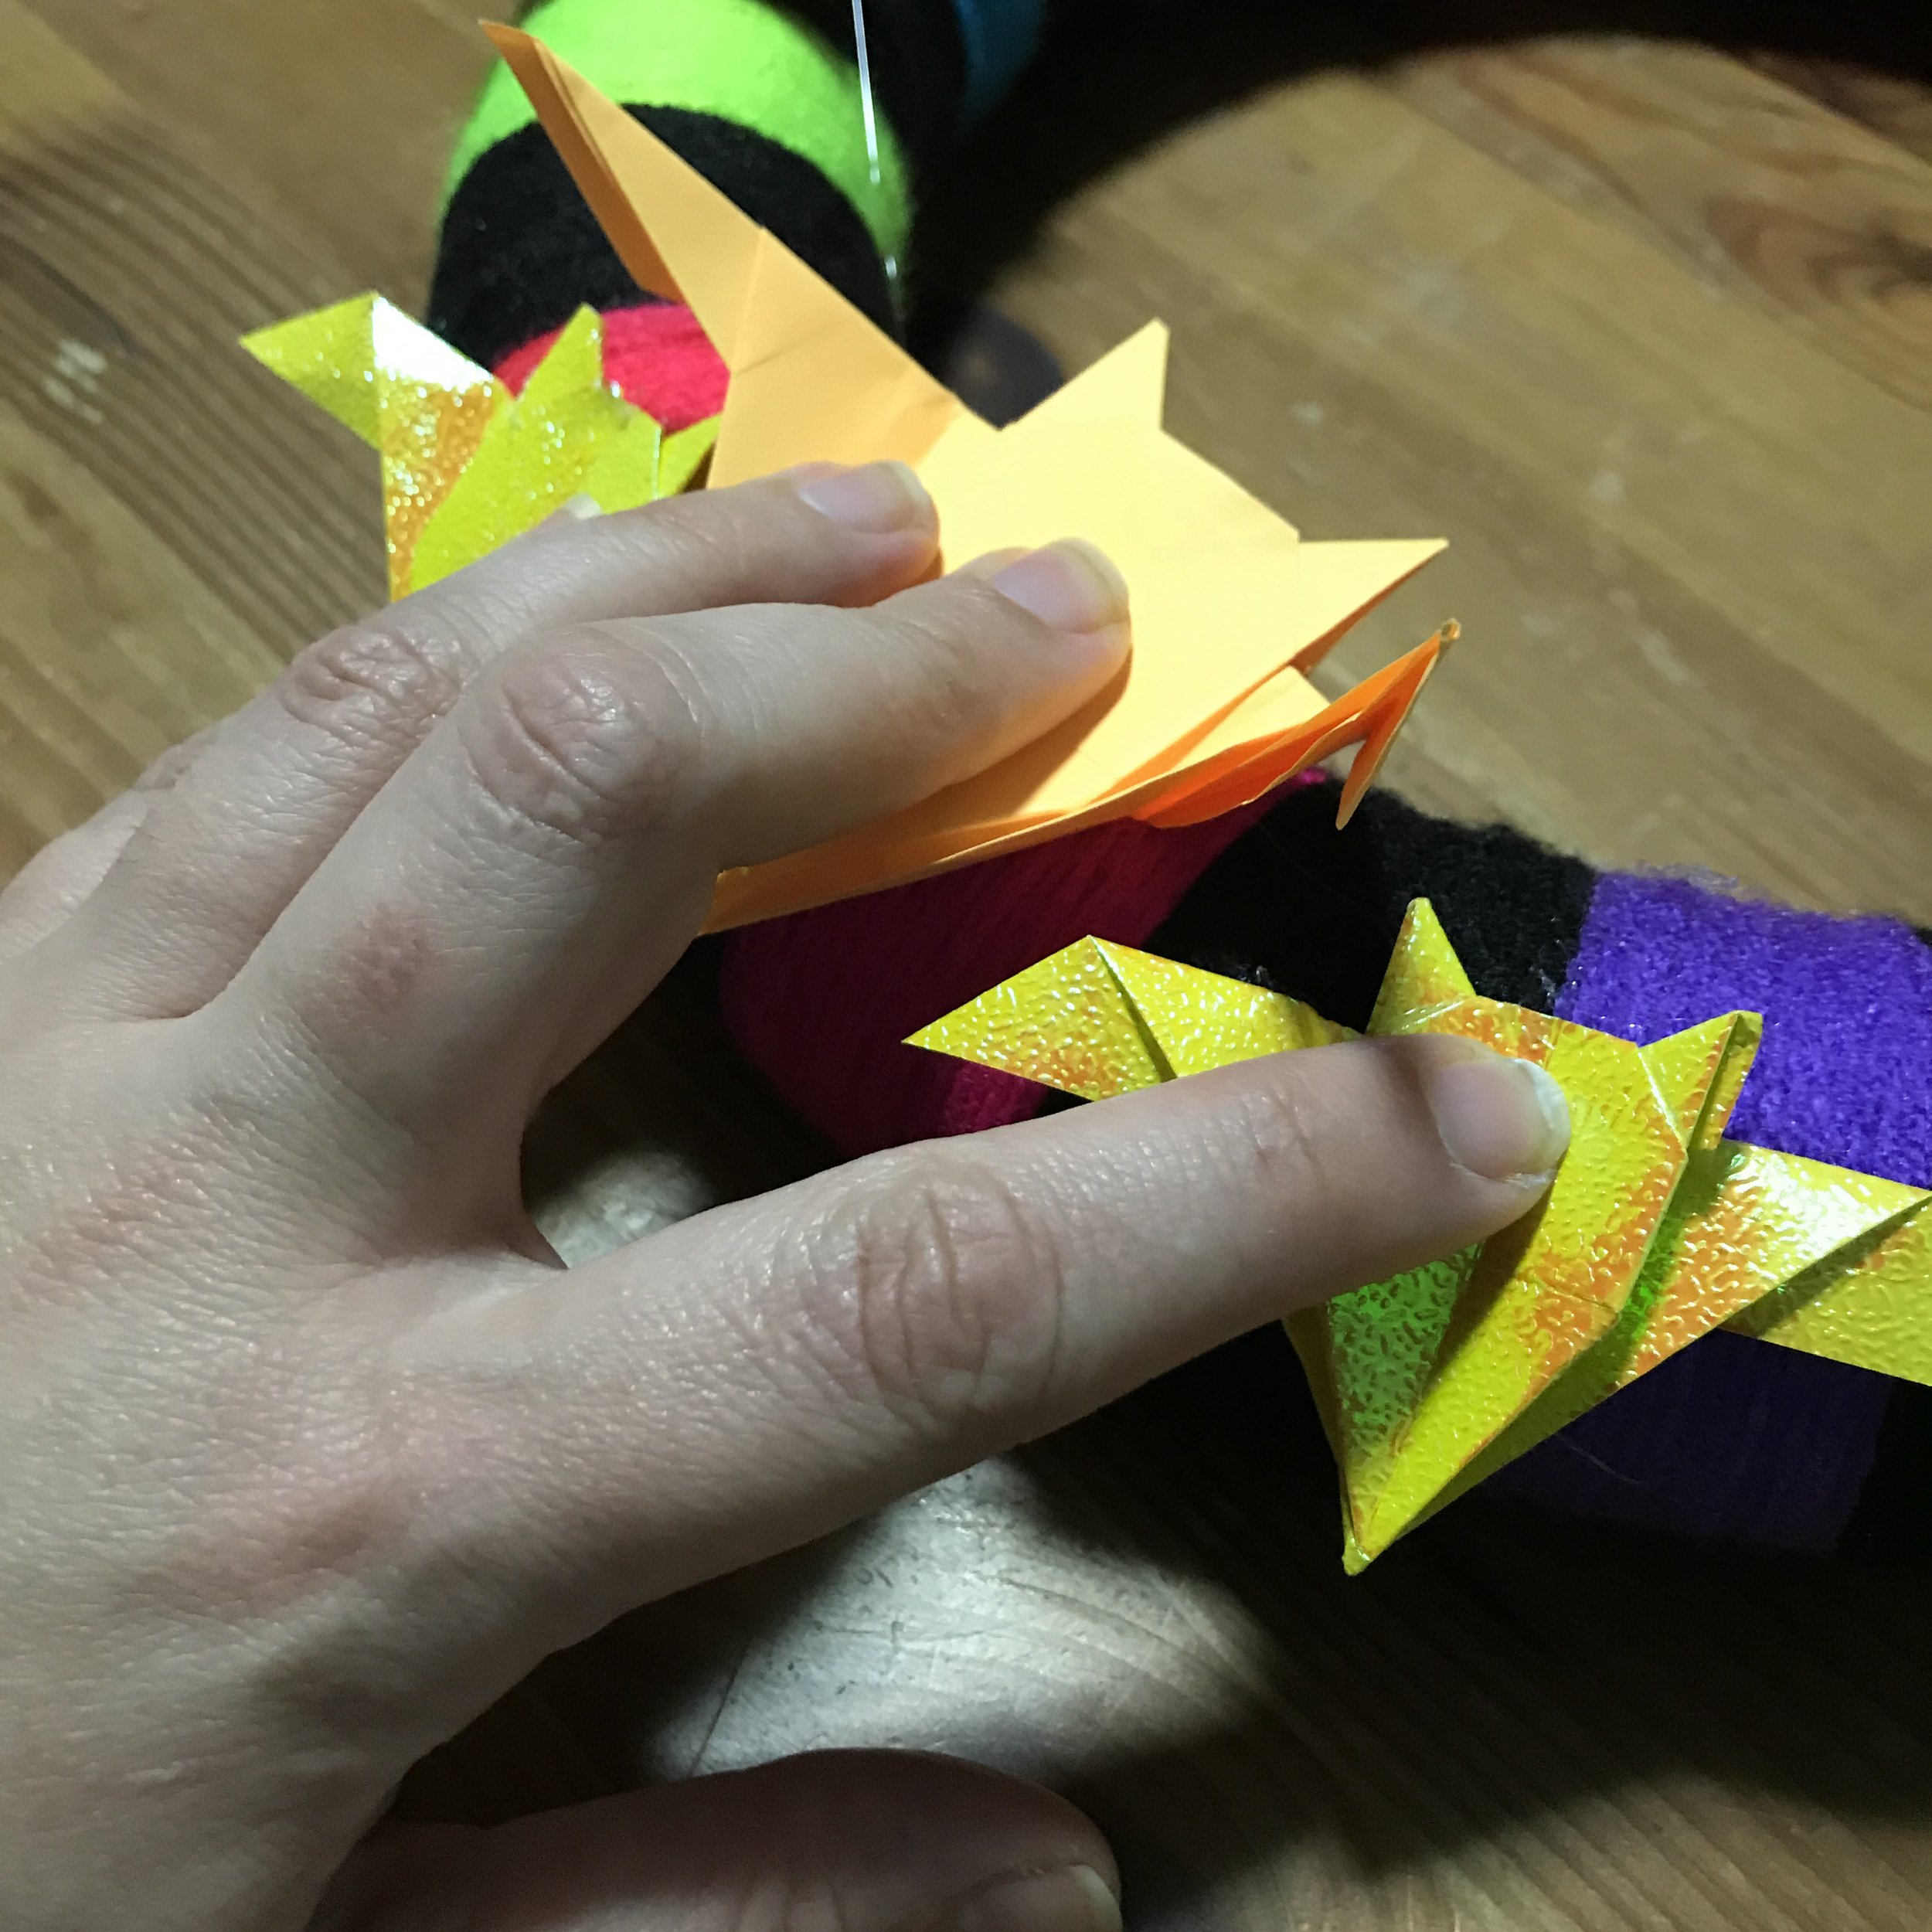
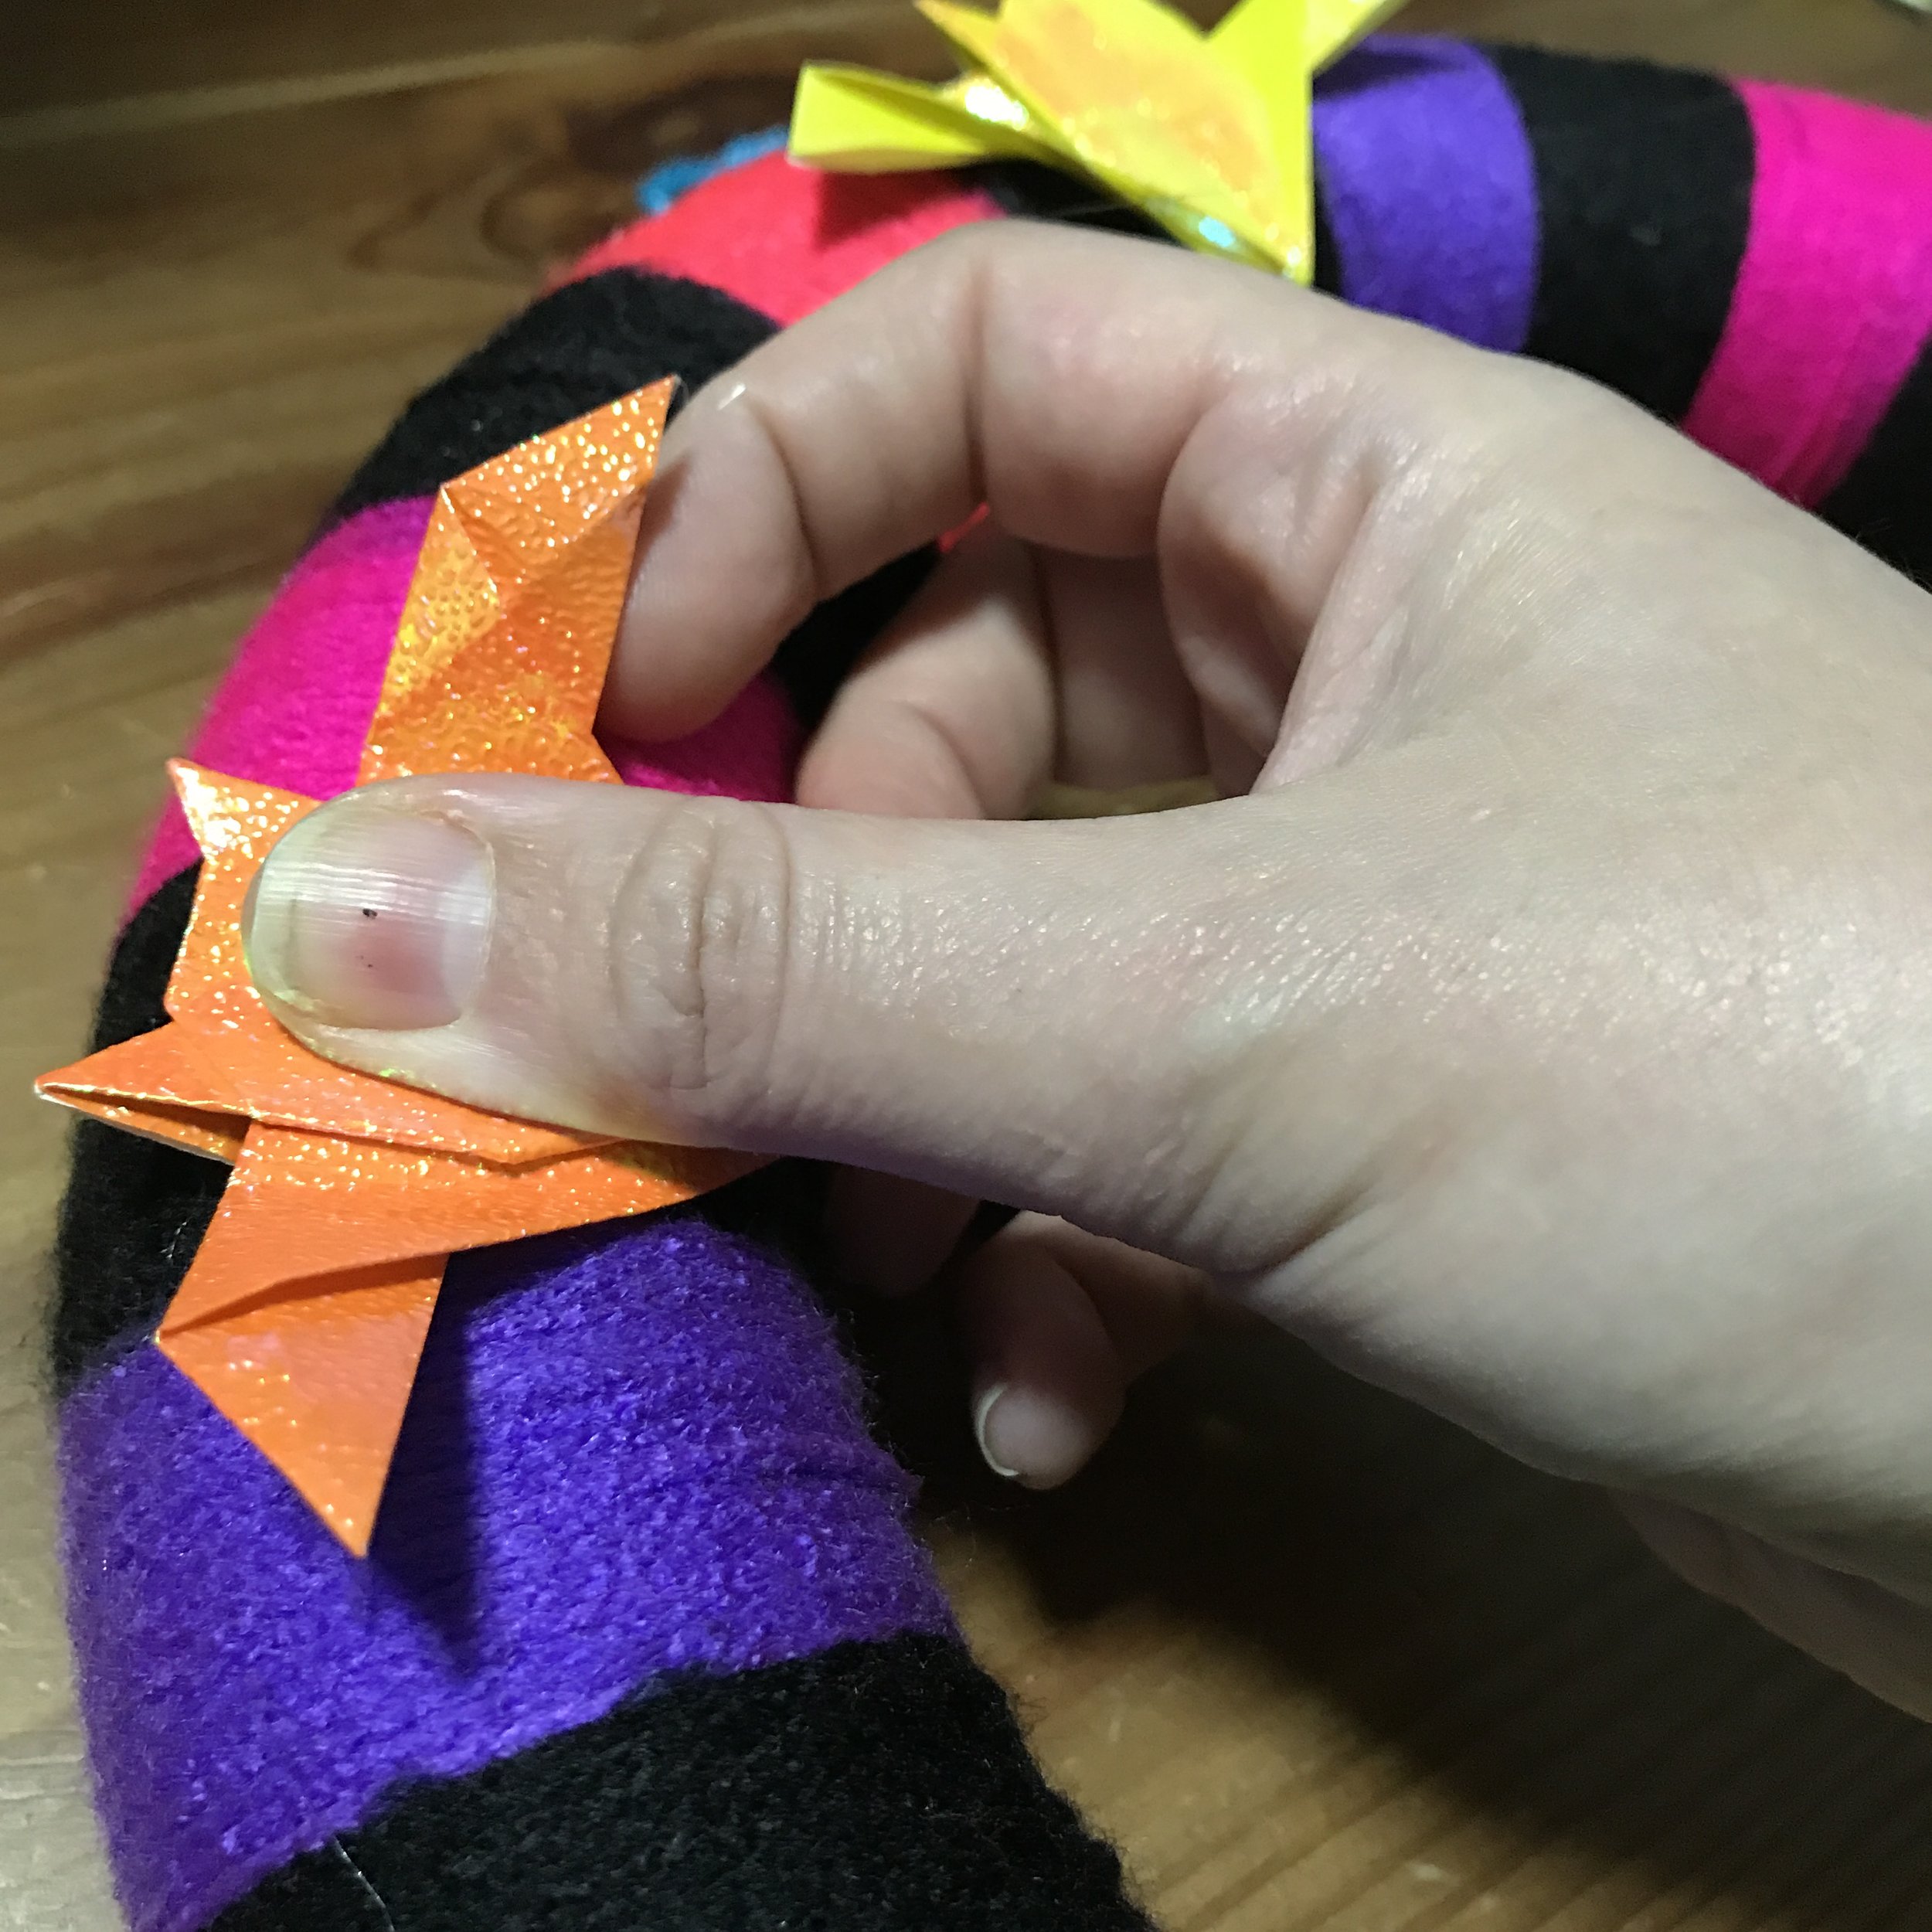
Once your glue gun is heated and you know where you’re placing the bats, have an adult or teenager glue the bats on your wreath however you wish, and press them into the cardboard gently. (You may wish to put a fabric glove or towel around your finger as the glue will still be HOT and might hurt, so use caution when handling the thin paper bats and pressing into the glue!!!!!)
Once the glue is cured you’ll be able to hang up your wreath any place you see fit. Mine is hanging off of a wreath hook on our front entrance door to the apartment. If you’ve used shiny paper for your bats, put it in a place with lots of sunlight for maximum sparkle!
Both Crafts designed by Ellen Avigliano
Website: www.imaginariumarts.com
Instagram: @ImaginariumArts
Twitter: @ImaginariumCS
Letterboxd: /ImaginariumArts
