
Scare Up Some Fun Making Halloween Monoprints (Kid Friendly DIY Craft Project!)


The Artist’s Spooky Sample of the Finished Project!
I love a good DIY decoration, and especially if it’s one that the whole family can enjoy! Today I’m sharing my tutorial for an easy to make Halloween Marker Monoprint!
This craft is budget friendly and easy enough to do with repurposed household items, copy paper, and cheap kid friendly markers!
You can make them on a larger scale using bigger big sheets of foil along with a roll of paper, or get fancy by using Vellum or textured paper in place of copy paper or construction paper
MATERIALS REQUIRED:

Artist’s Rendering of Sample Emebellished Monoprint
Washable Markers
White Non-Washable Wax Crayons
Acrylic Paint or Non-Washable Markers
Paint Brushes of Various Sizes or cut up sponges for daubing paint on
Clean Spraybottle filled with Water
(DO NOT repurpose cleaning bottles for this!!!)
Copy Paper or Construction Paper
Aluminum Foil
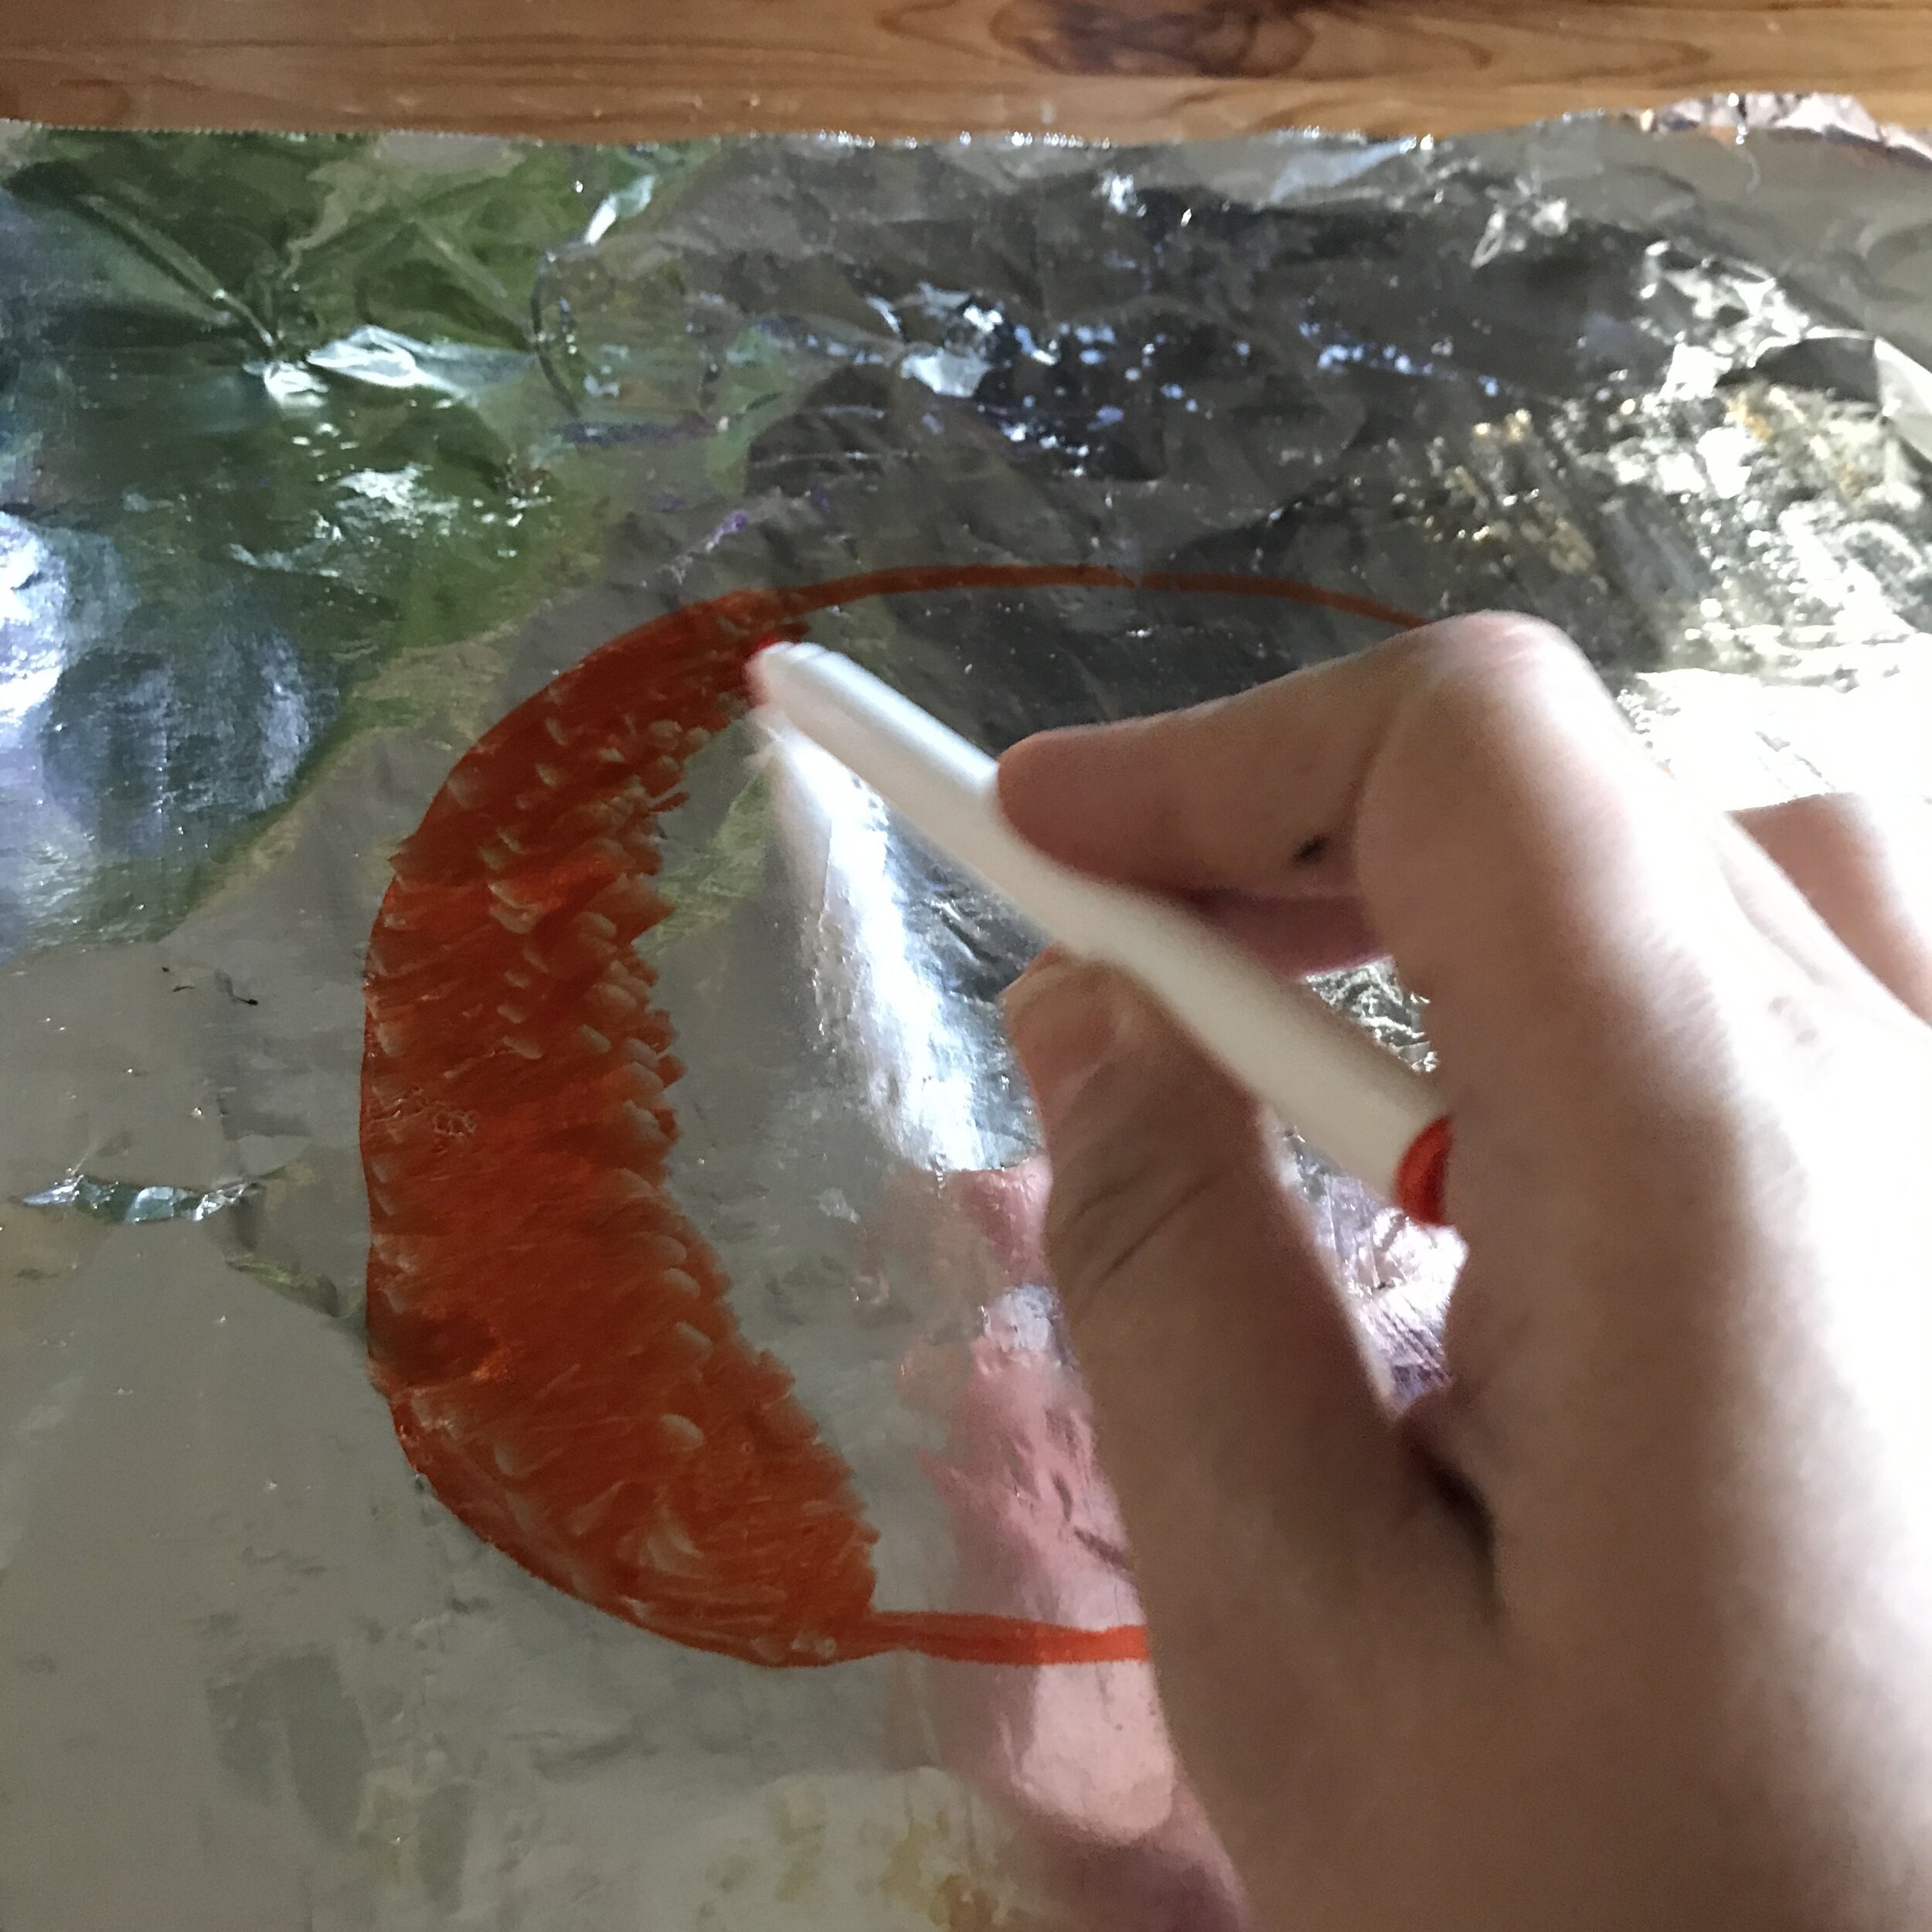

Step 1: Create your ink base on foil
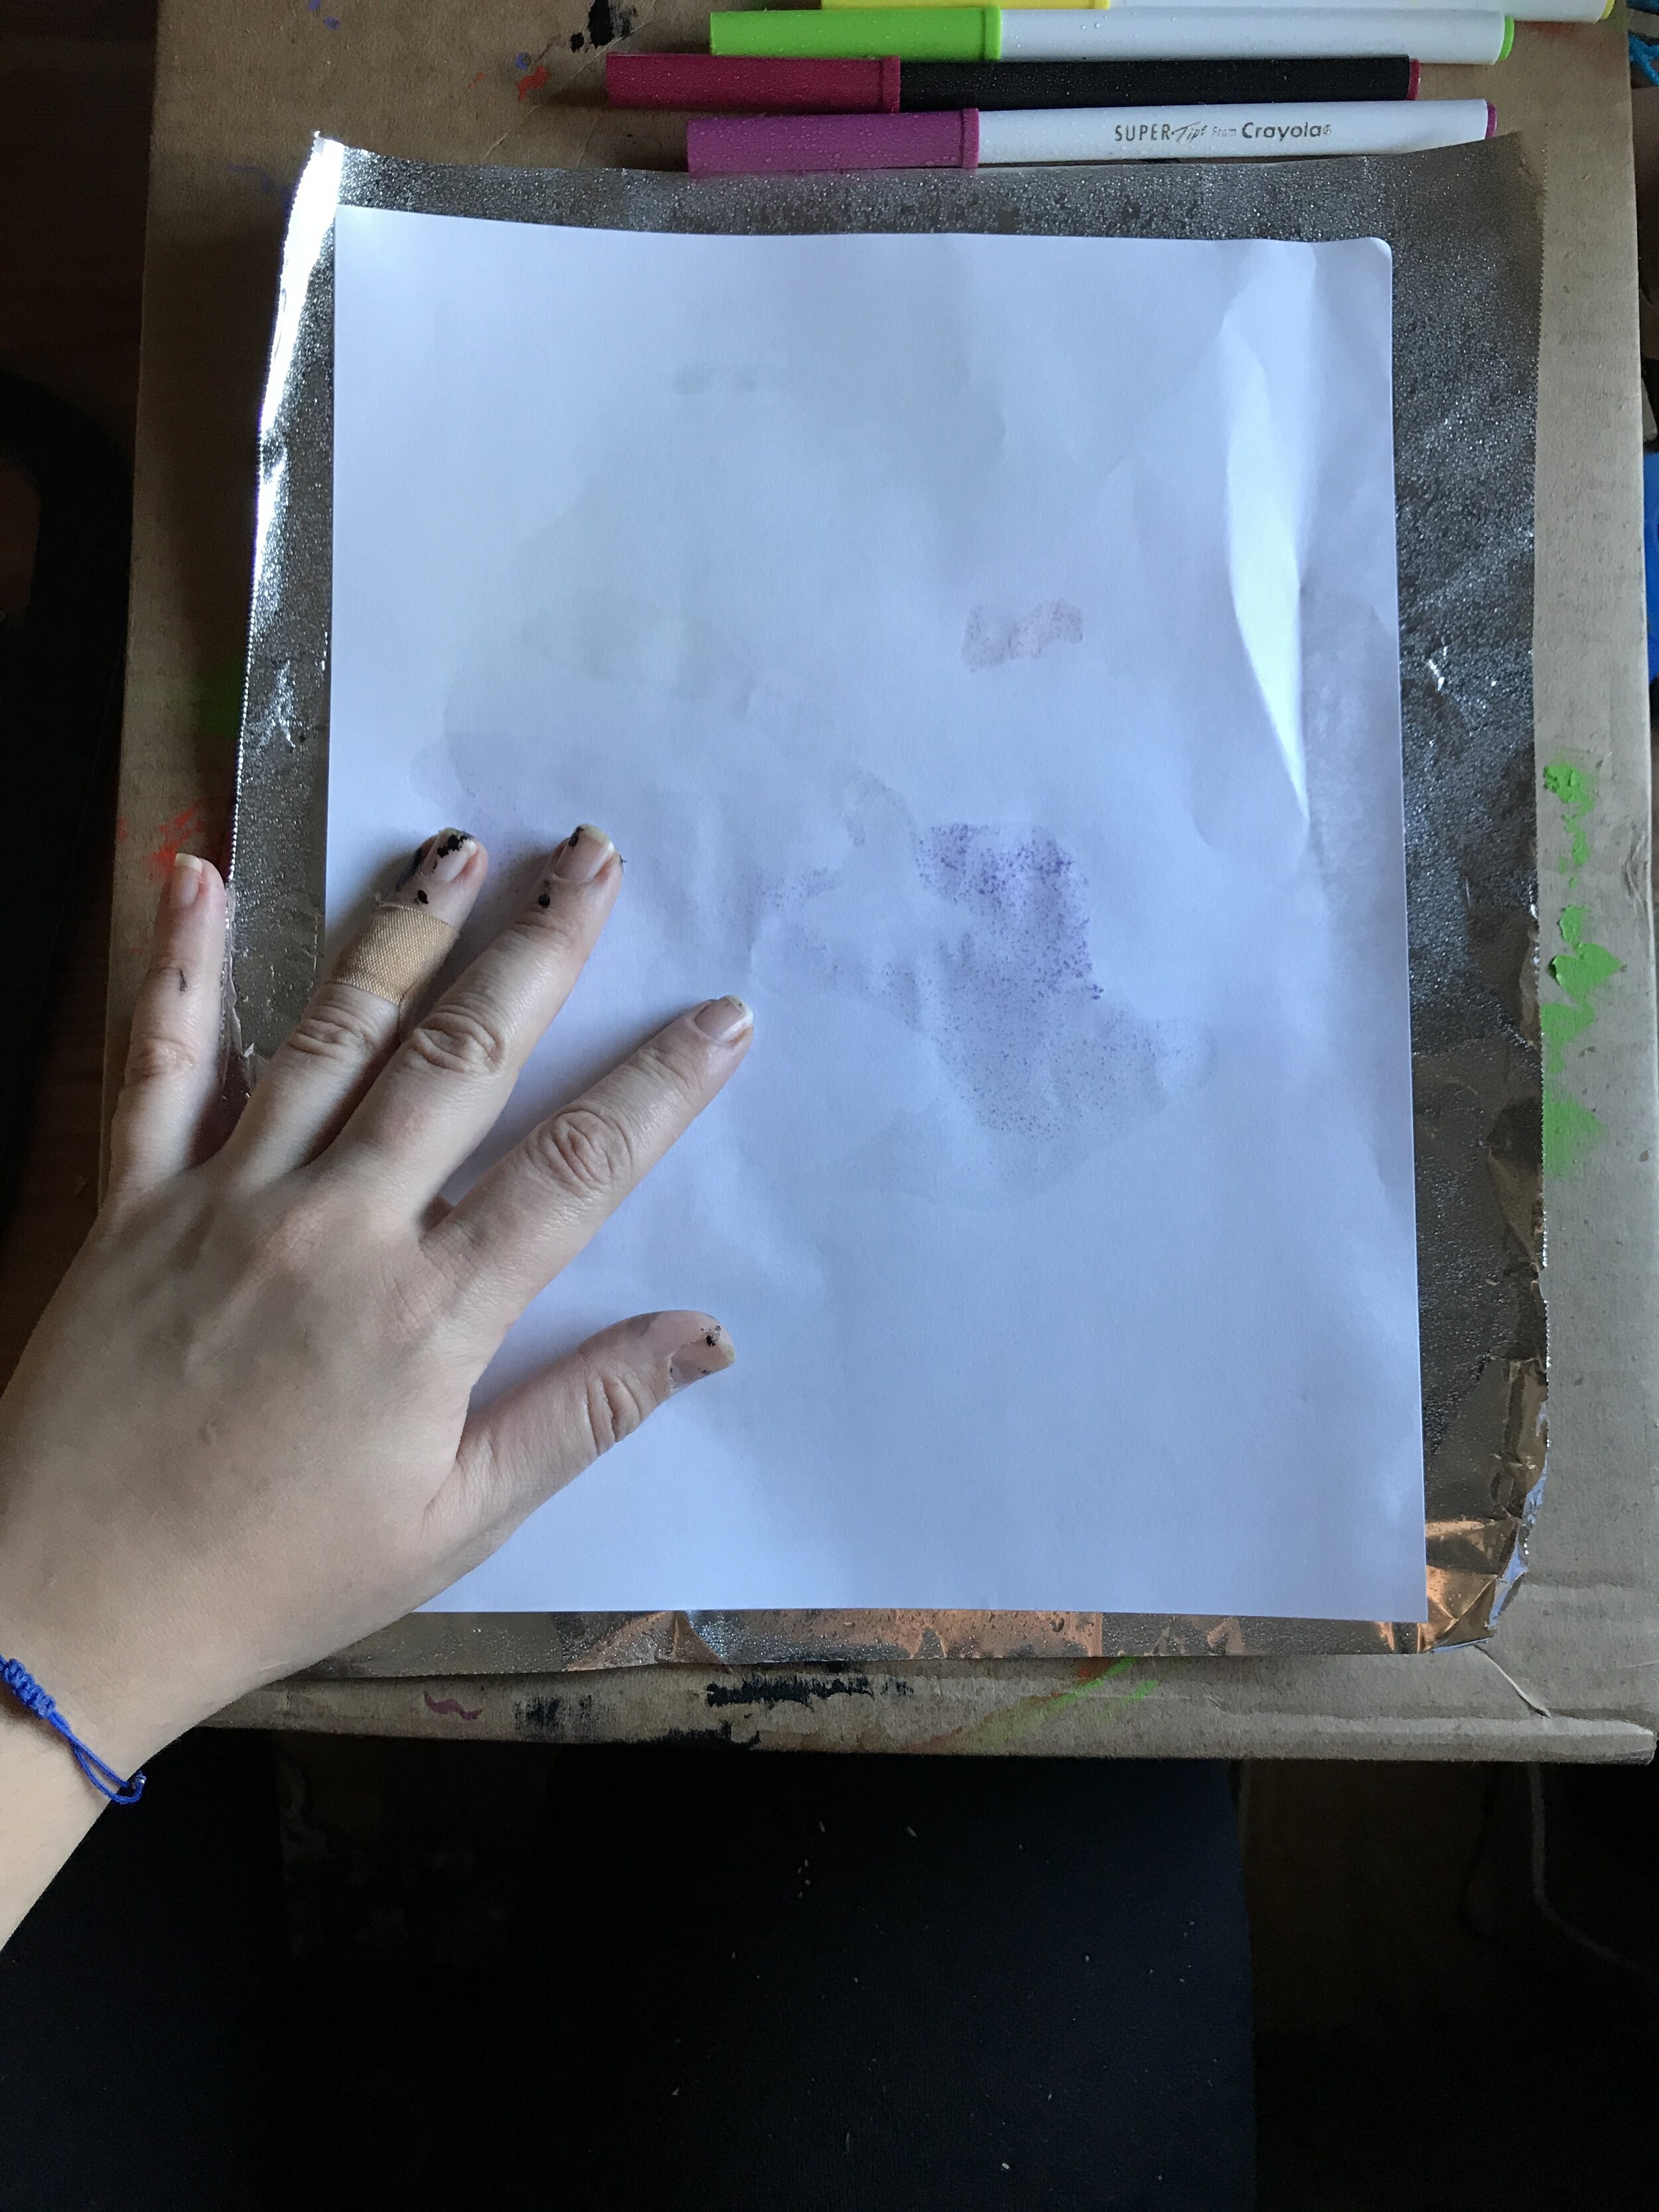
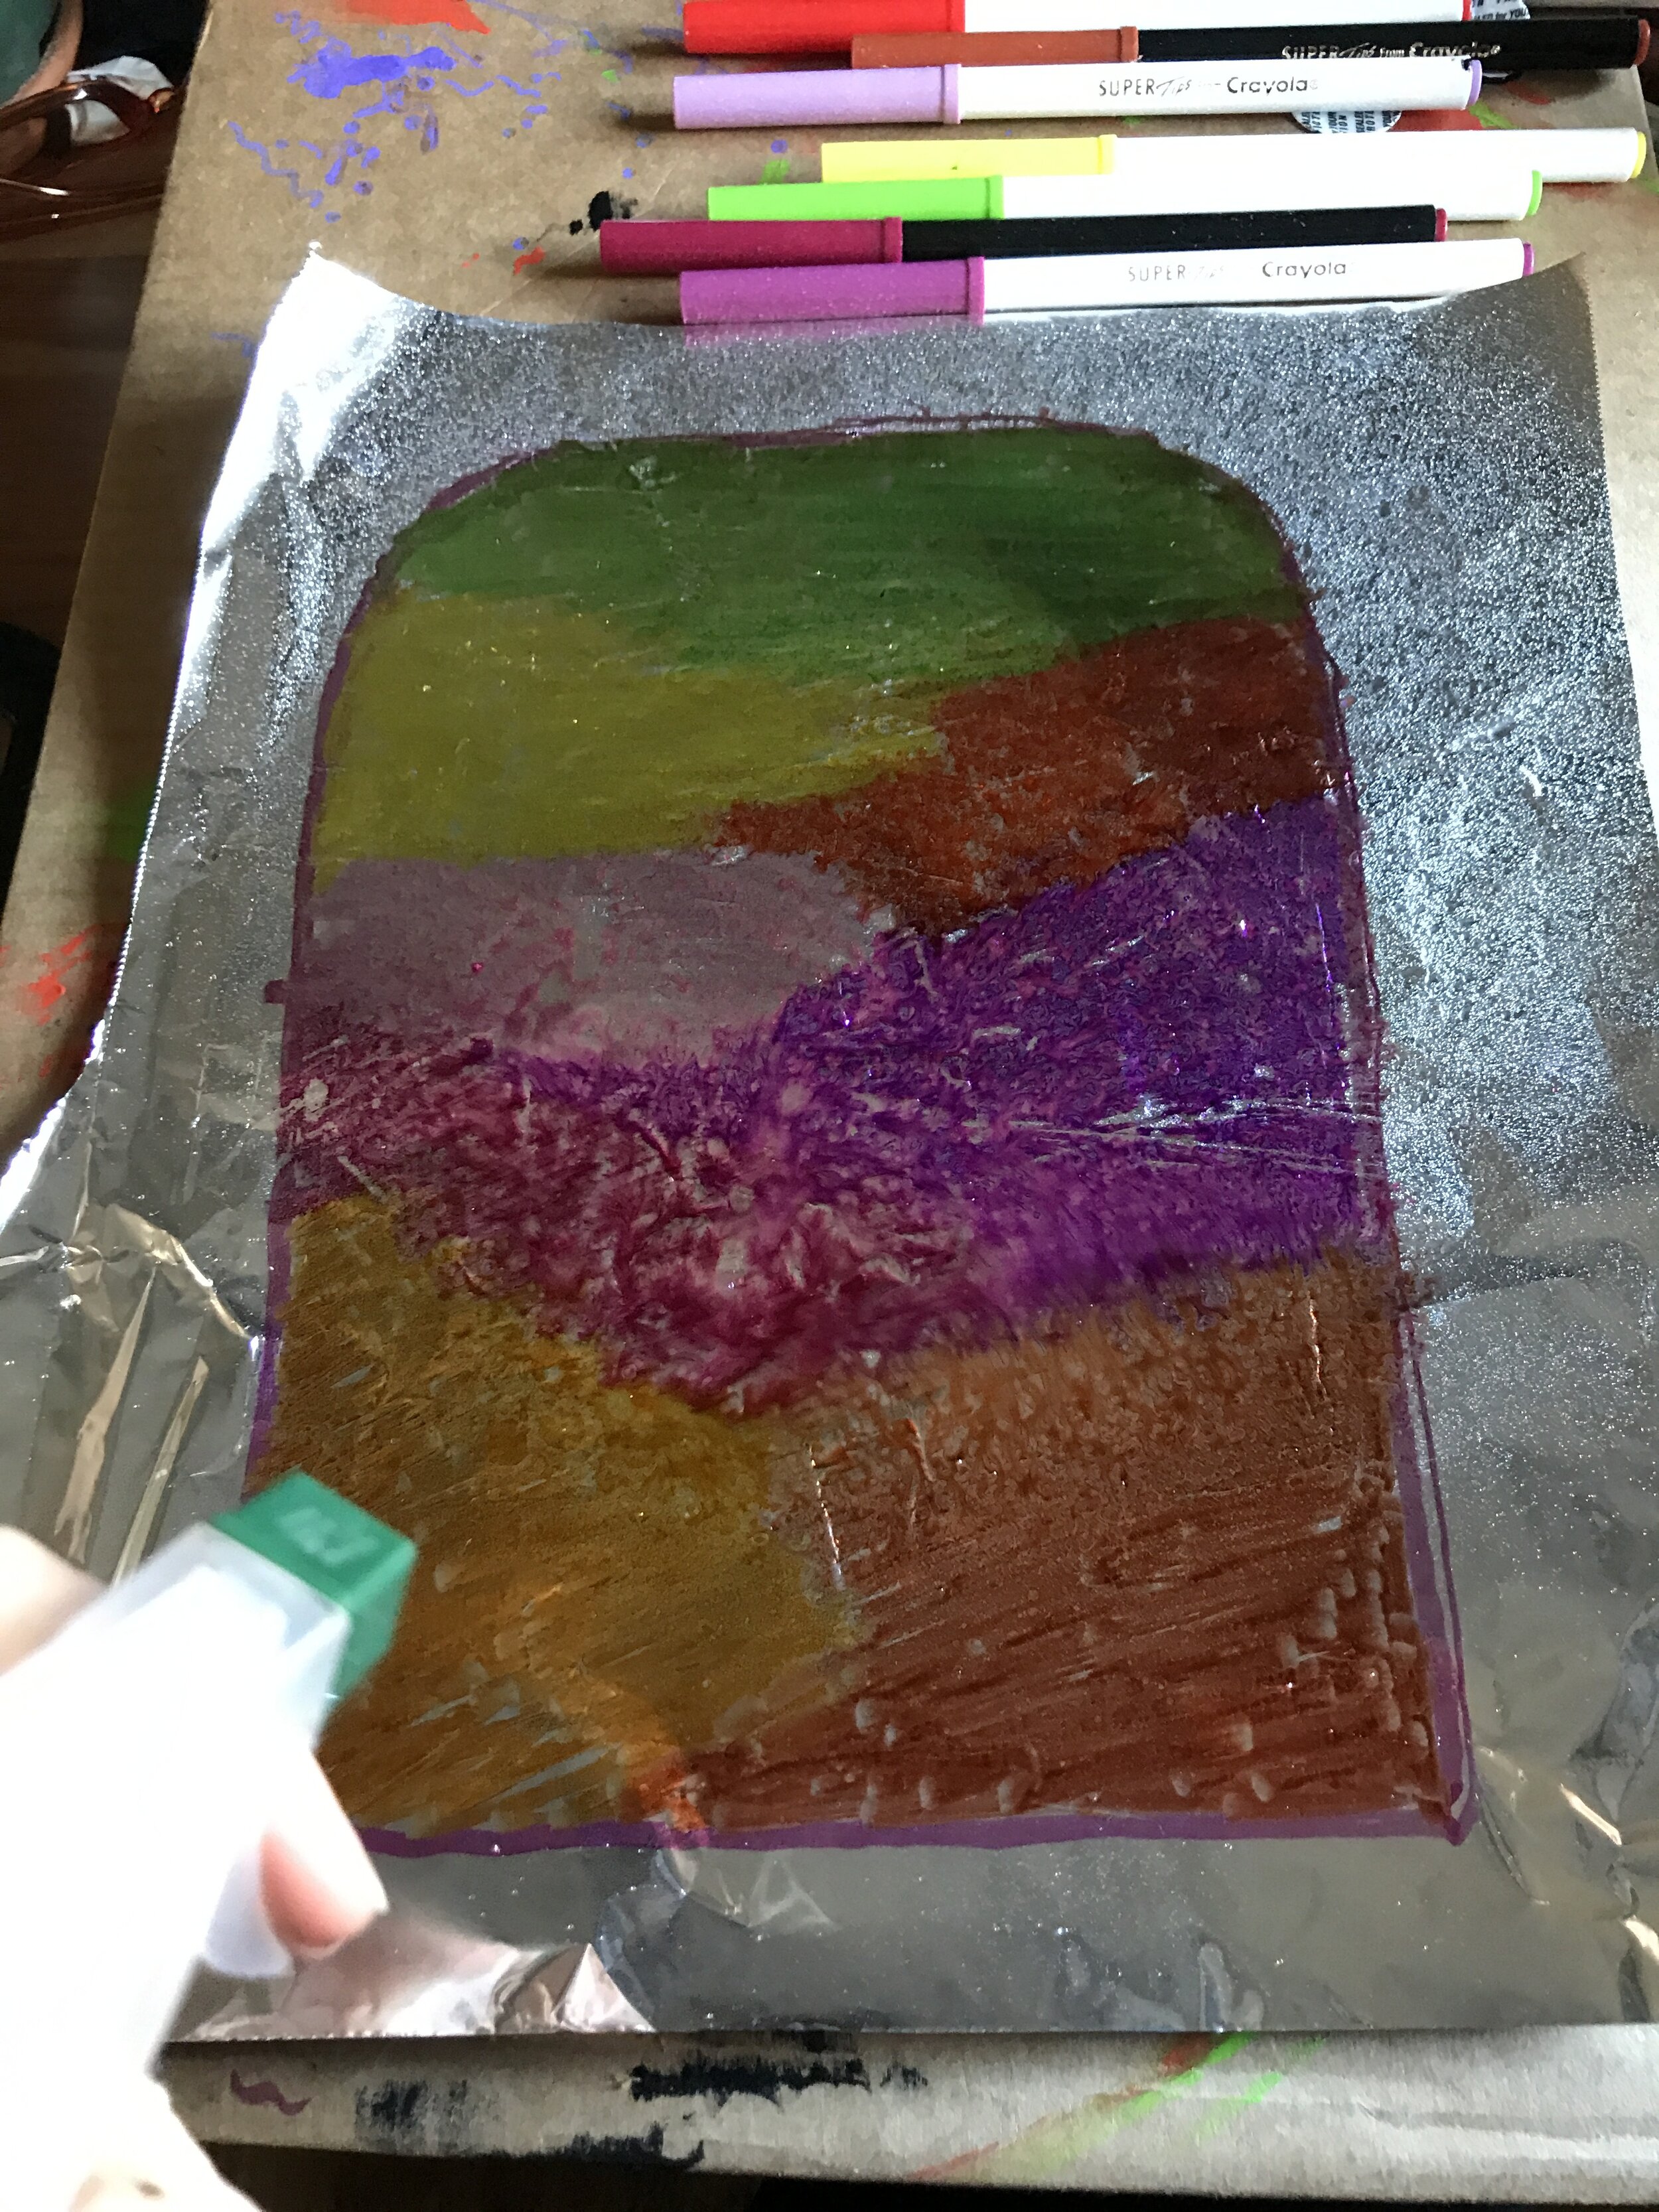
This is arguably my favourite part of making this. There’s something so whimsical and joyful about this entire multi-step process and the magic of pulling monoprints from the foil. I suppose I’m just an overgrown kiddo at heart, but it’s really delightful! You’ll see when you try it. Grab a sheet of aluminum foil which fits into your stained glass frame. I find it helpful to tape the aluminum foil down to the table or another piece of cardboard for stability before colouring. Grab your water-based washable markers and draw out the shape of your window if you wish, or you can simply colour the whole sheet of foil, it’s up to you! Remember to colour gently and with a soft hand, you don’t want to press into the foil! Just colour it as well as you can with whatever markers you choose. It’s alright if you go outside the lines of your window shape, I promise! Give your marker on foil a few moments to set, and then grab your paper and spray bottle of water!
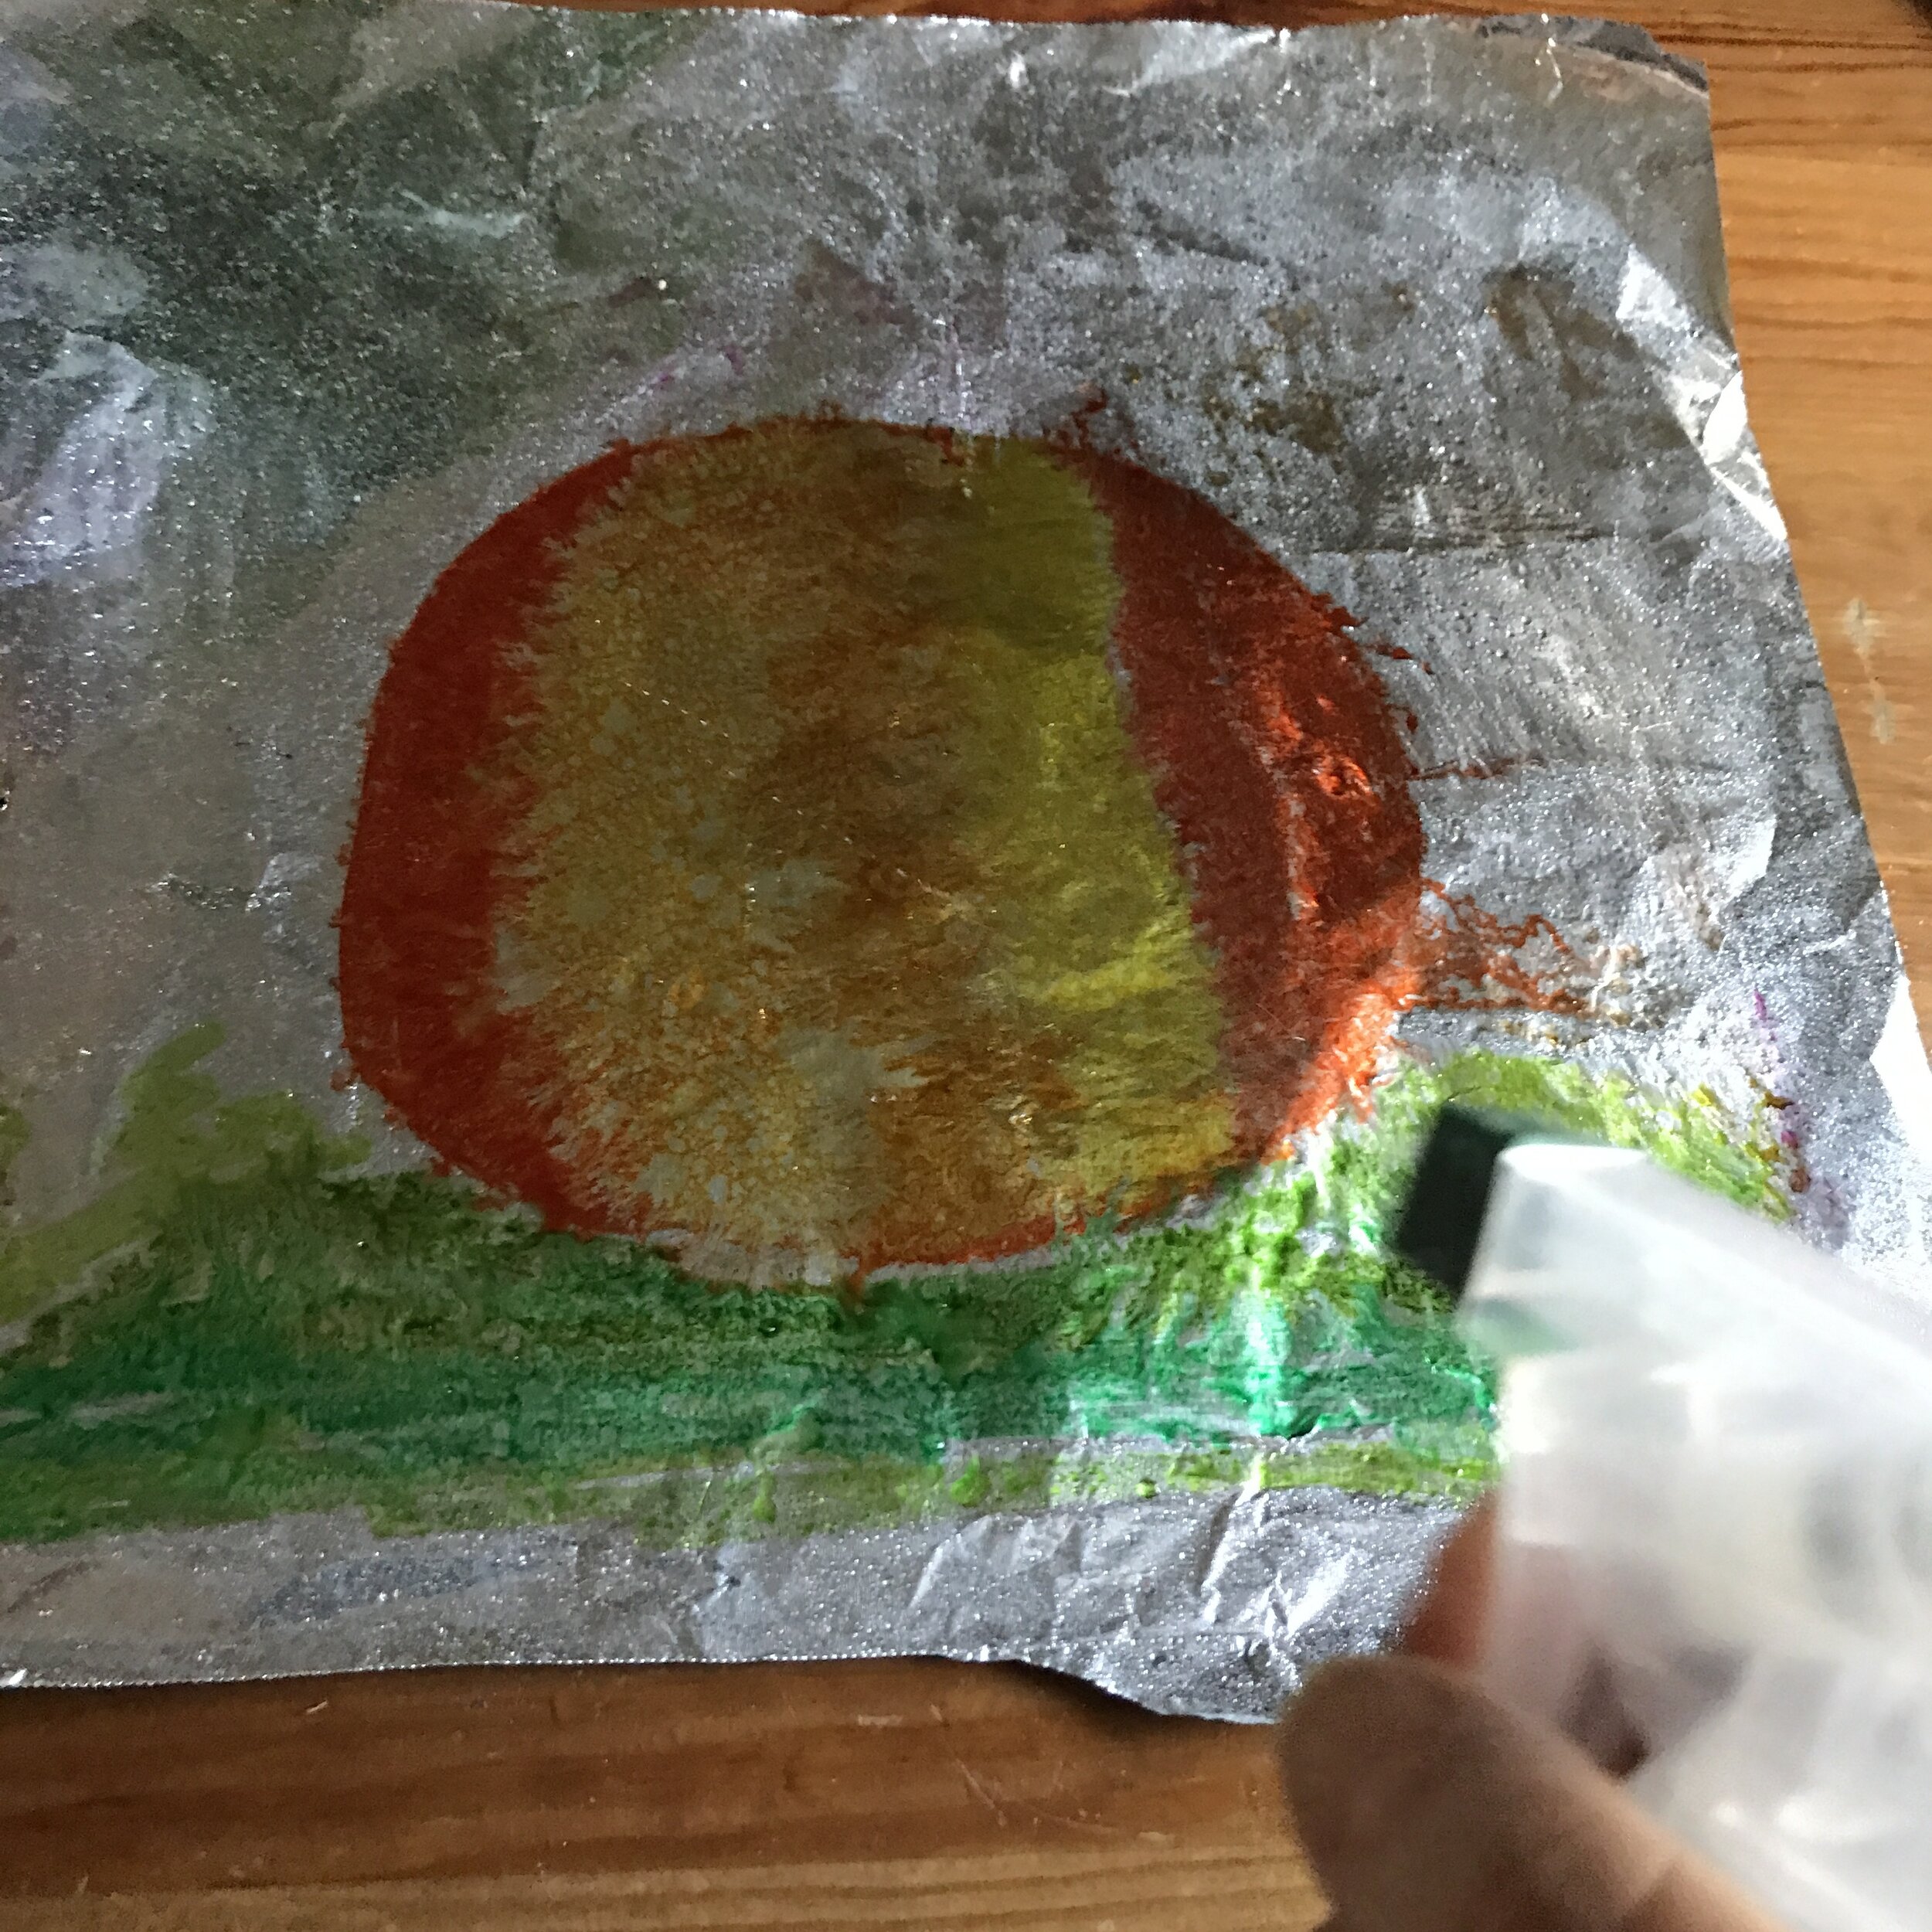
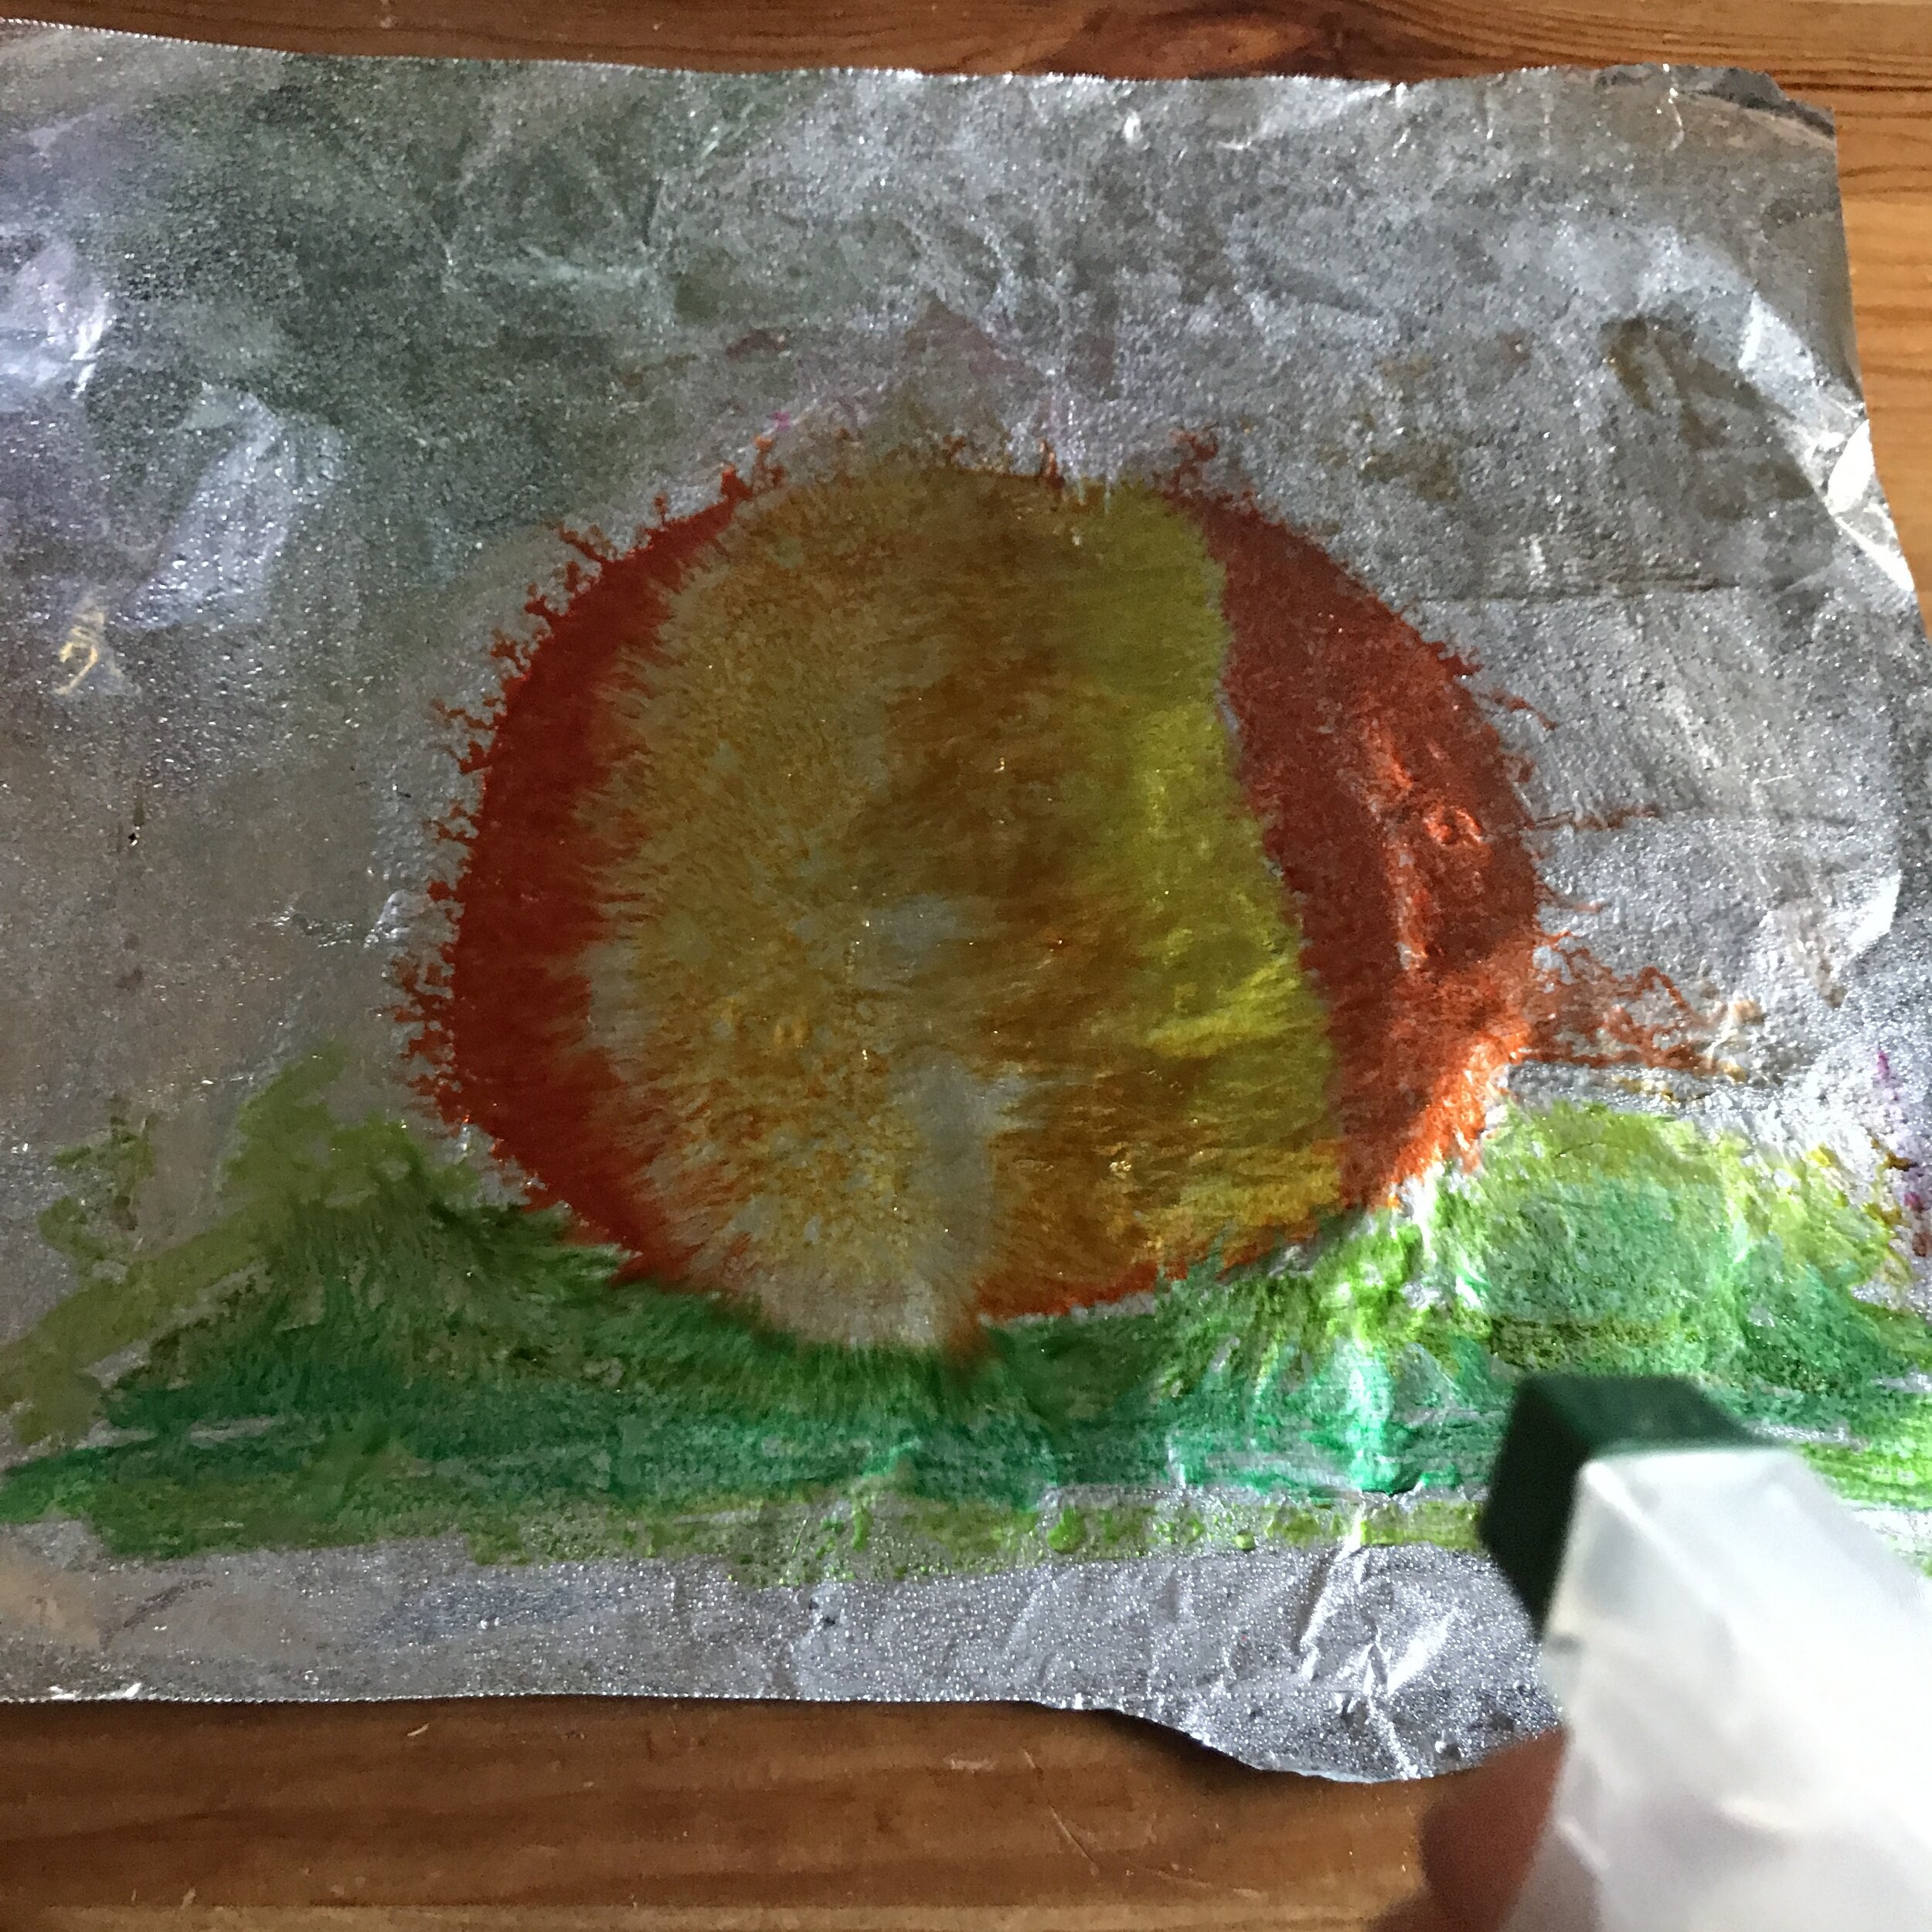
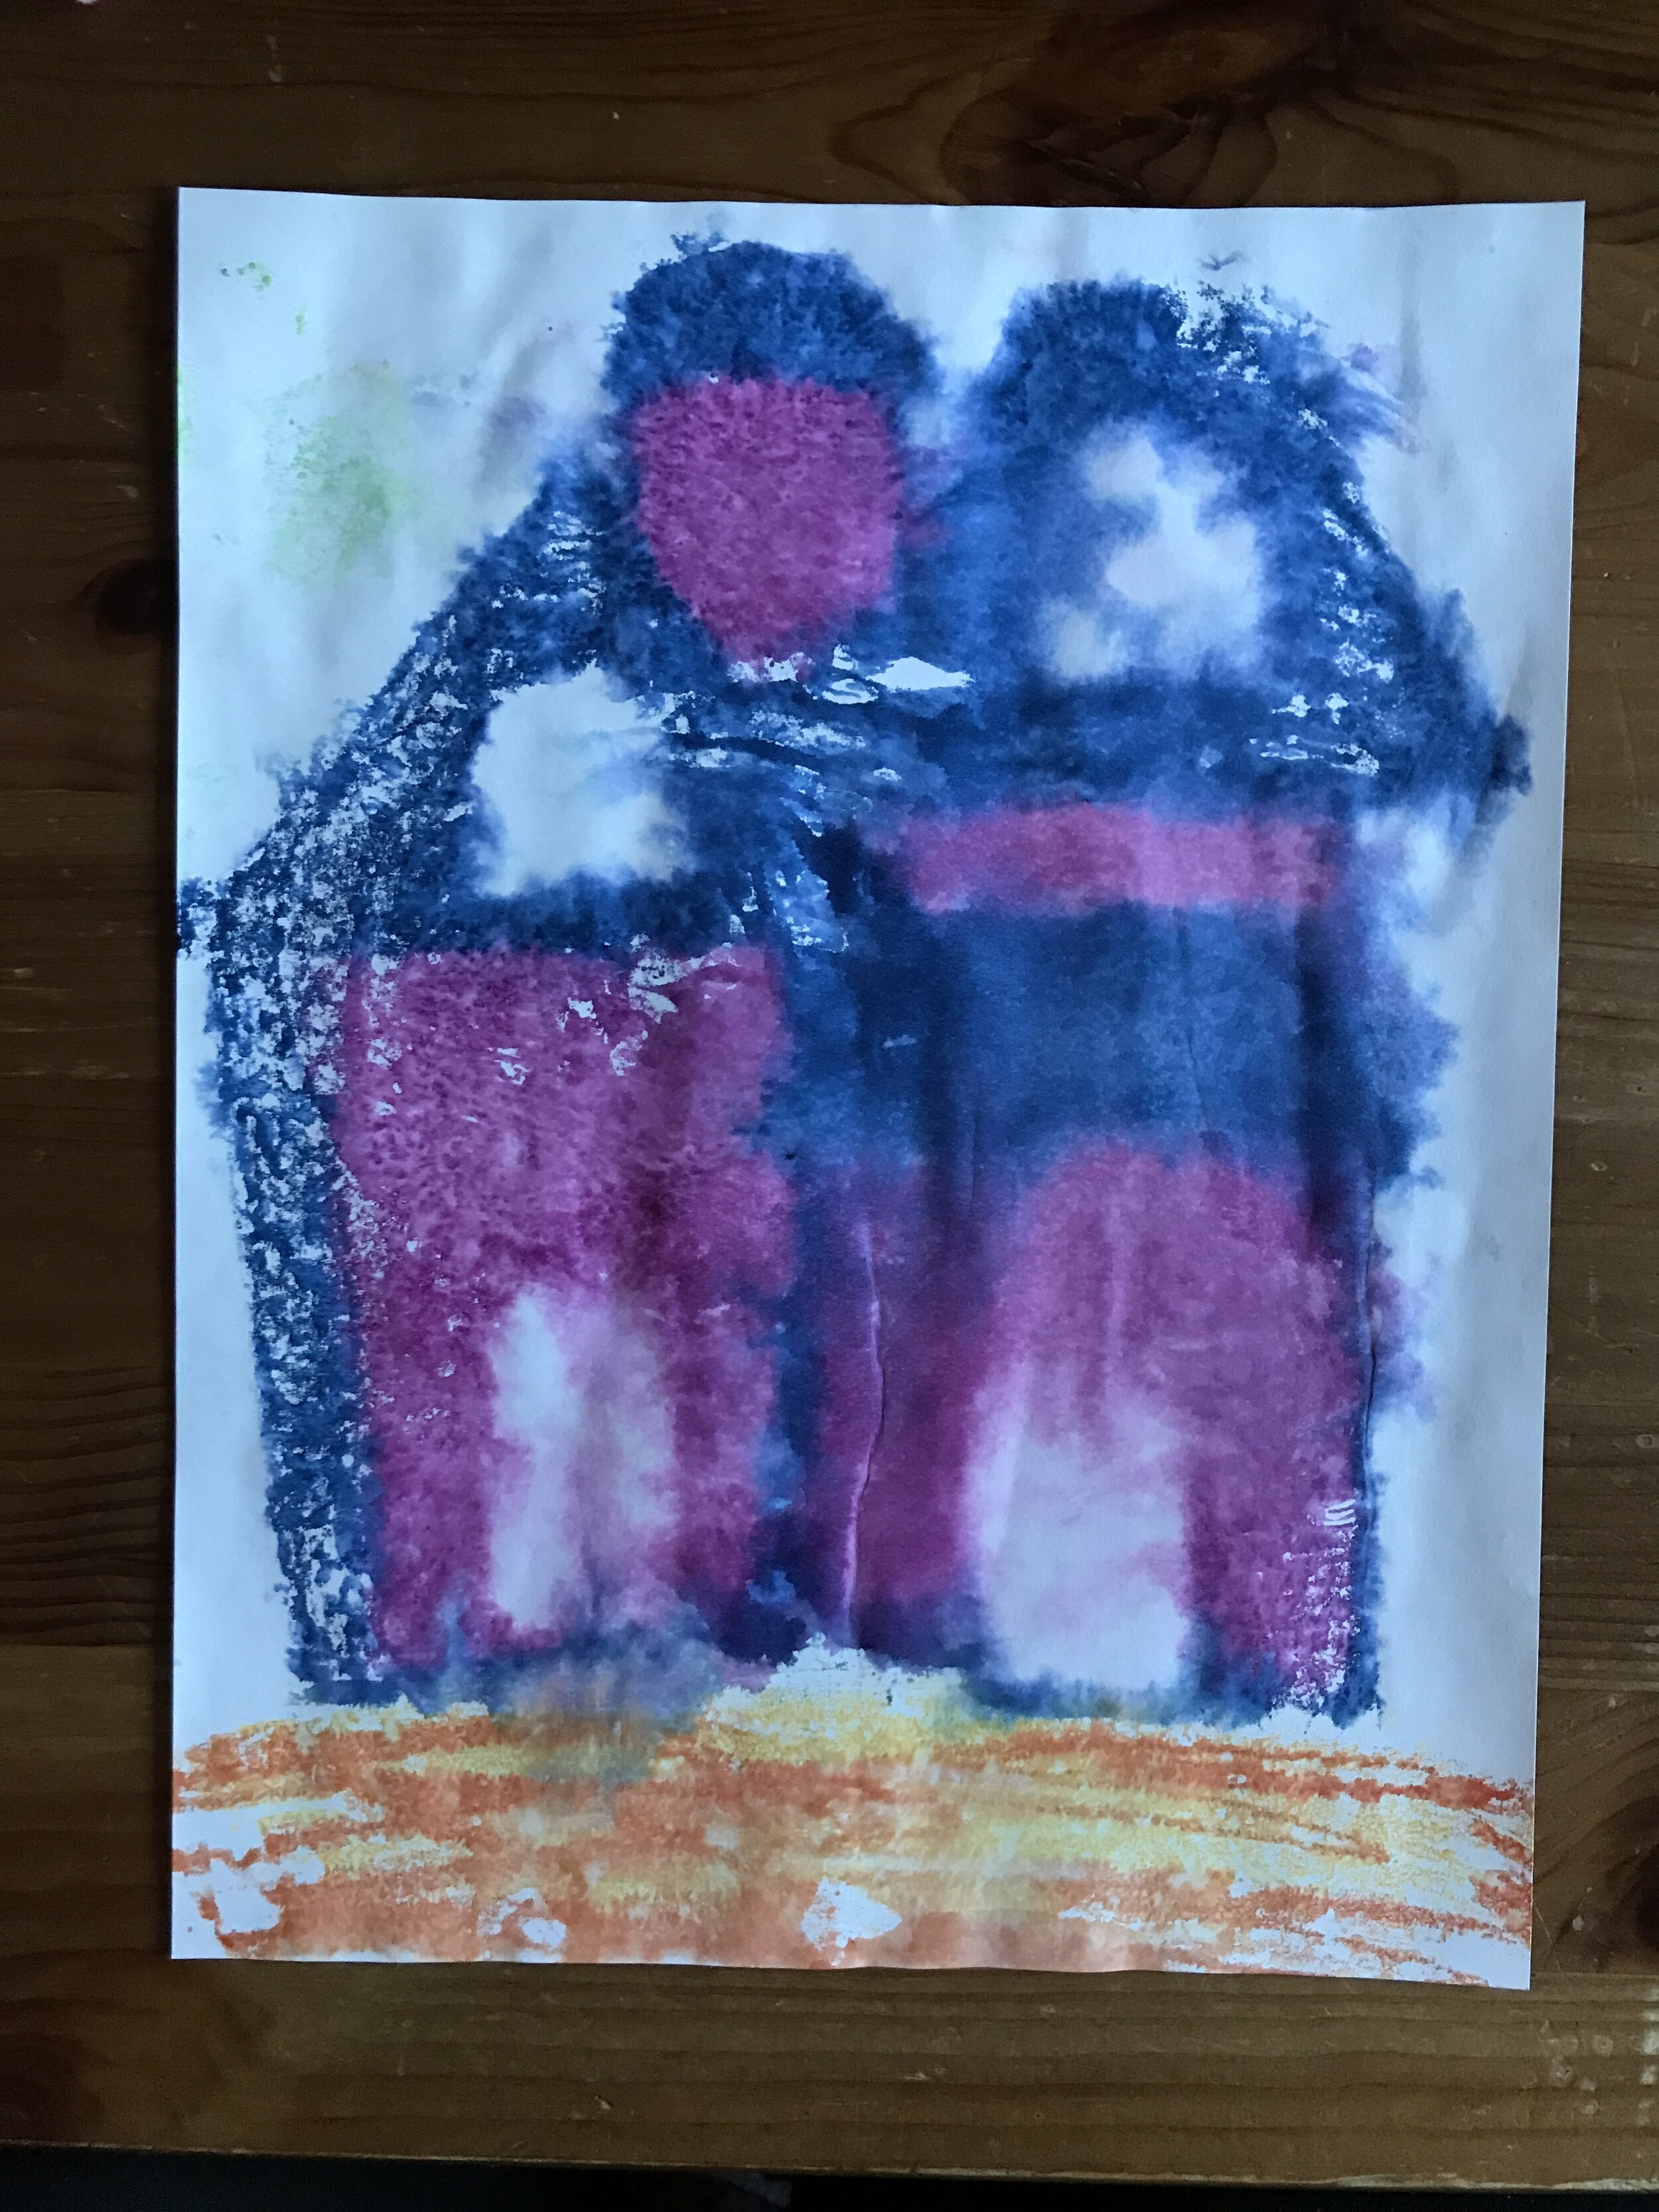
It can be helpful to decide on your design ahead of time and colour your paper accordingly. Bear in mind that once you spray the foil and lay your paper down, the marker may not hold its shape. But it can be a good guideline and jumping off point for when you add your embellishments. For instance, here I created a backdrop for the pumpkin you see in the sample picture, and chose large blocks of orange and yellow for the pumpkin shape itself. But when I pulled the actual print, it was certainly more abstract in nature. That’s normal! It’s part of the fun!
(Having a light touch will be helpful here as well, since any digs you make in the foil will provide a bit of resist and affect your stained glass tie-dye monoprinting. If you’re into that sort of thing, then go for it and experiment! But if you’re looking to replicate this, gentle is key!)


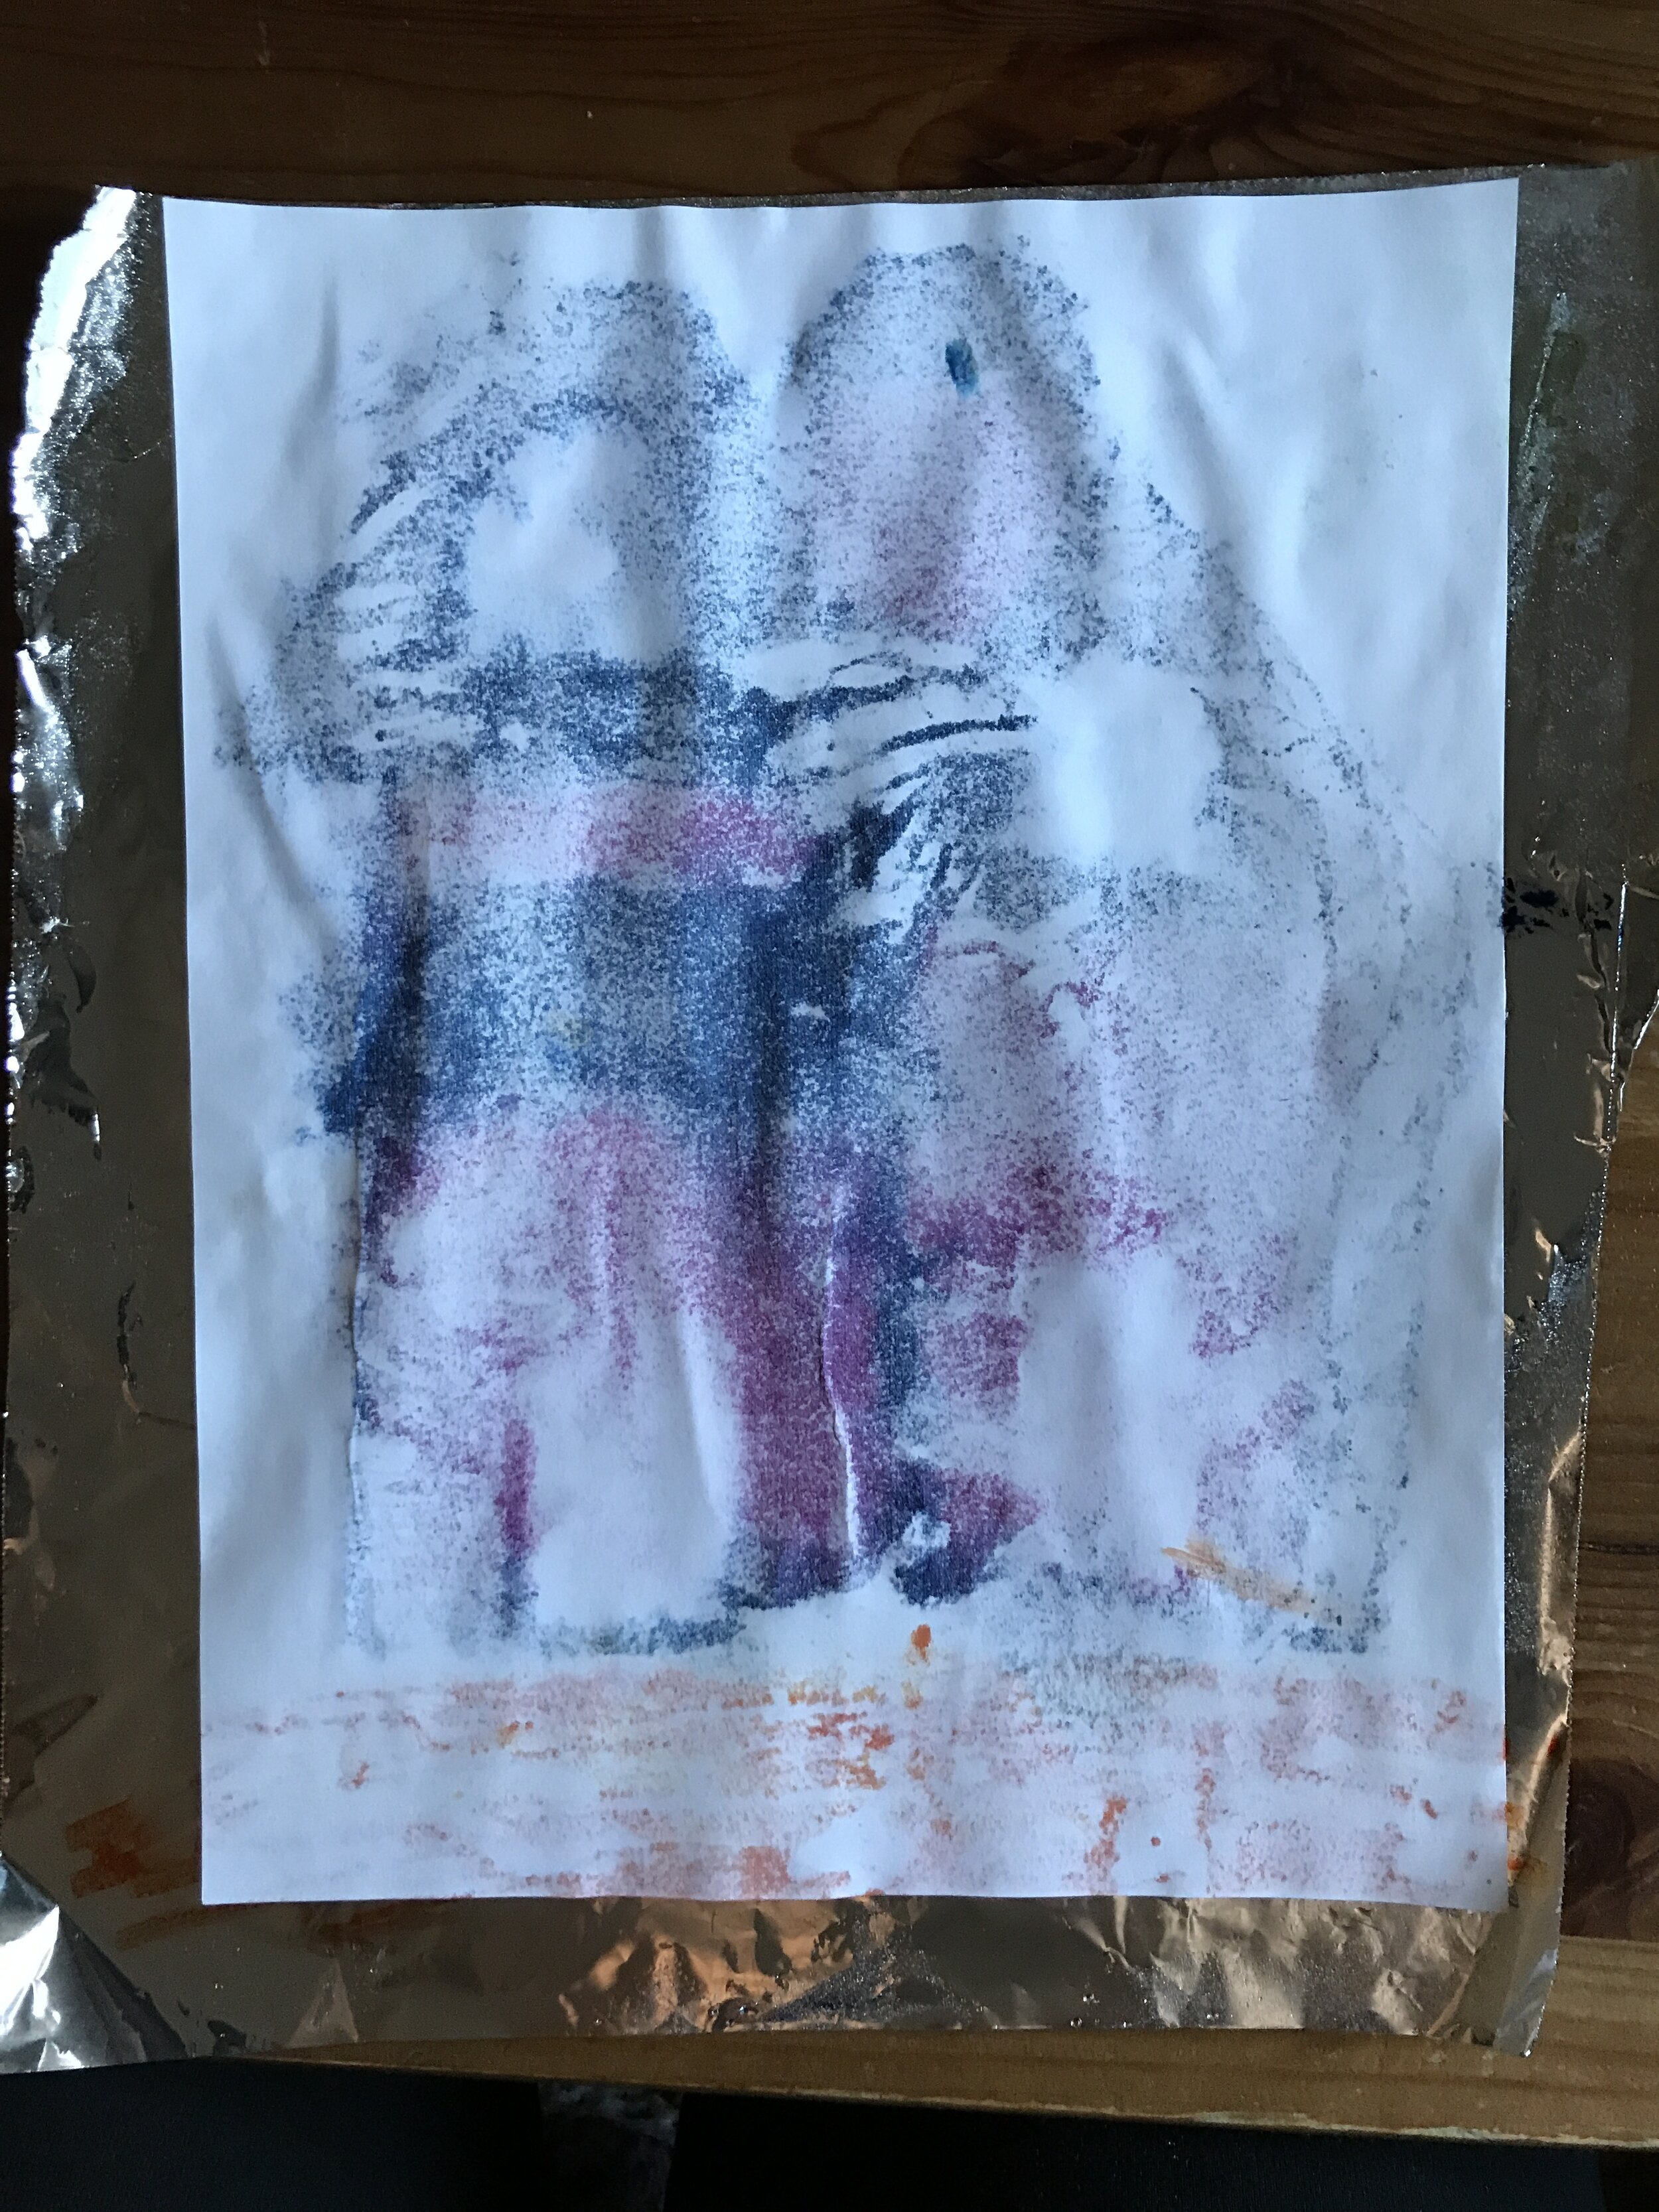
Step 2: Pulling Your Marker Monoprint
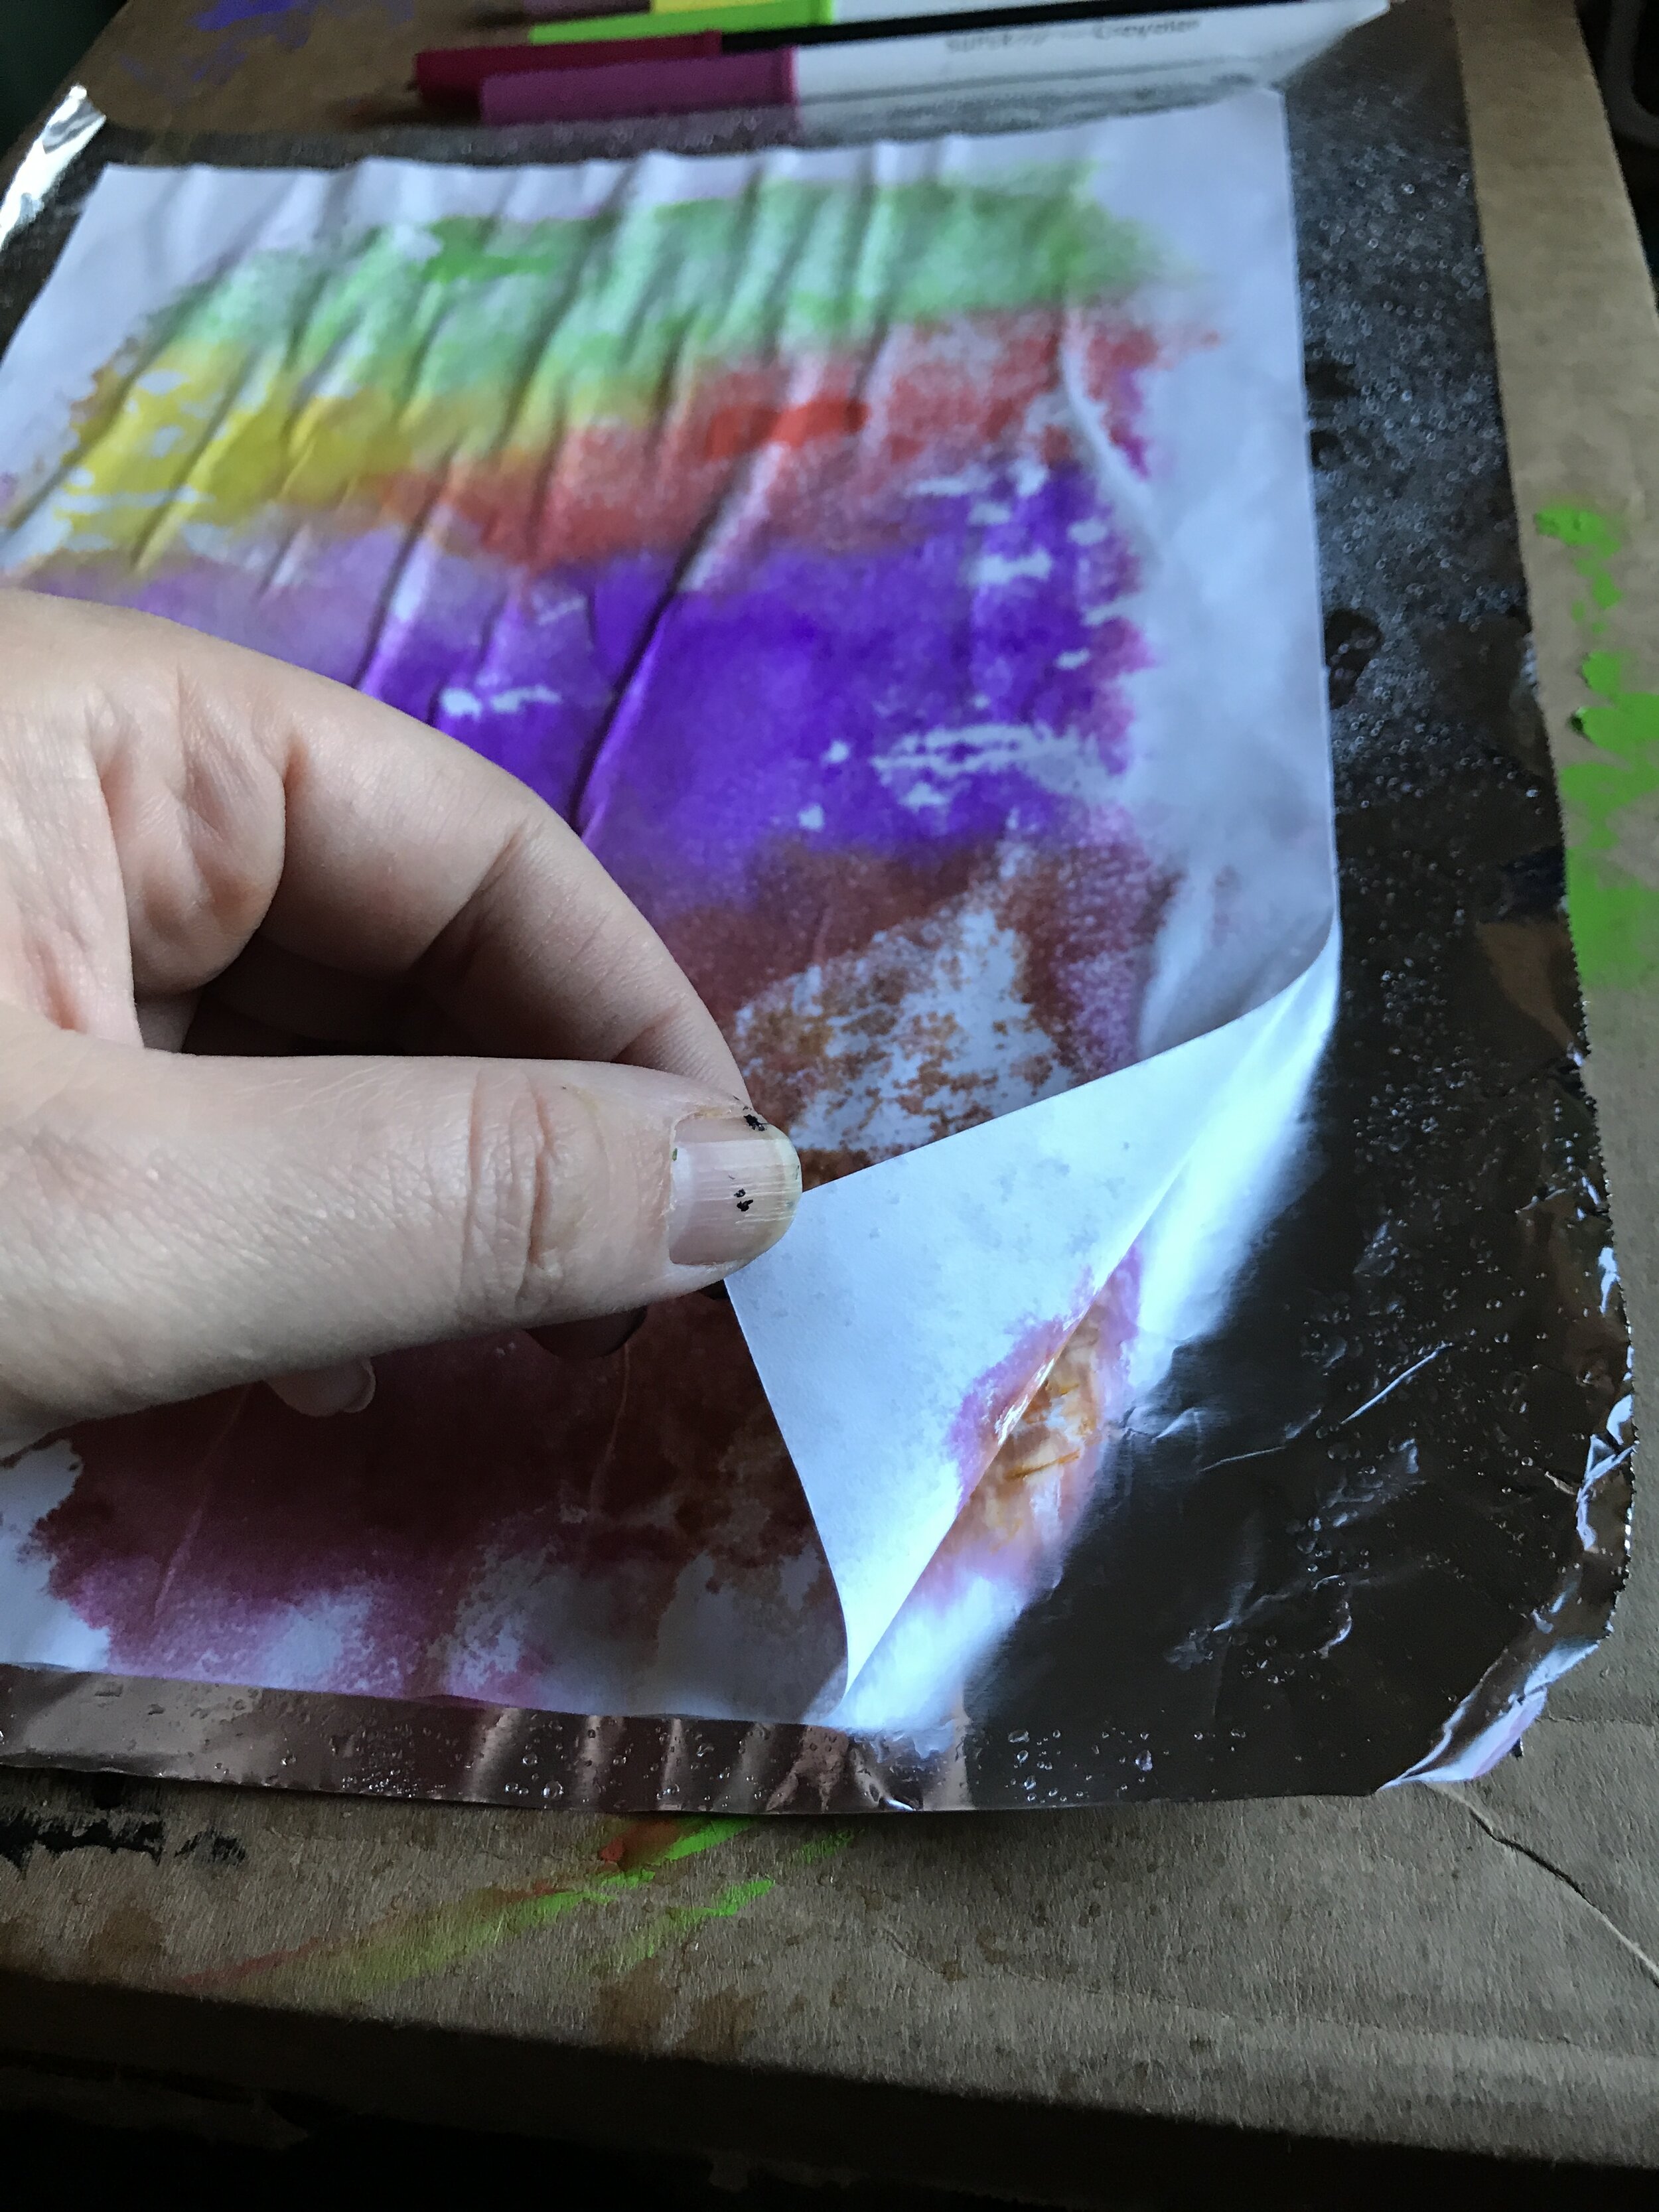
Hold the bottle 6” to 12” away from the surface and spray a gentle mist over the foil. Don’t oversaturate the foil or the paper will deteriorate. A light, fine mist is plenty! Place your paper over the top and gently smooth it out (copy paper can get weak when wet, so an adult might need to help small ones to avoid tearing!) Leave the paper there for a minute or two to soak up the marker ink. Once you see the marker start to appear on the backside and the ink has transferred to the paper, gently and slowly peel the paper back from the foil. (Once again you’ll want to set this aside to dry, or have an adult/teenager do some light work with a blowdryer set to cool to speed the process up.)
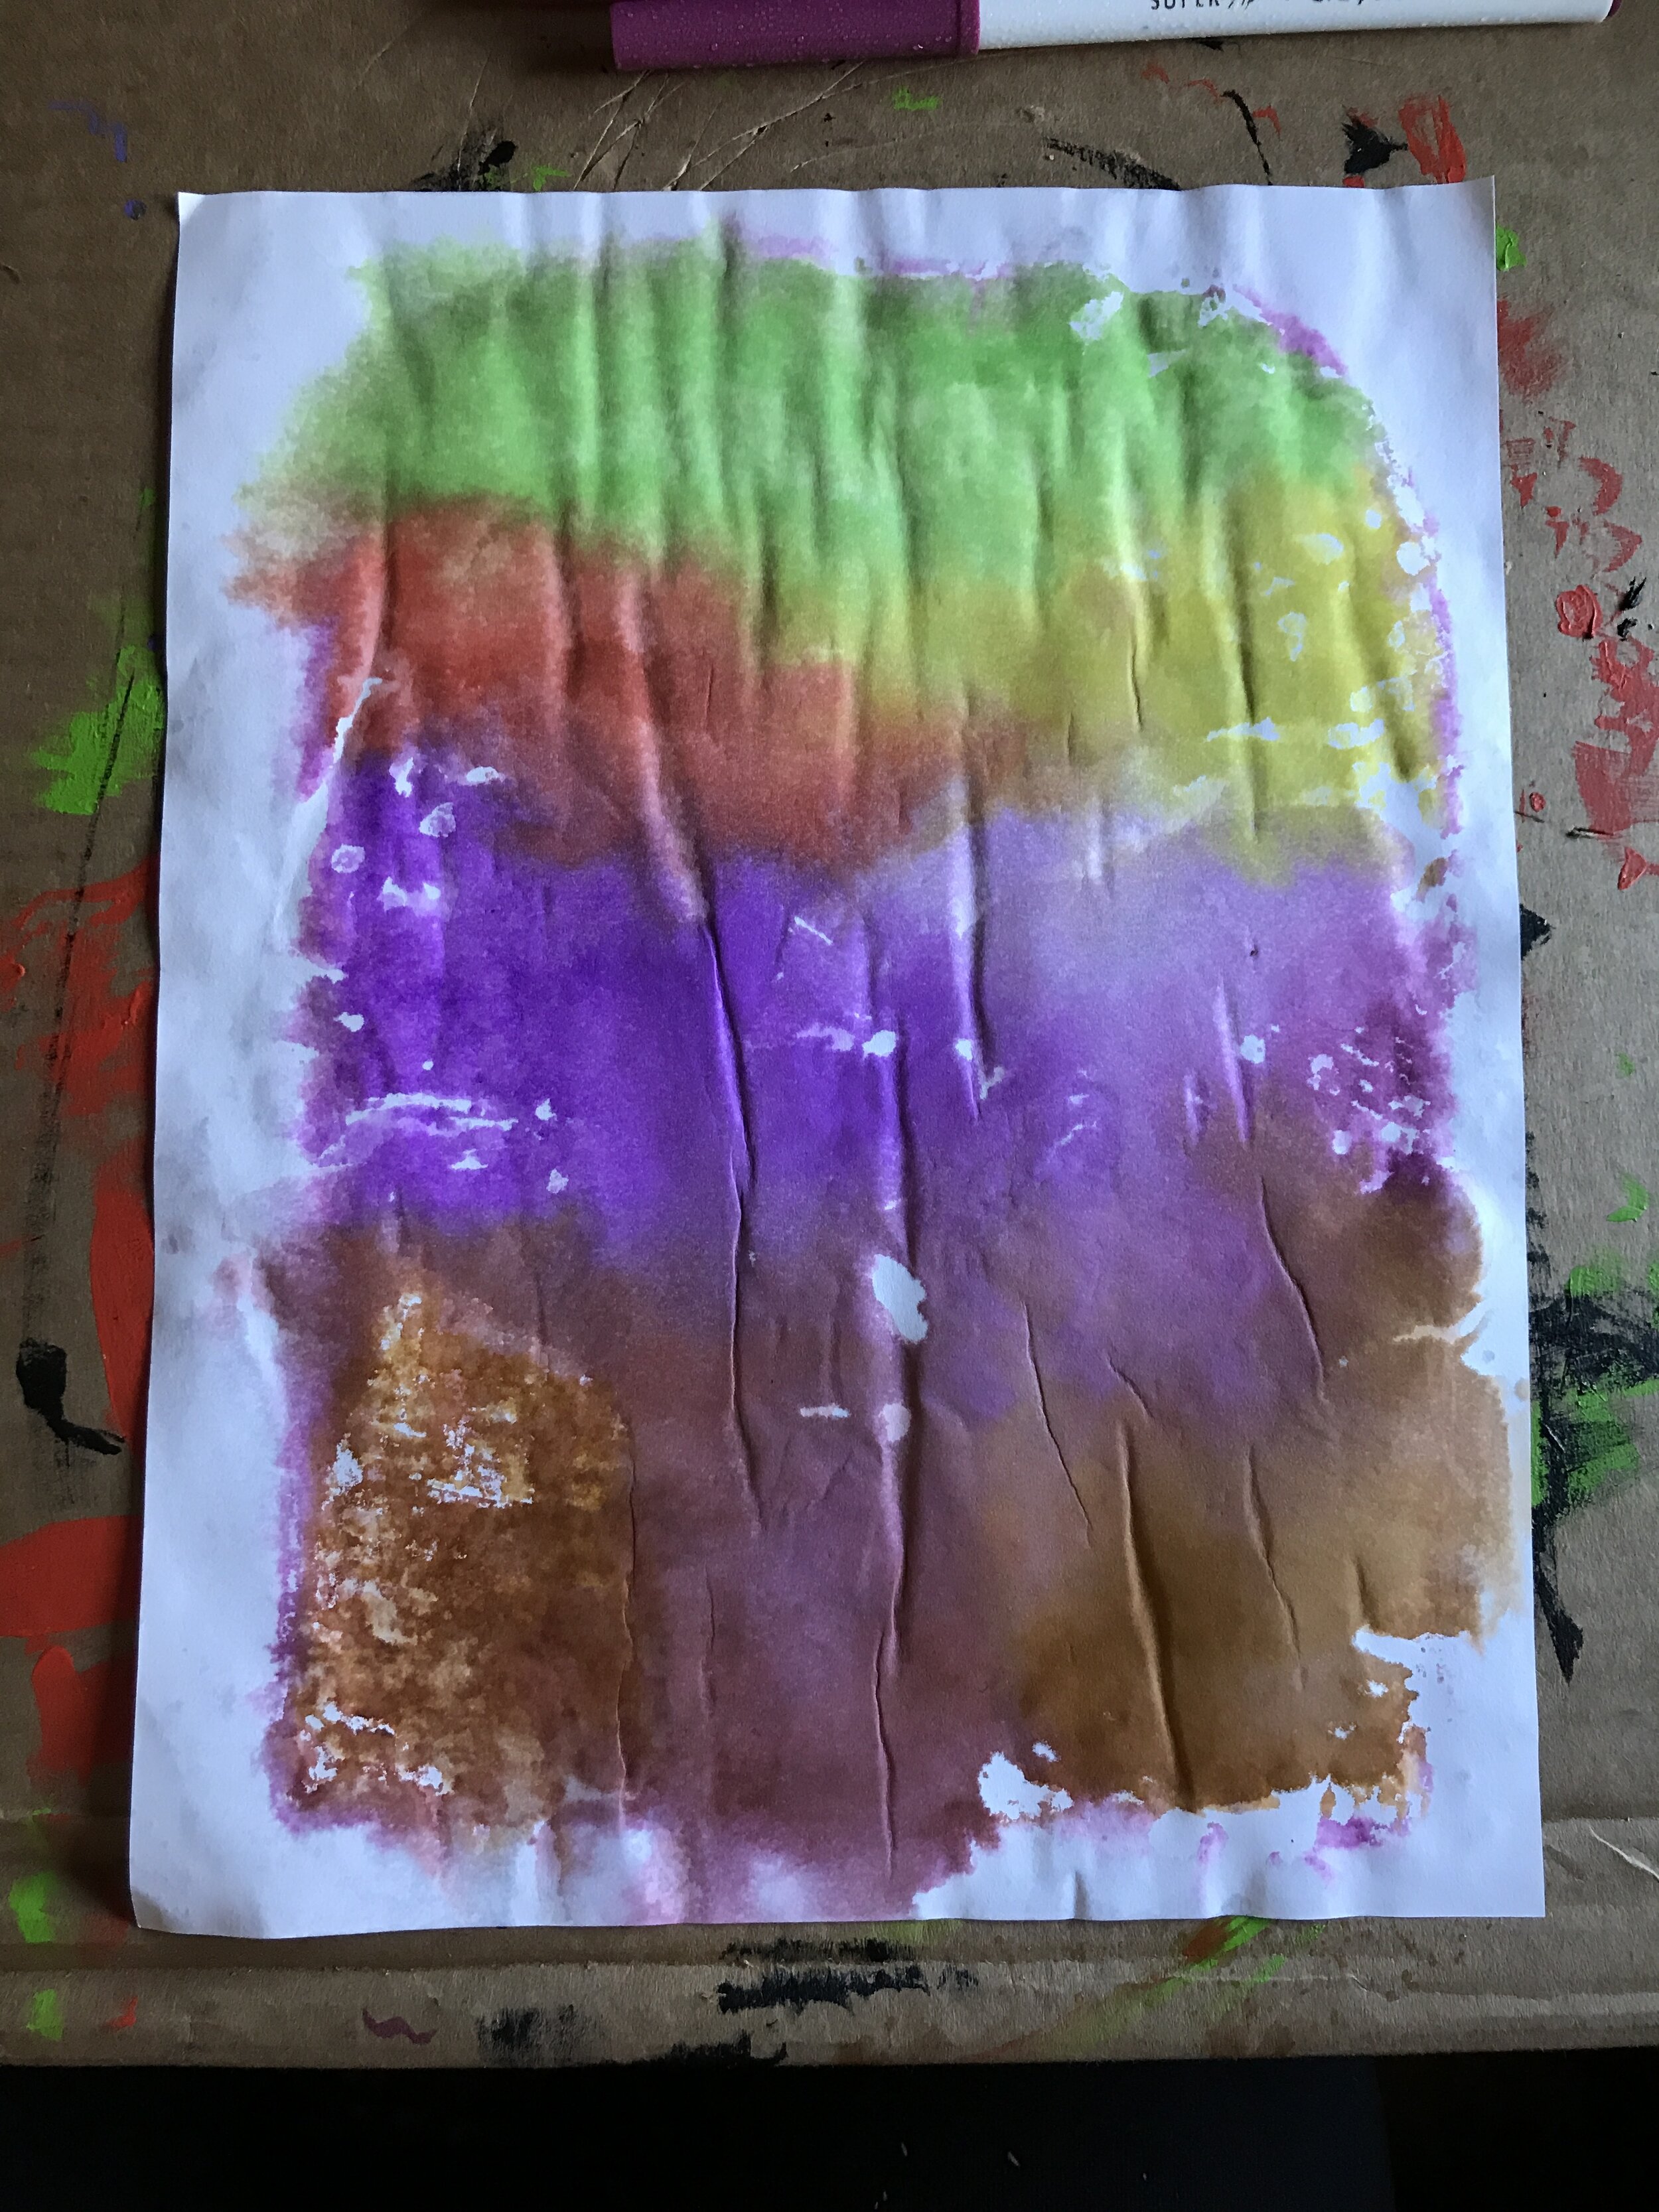
It’s okay if your paper crinkles a little! You can smooth it out more when you glue it to the cardboard frame! Don’t despair if you have white patches, it’s okay to have little imperfections or wrinkles. It’s also alright if the colours appear a bit more muted than they did on the foil, because as it dries they’ll be a little darker. Lighter inks will also make it easier to draw your shapes on top of it.
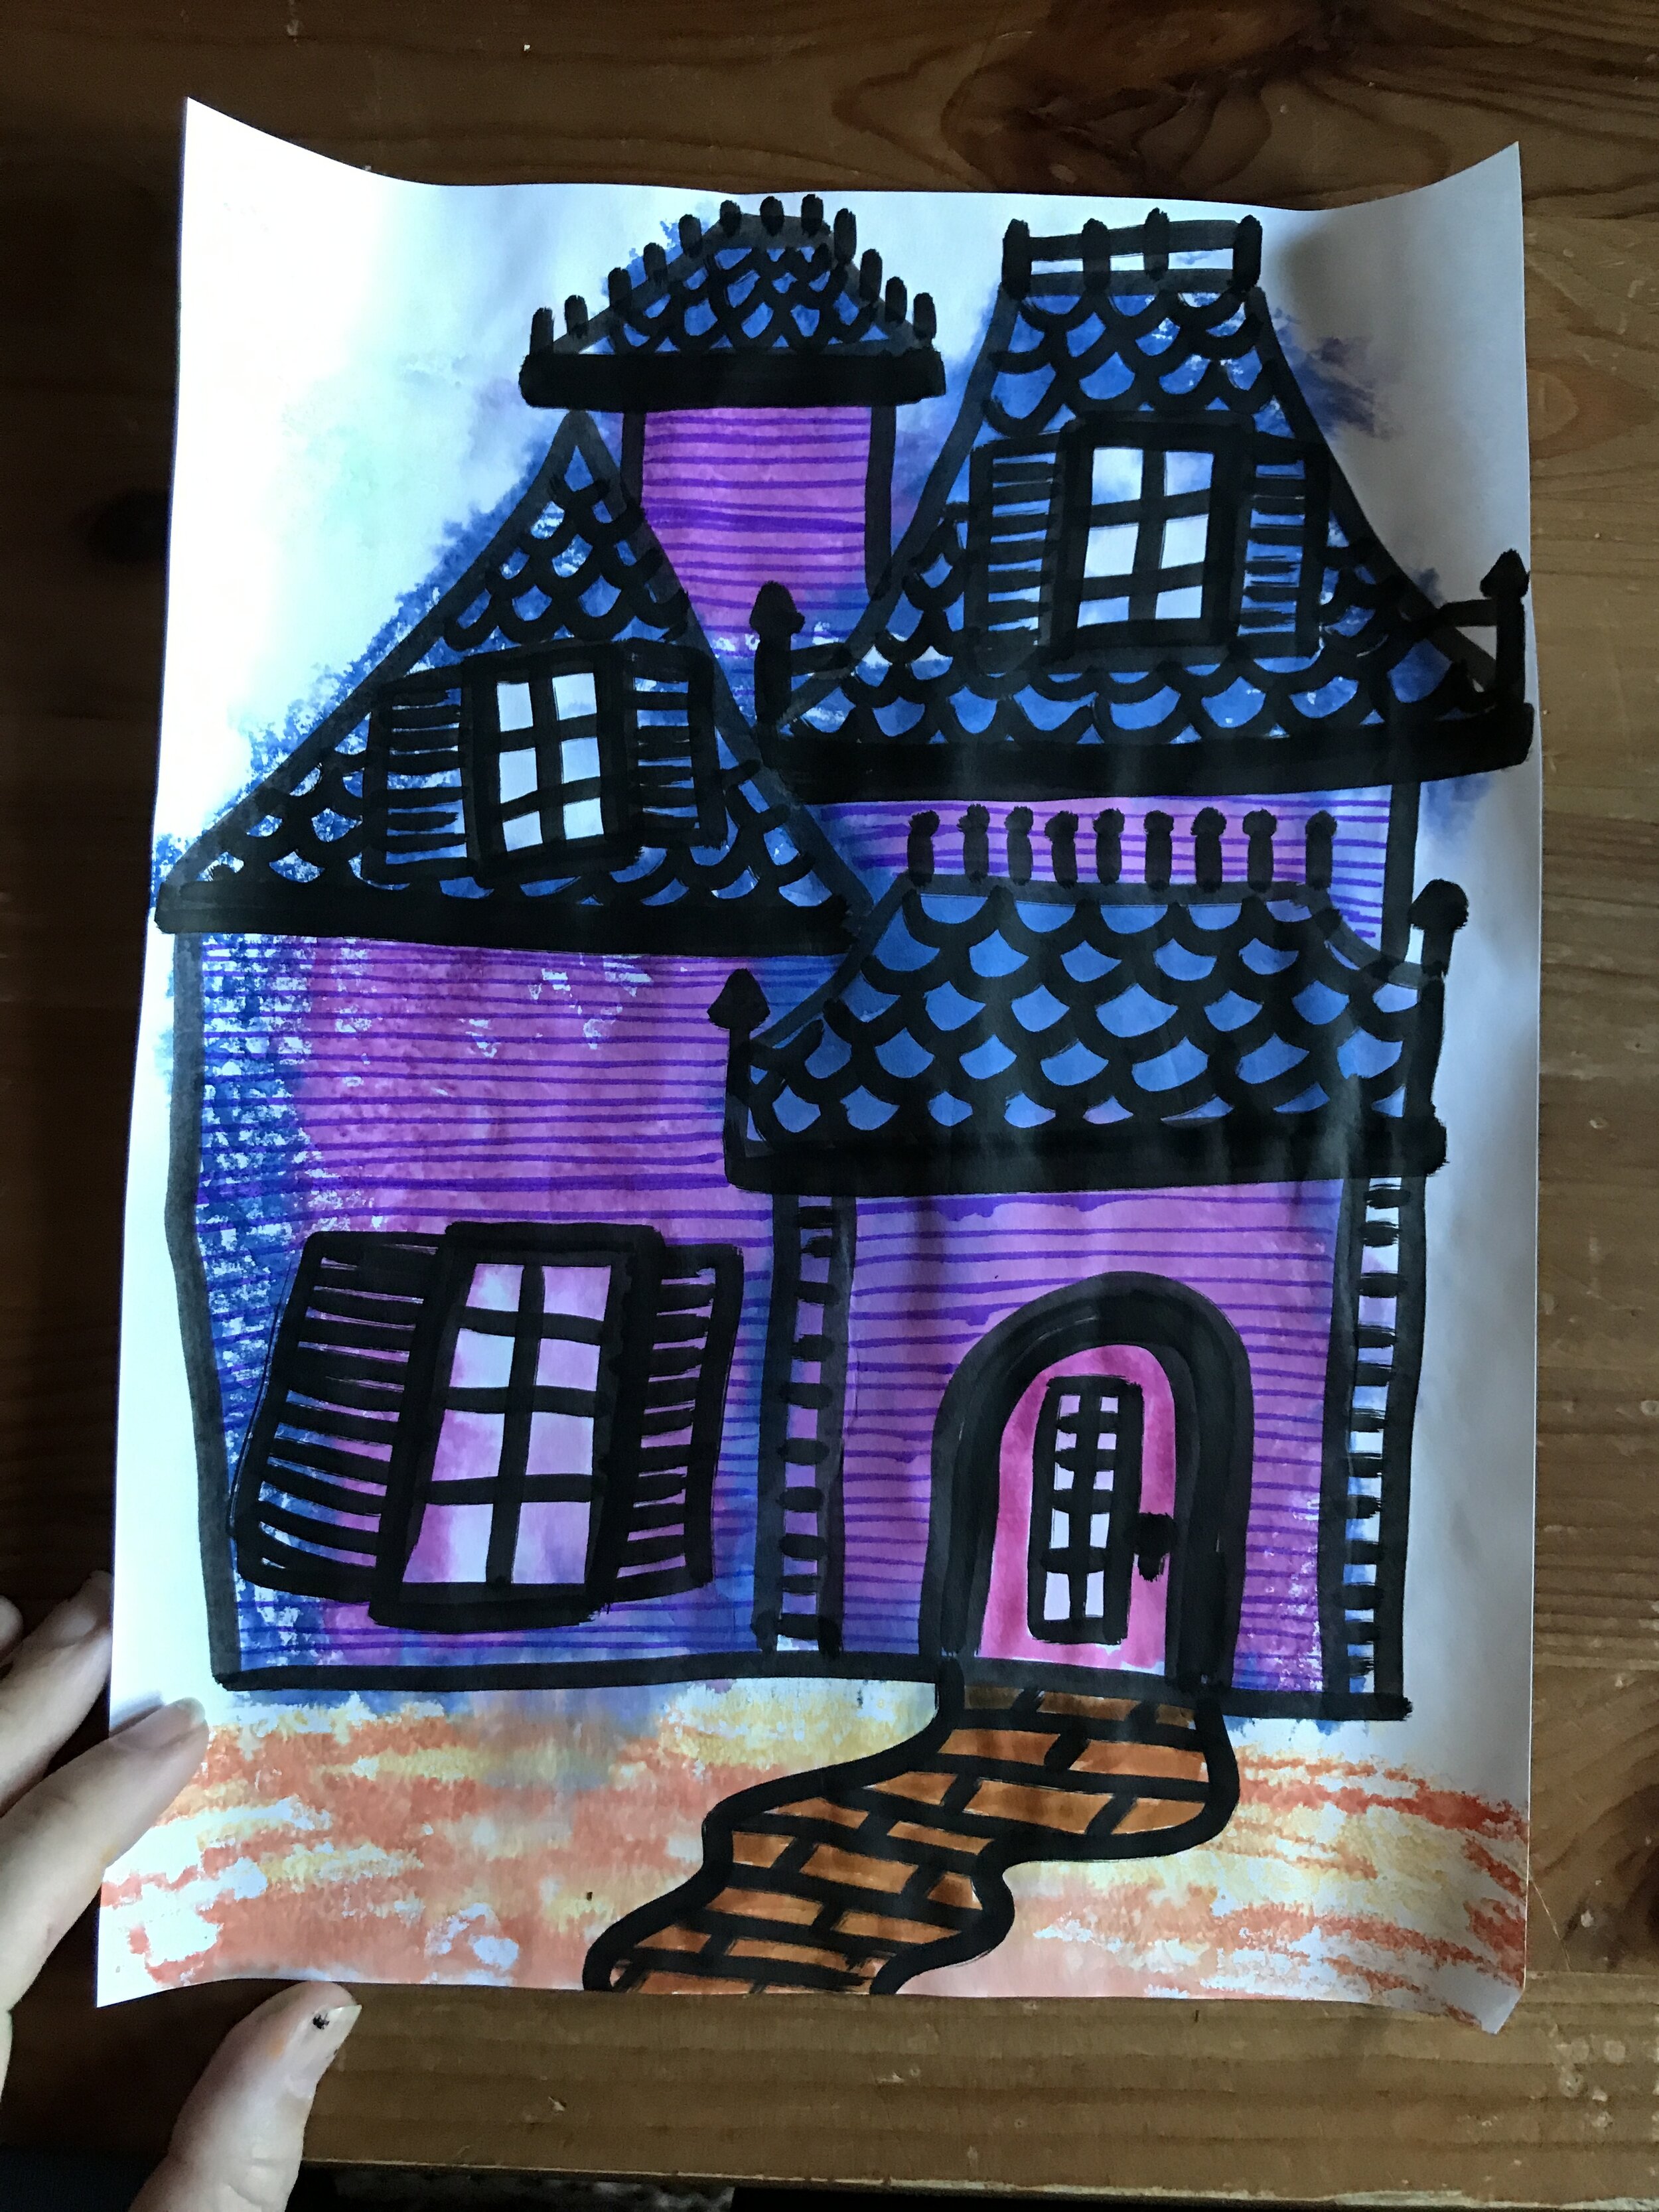


Step 3: Embellish your Monoprints with Shapes and Outlines
Once your monoprint paper is dry and there’s no risk of tearing, it’s time to apply finishing touches!
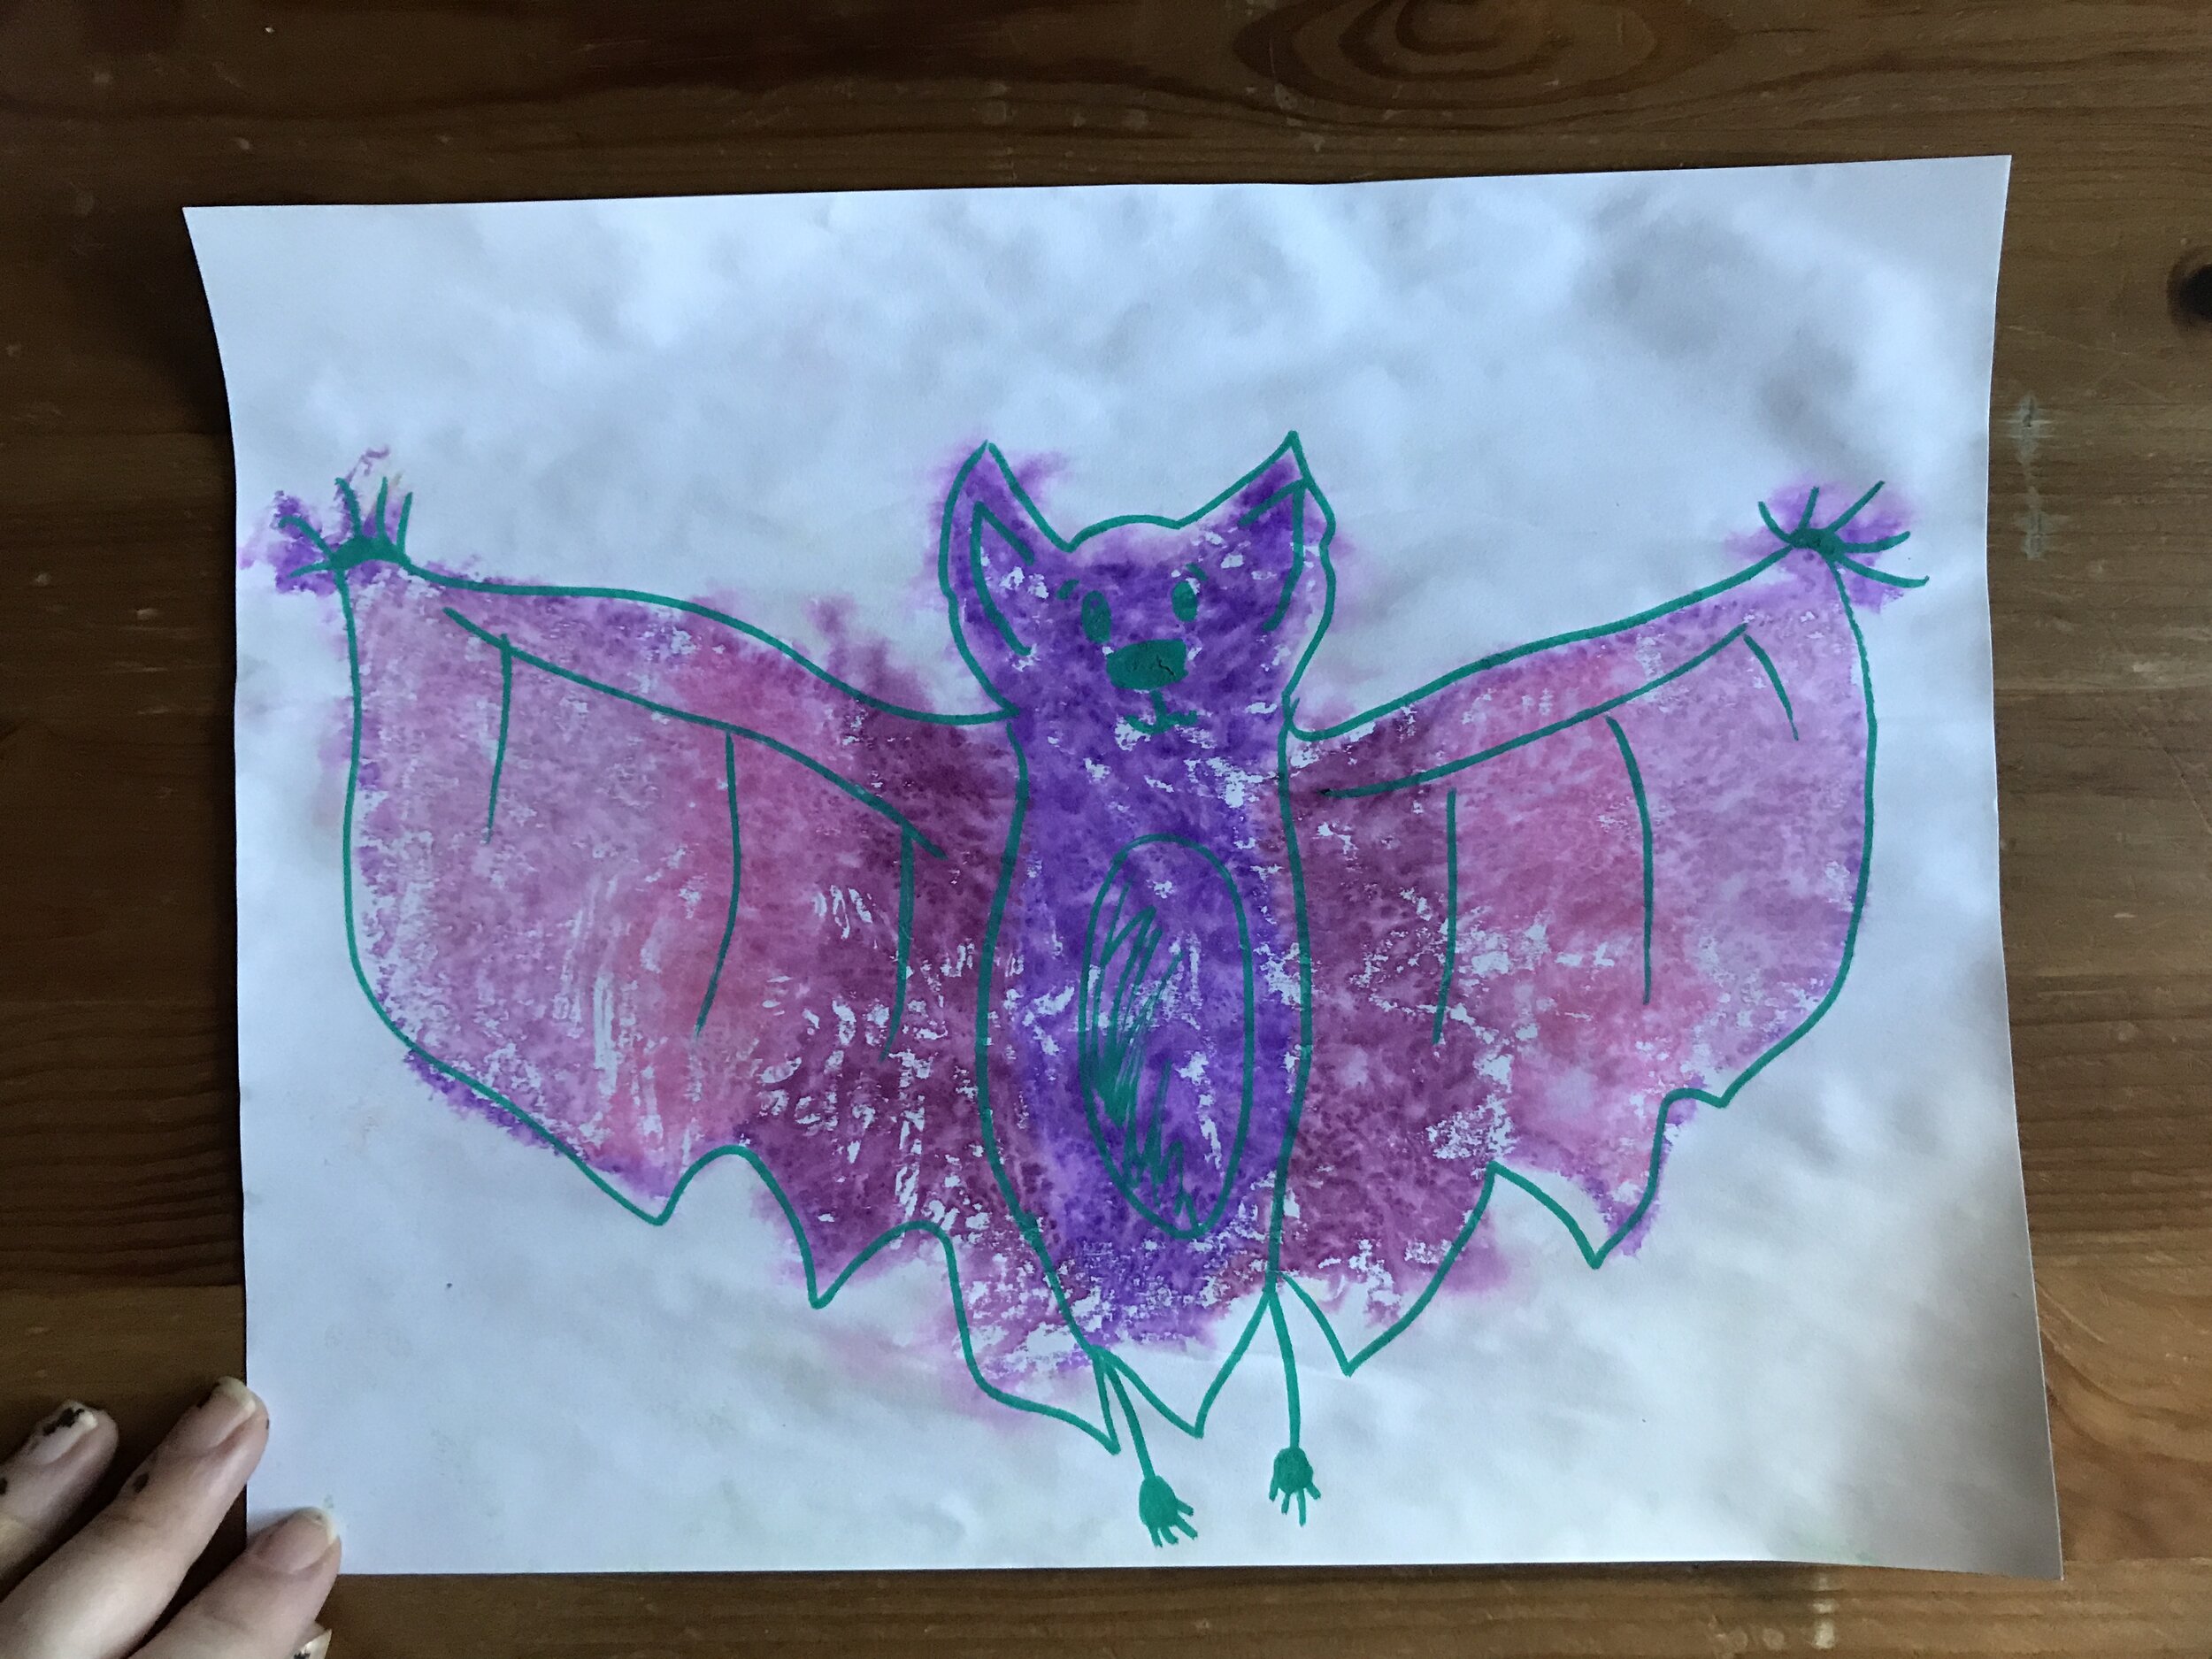
Use markers, crayons, coloured pencils, or paint to create shapes or figures or haunted houses on your monoprint.
I created a Haunted house, a pumpkin, and a bat but you can make whatever you wish!
You can even use these monoprint designs as a feature inset design for anopen frame stained glass window craft!
A FUN VARIATION:
Before you colour and spray your foil, try this nifty trick on your paper!
You can also experiment by using white non-washable crayon on your white paper before placing it on top of the foil to pull your print. It will create a type of “resist” that blocks the marker ink from the paper, creating some fun mystery designs or secret messages when you pull your print!
Arts and Crafts Project Designed by Ellen Avigliano
Twitter: @imaginariumcs
Instagram: @imaginariumarts
Website: www.imaginariumarts.com
