

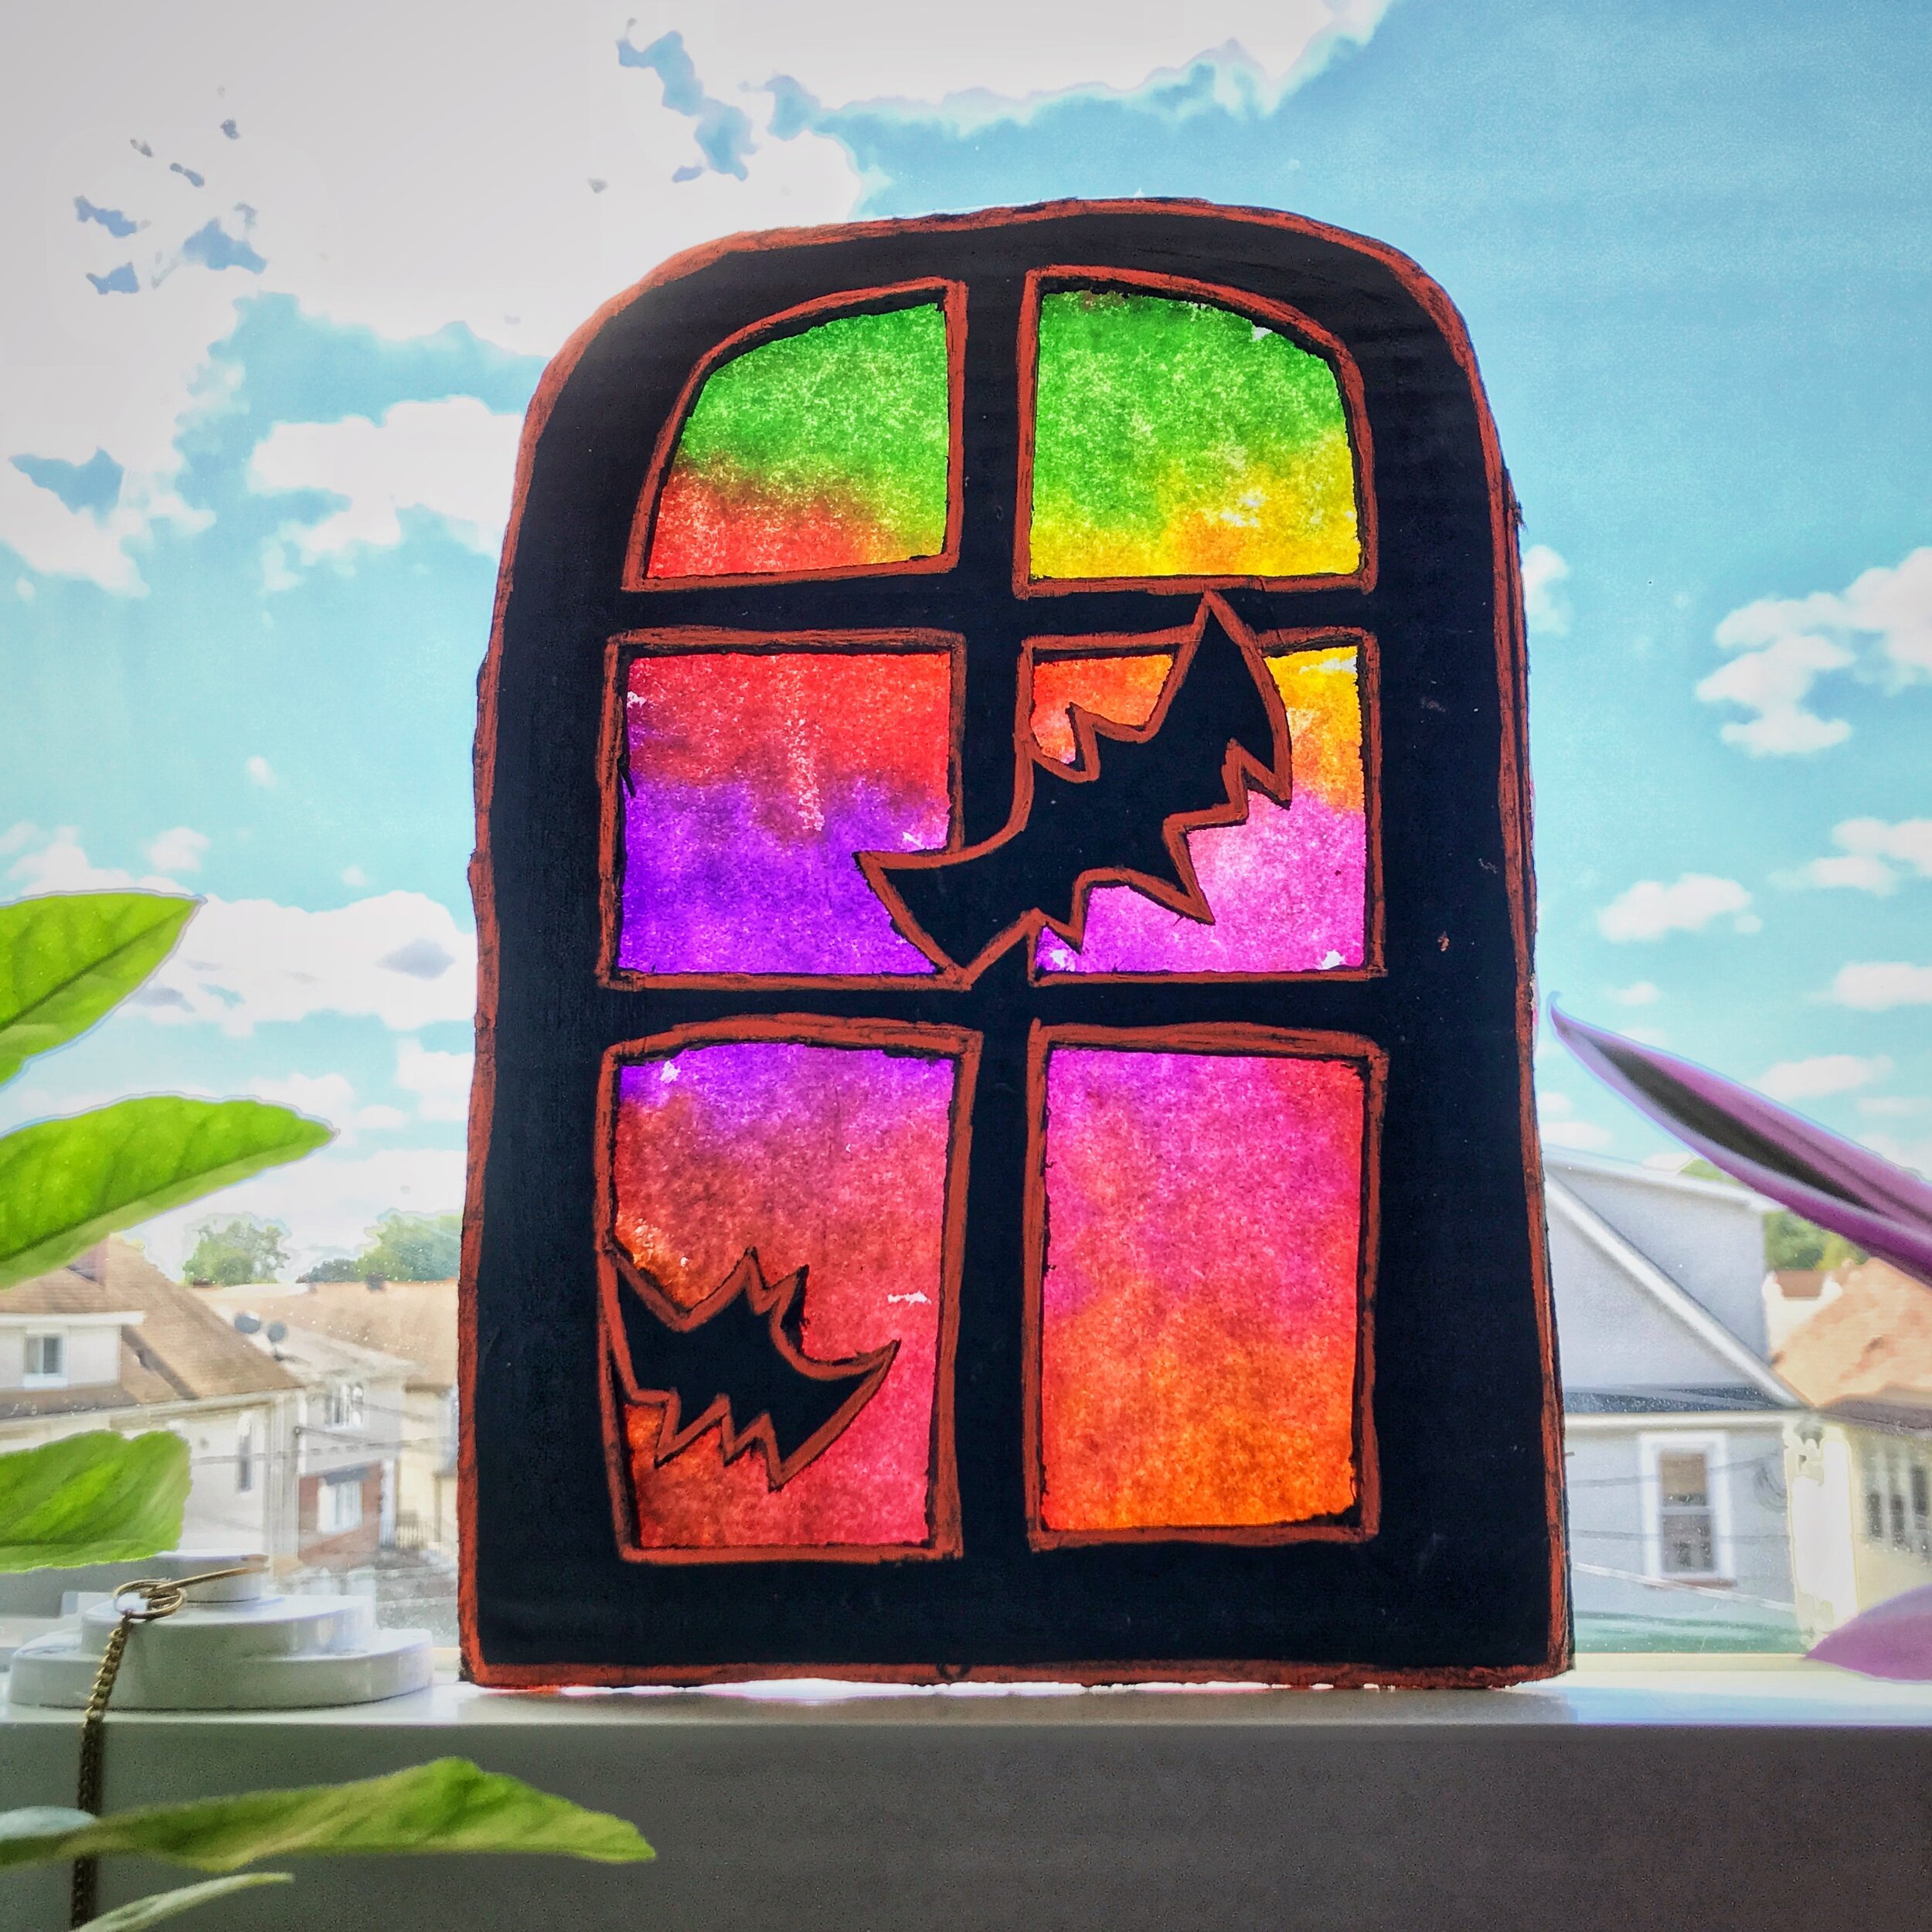
DIY Spooky Stained Glass Window


The Artist’s Spooky Sample of the Finished Project!
I love a good DIY decoration, and especially if it’s one that the whole family can enjoy! Today I’m sharing my tutorial for a spooky stained glass window that’s sure to please everyone in your household.
This craft is budget friendly and easy enough to do with repurposed household items, copy paper, and cheap kid friendly markers!
If you’re doing this project with teens or older kids, you can also skip the water based markers and opt for alcohol markers and use blender markers on vellum to create smoother transitions (but it’s not as fun as waterbased and a spray bottle!!!) You can make them on a larger scale using bigger pieces of cardboard and a roll of paper, or get fancy by using Vellum or textured tracing paper!
Yesterday we shared our easy steps to make Marker Monoprints,
which is how you’ll be creating the stained glass effect for this project.
But don’t worry, we’ll cover it again step by step on this post just in case you missed it or need a refresher!
MATERIALS REQUIRED:
Recycled Cardboard (box lids, shoeboxes, cereal boxes, etc)
Tempera or Acrylic Paint
Washable Markers
Paint Brushes of Various Sizes or cut up sponges for daubing paint on
Clean Spraybottle filled with Water
(DO NOT repurpose cleaning bottles for this!!!)
Craft Scissors (OLDER KIDS AND ADULTS ONLY)
An Exacto Knife (ADULT USE ONLY)
A Hot Glue Gun (ADULTS USE ONLY) or Tacky Glue or School Glue or Gluesticks
*Glue Gun works best for adhering the paper to cardboard, but other glues will work fine just need more drying time!)Aluminum Foil (you’ll be using the shiny side!)
White Copy Paper, Tracing Paper, or Vellum
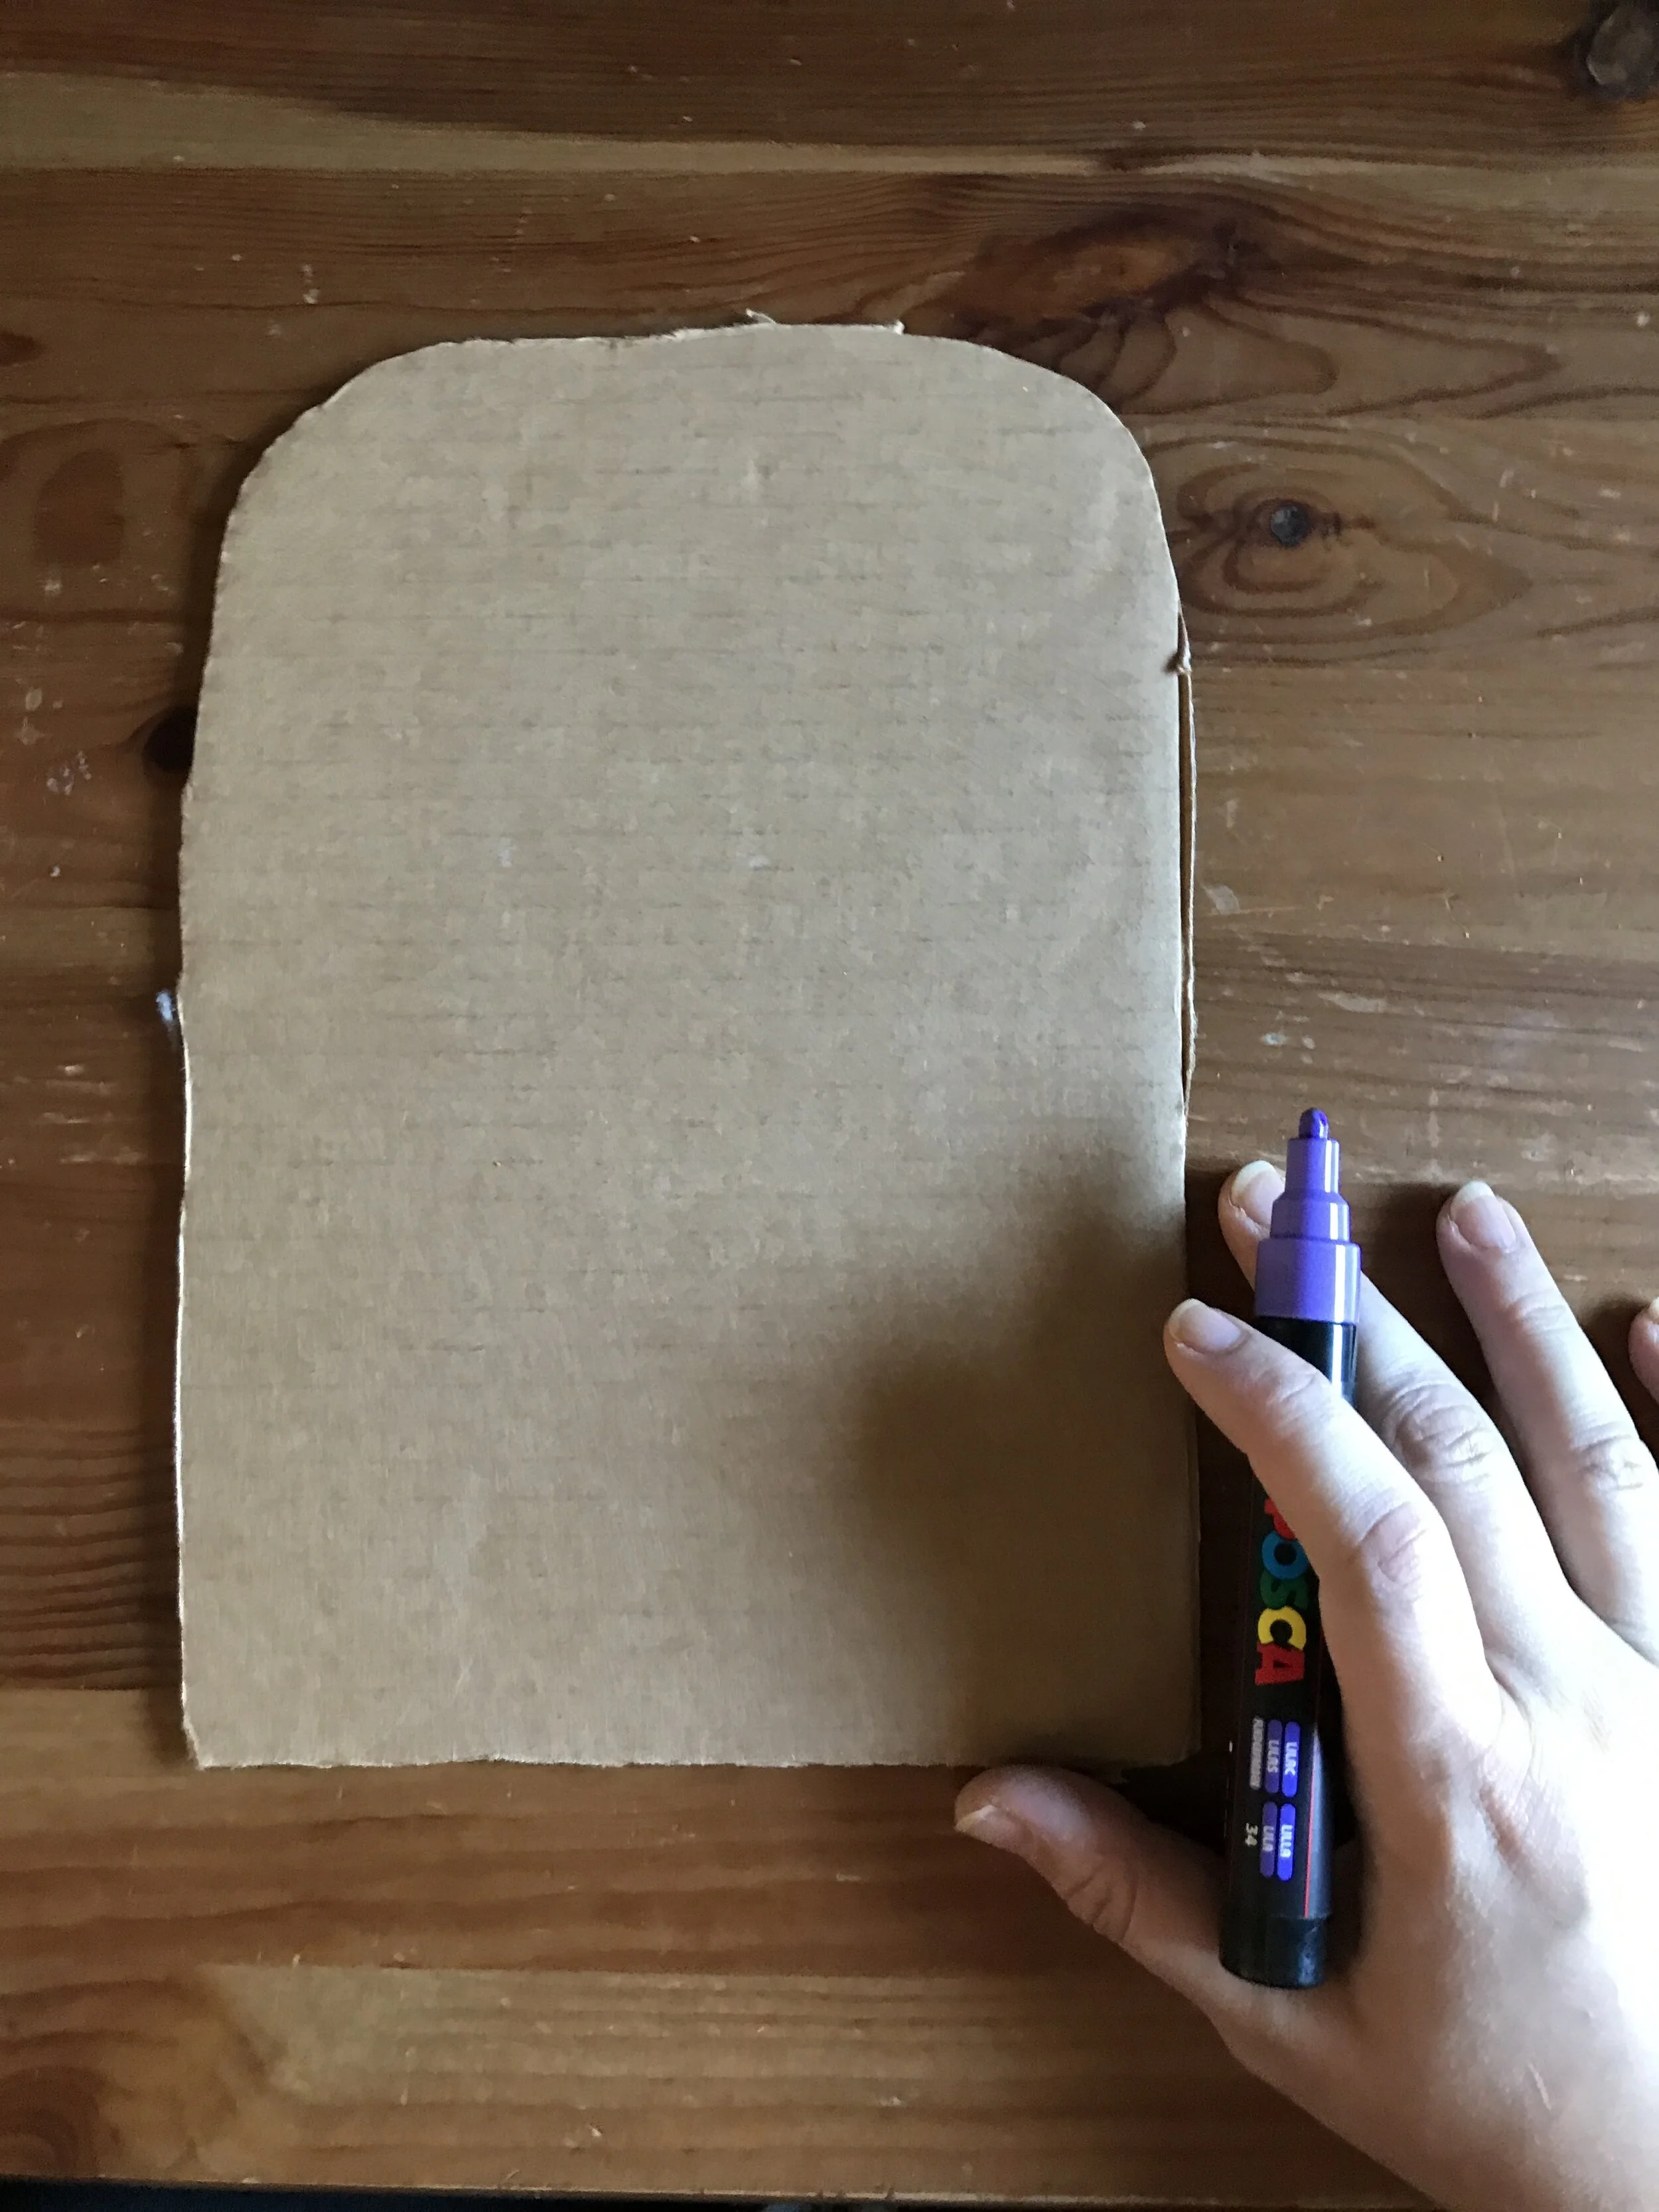

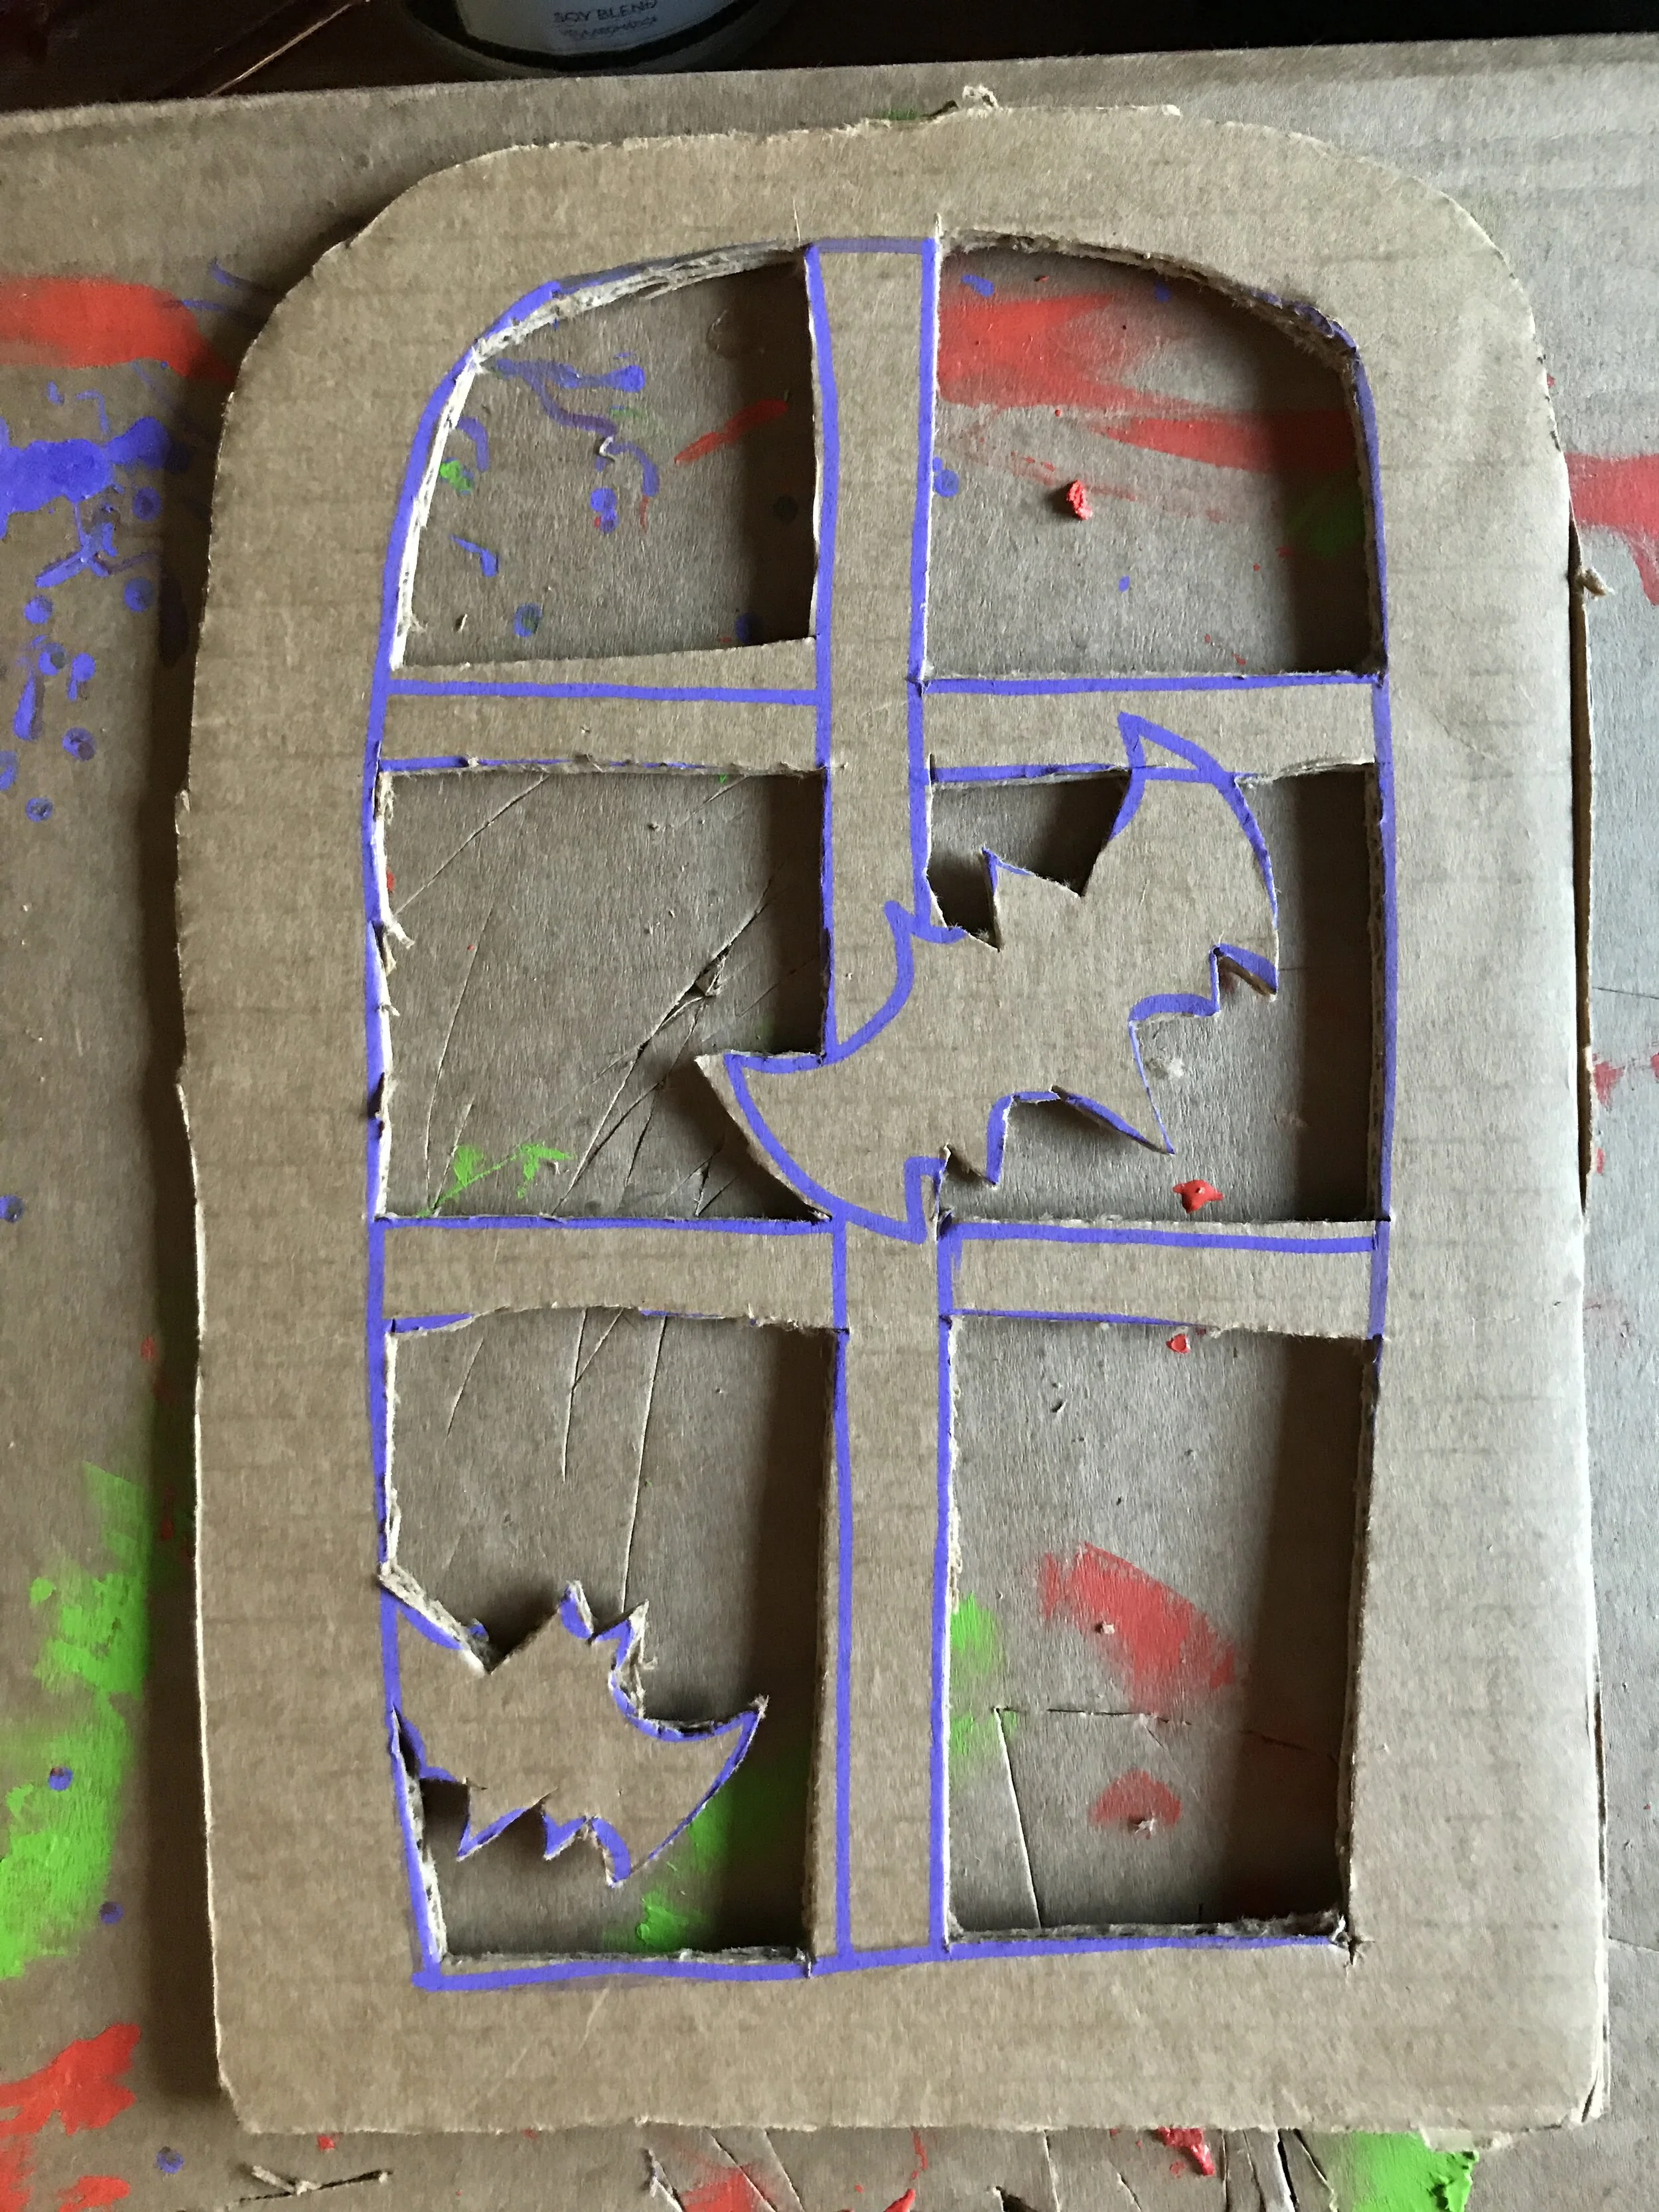
Step 1: Designing and Cutting Your Window
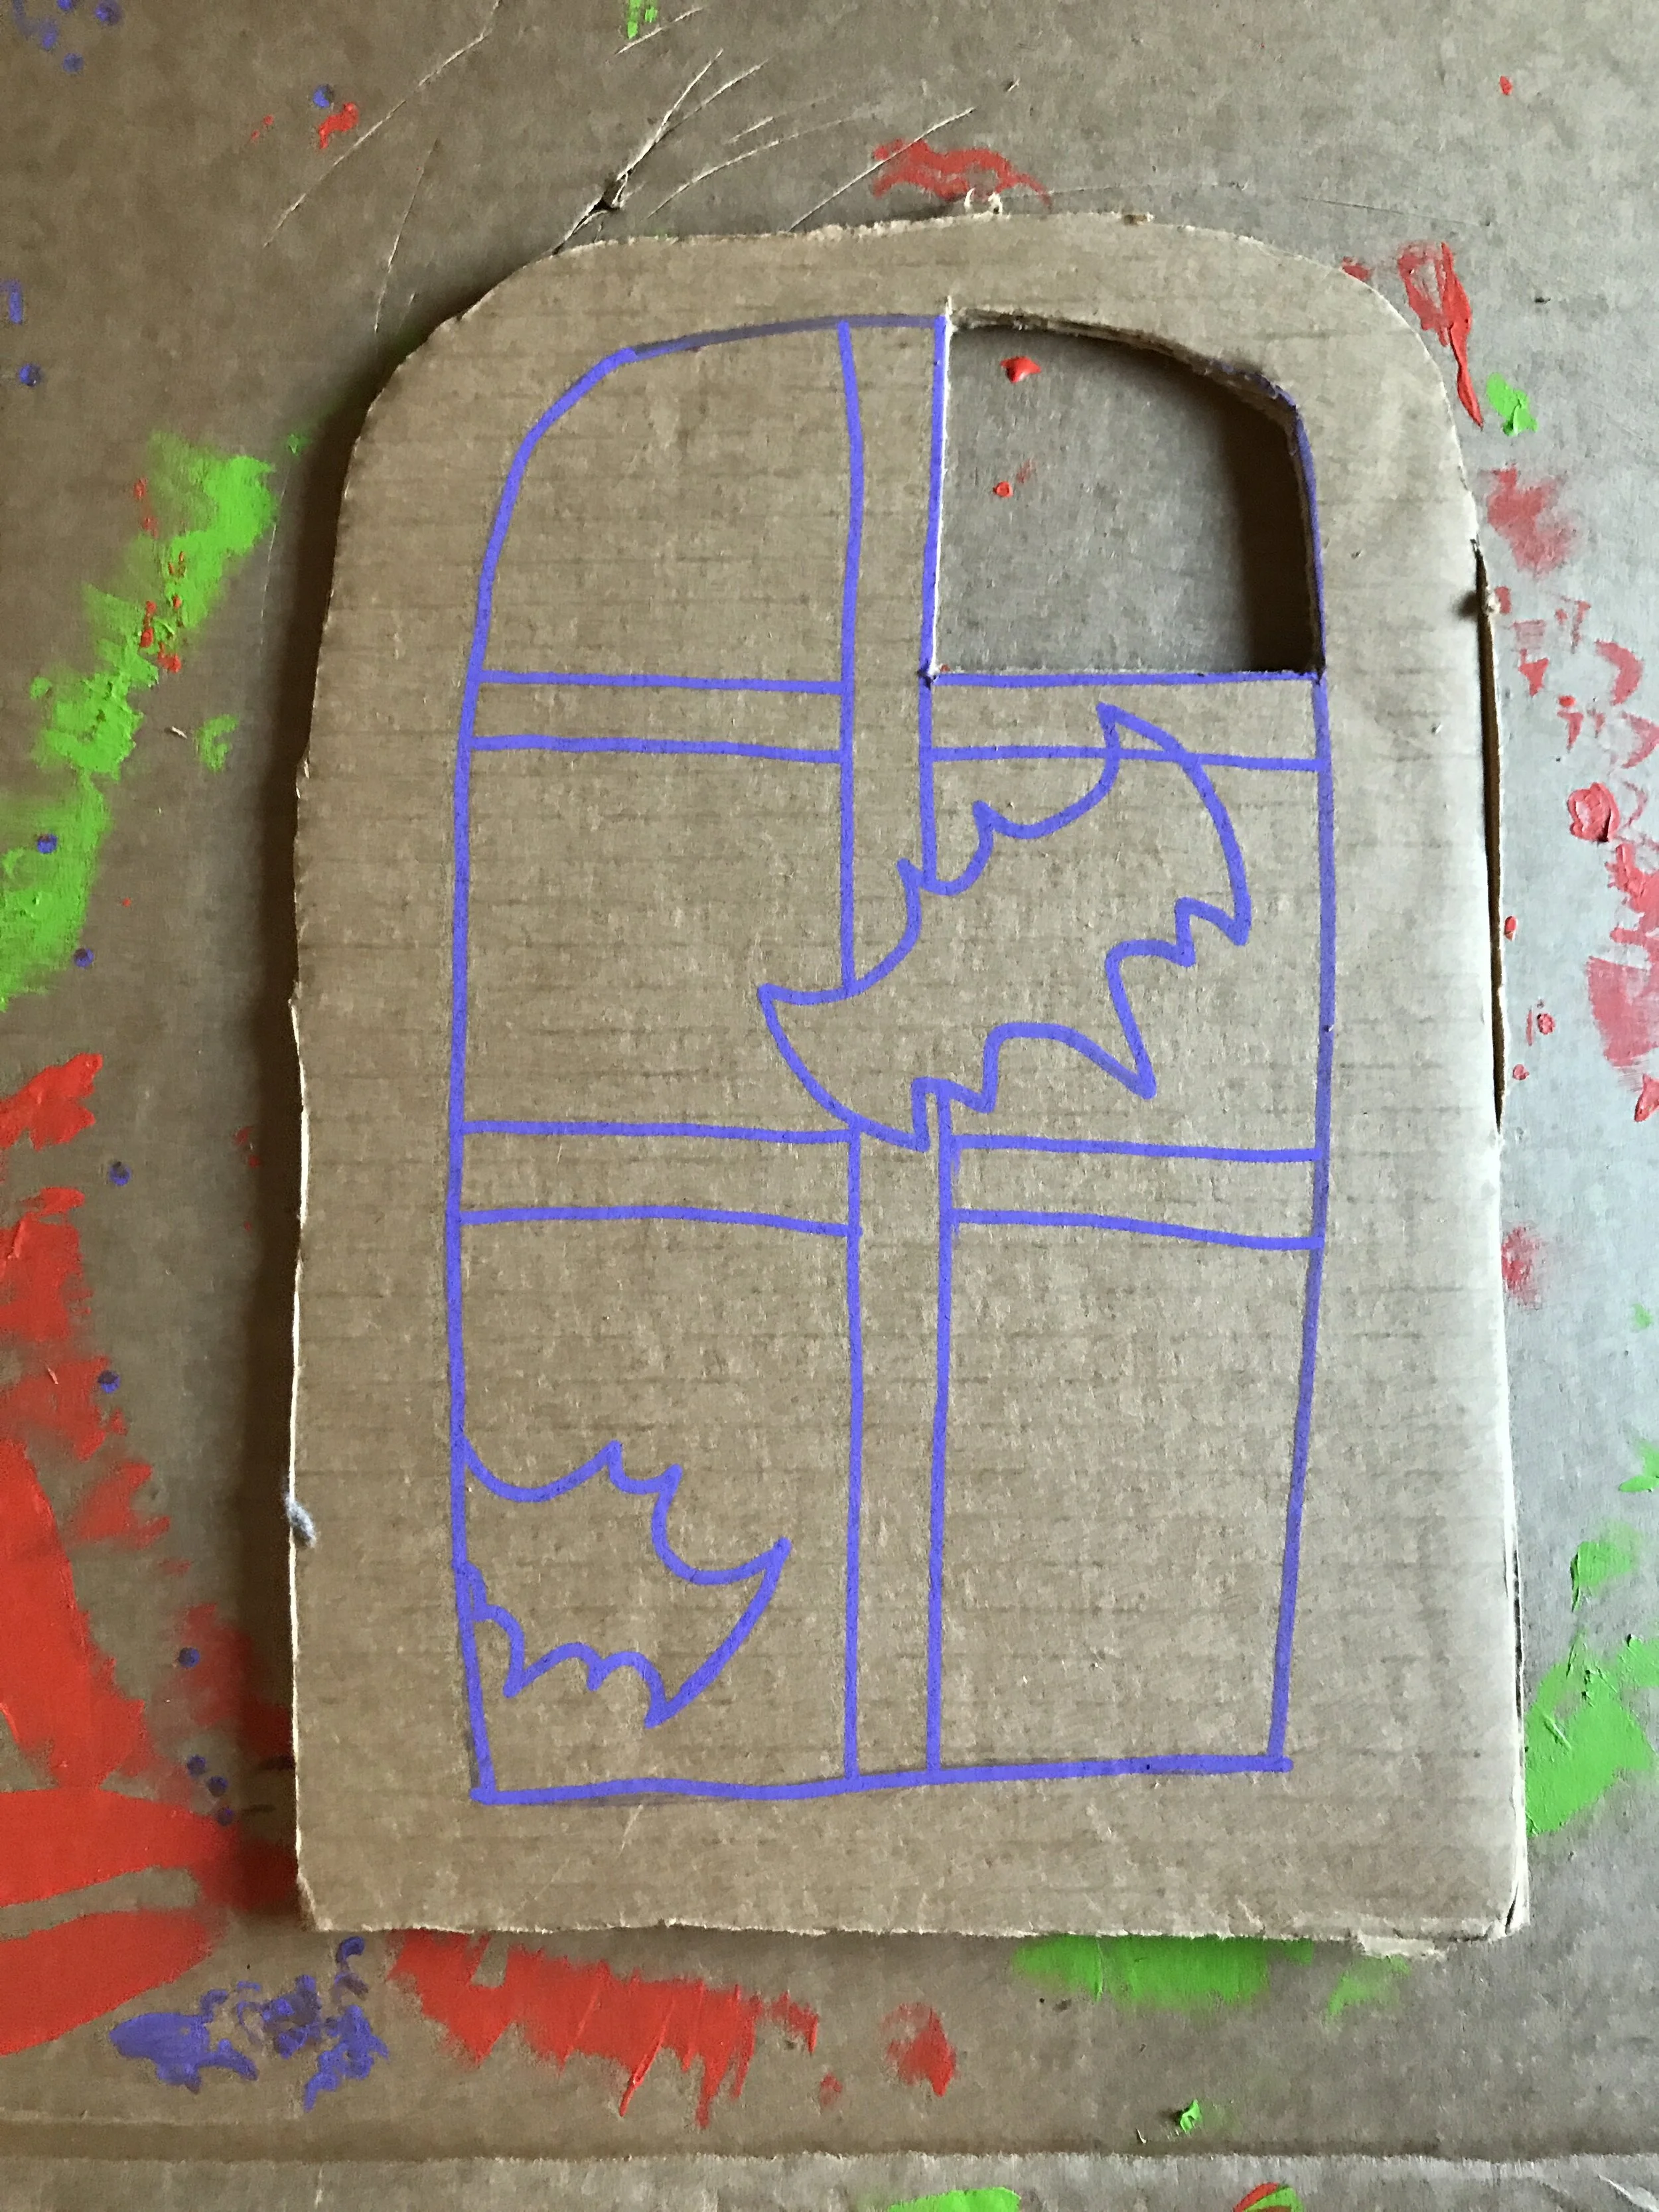
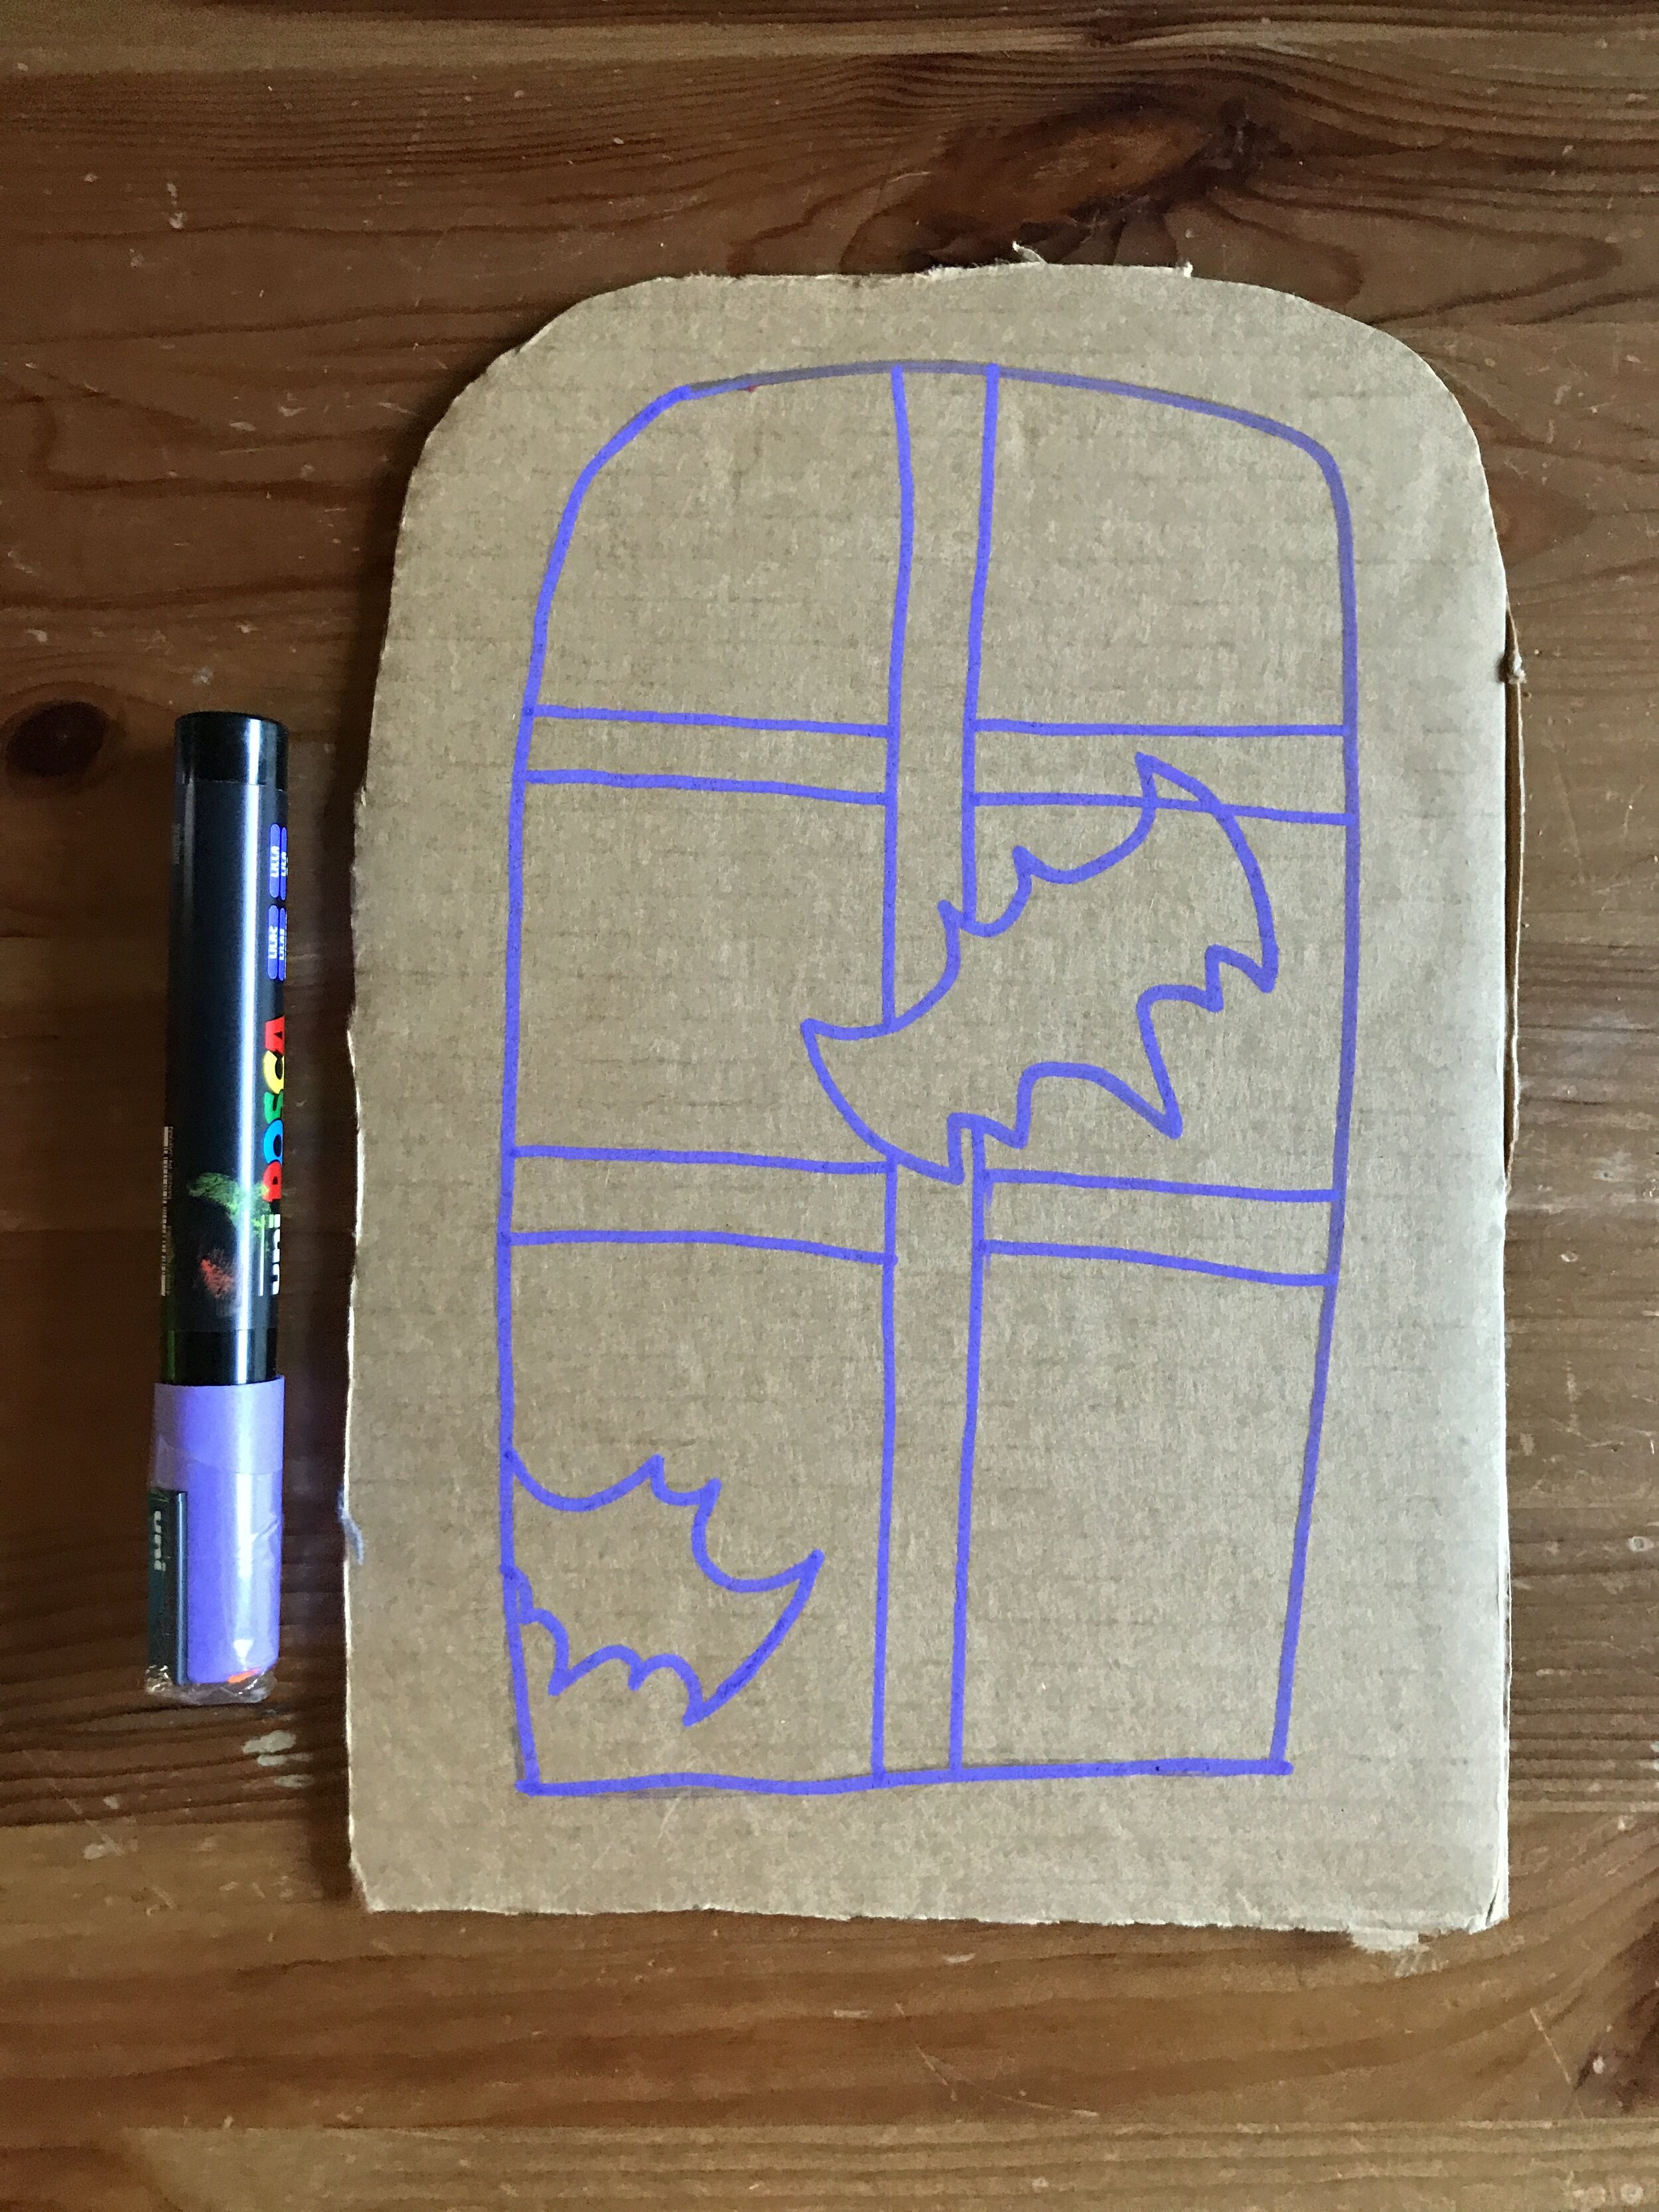
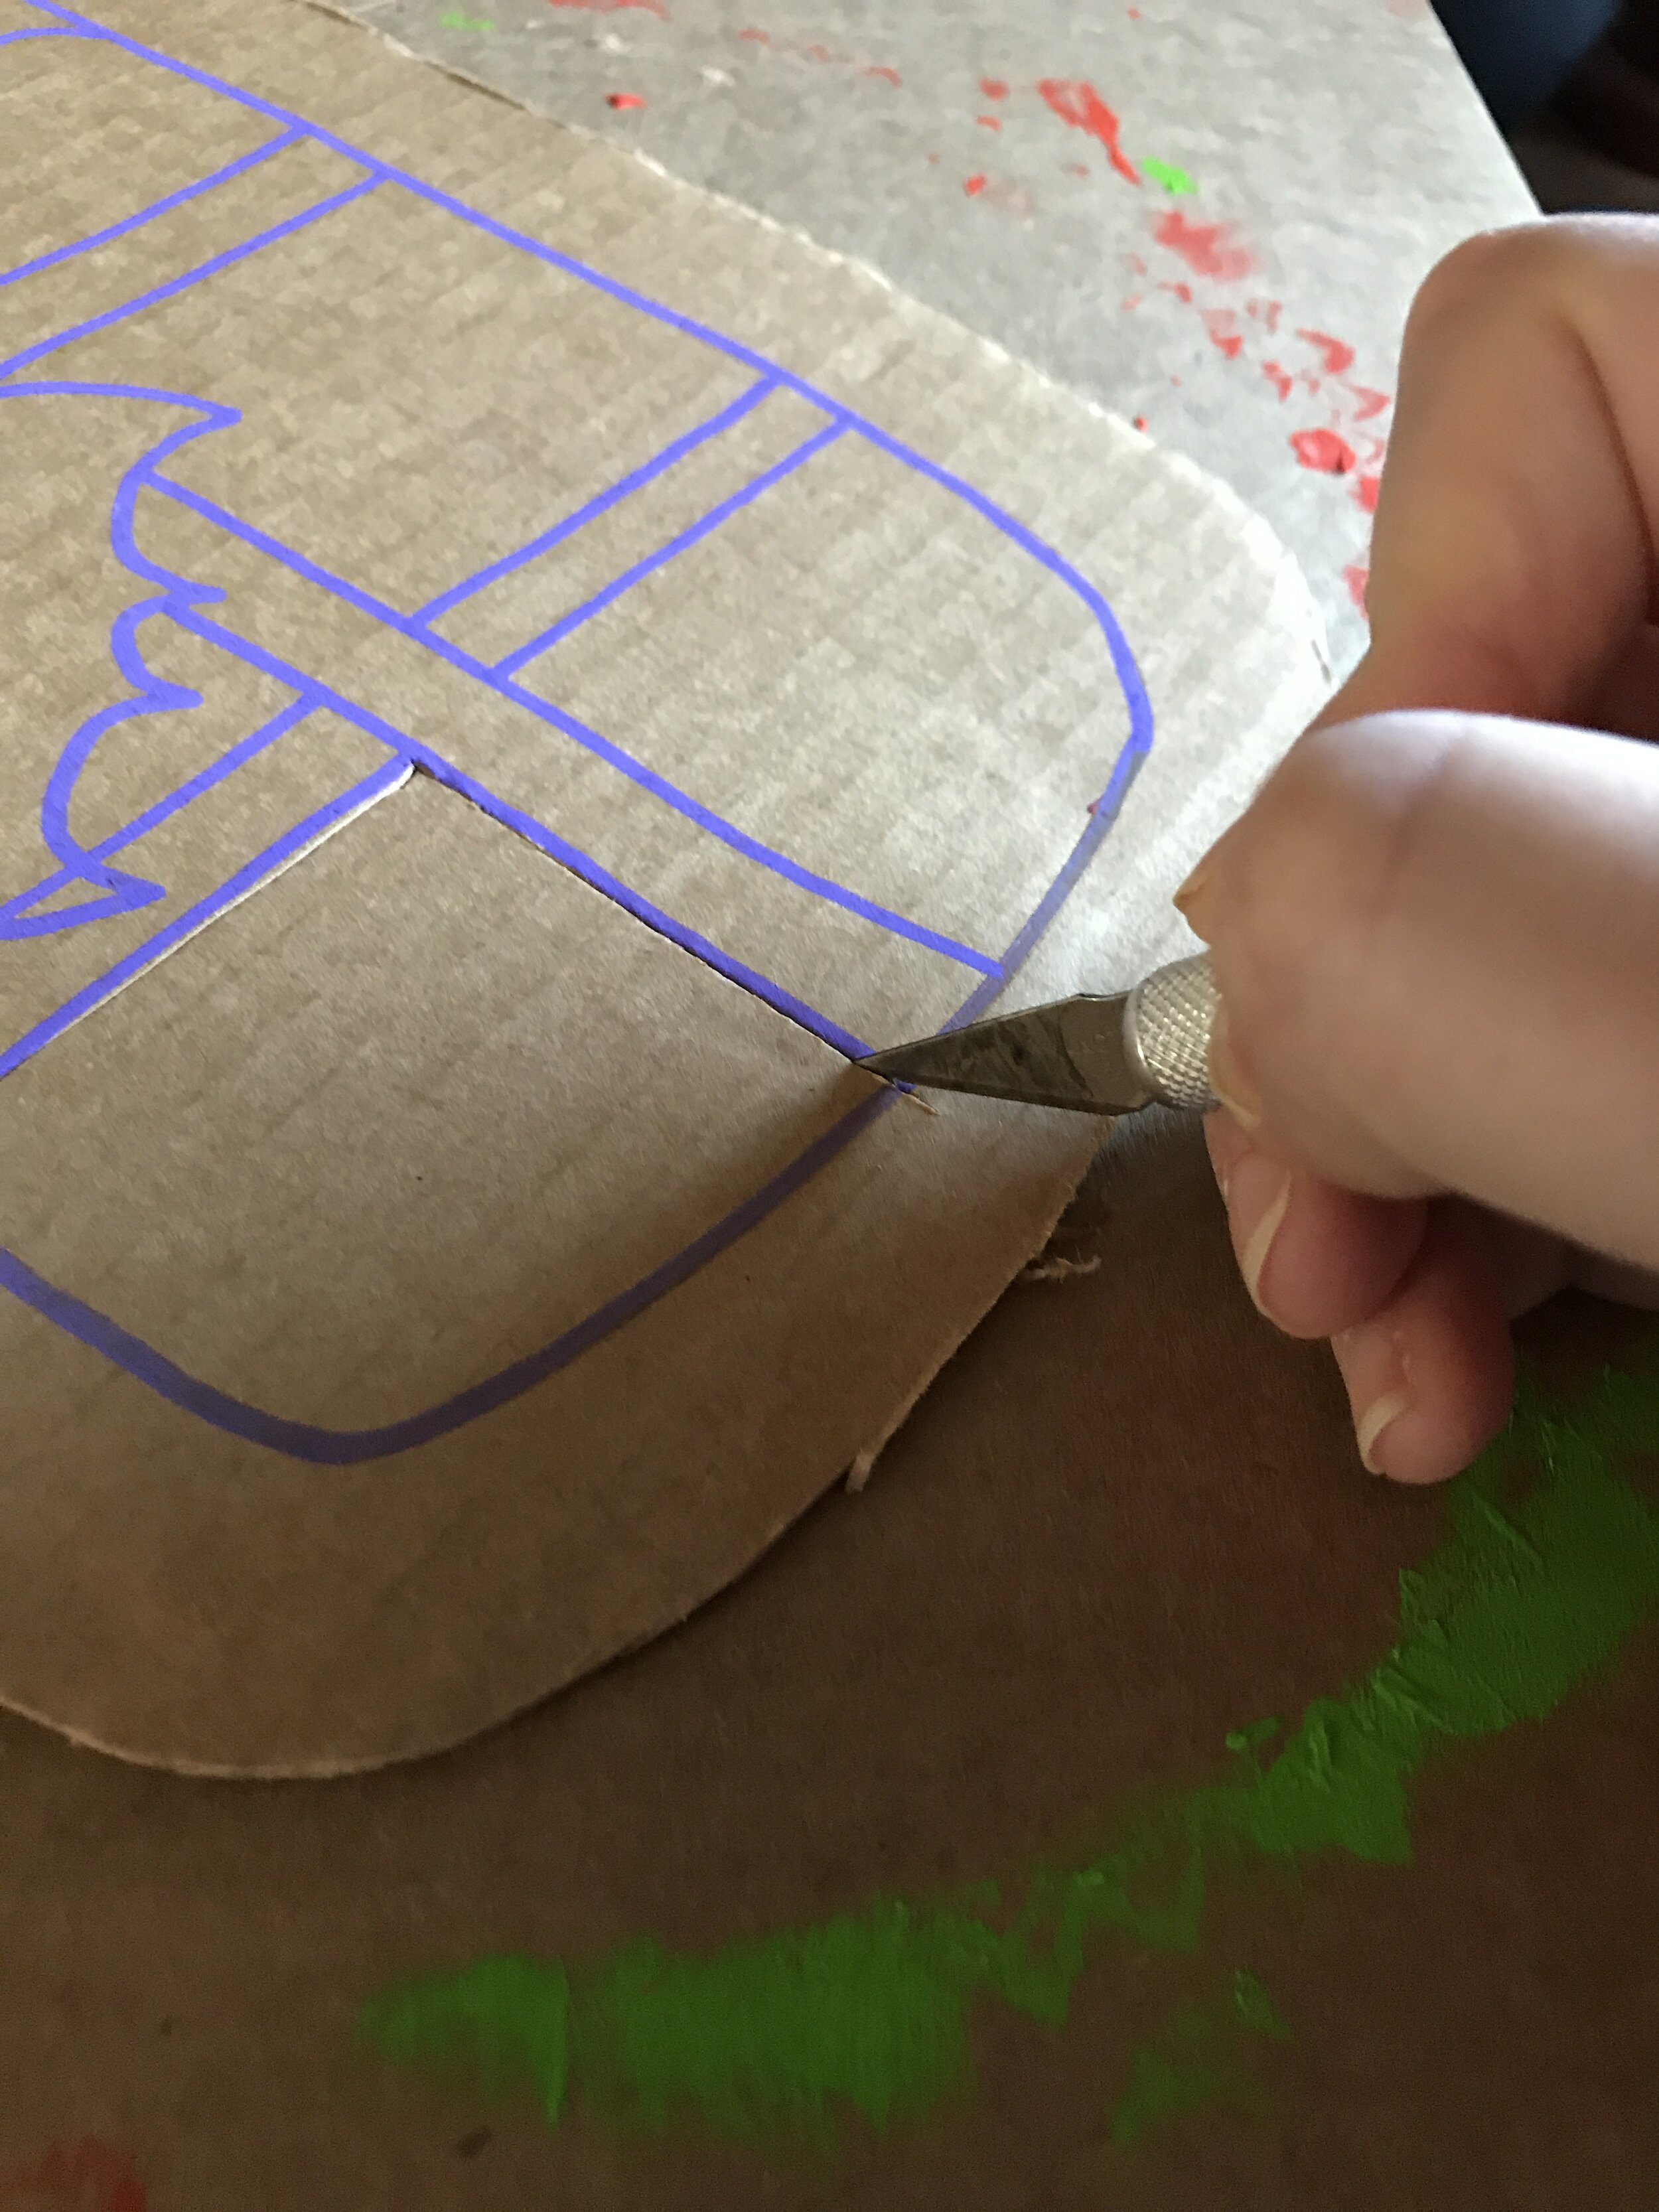
Grab your cardboard box pile and decide on the shape of your window! If you’d like to keep things simple, you can just cut a slice off your cardboard box in a rectangular or square shape. Using a marker or crayon, create an outline of window frame and window panes on the cardboard. Next, with the careful help of a trusted adult or guardian, use the Exacto knife to cut out your interior window panes, making sure not to cut out the “lead lines” between them or any “lead designs” you want to be in front of your stained glass.
(I chose to make a rounded edge window frame ala church windows, but you can do whatever you wish!
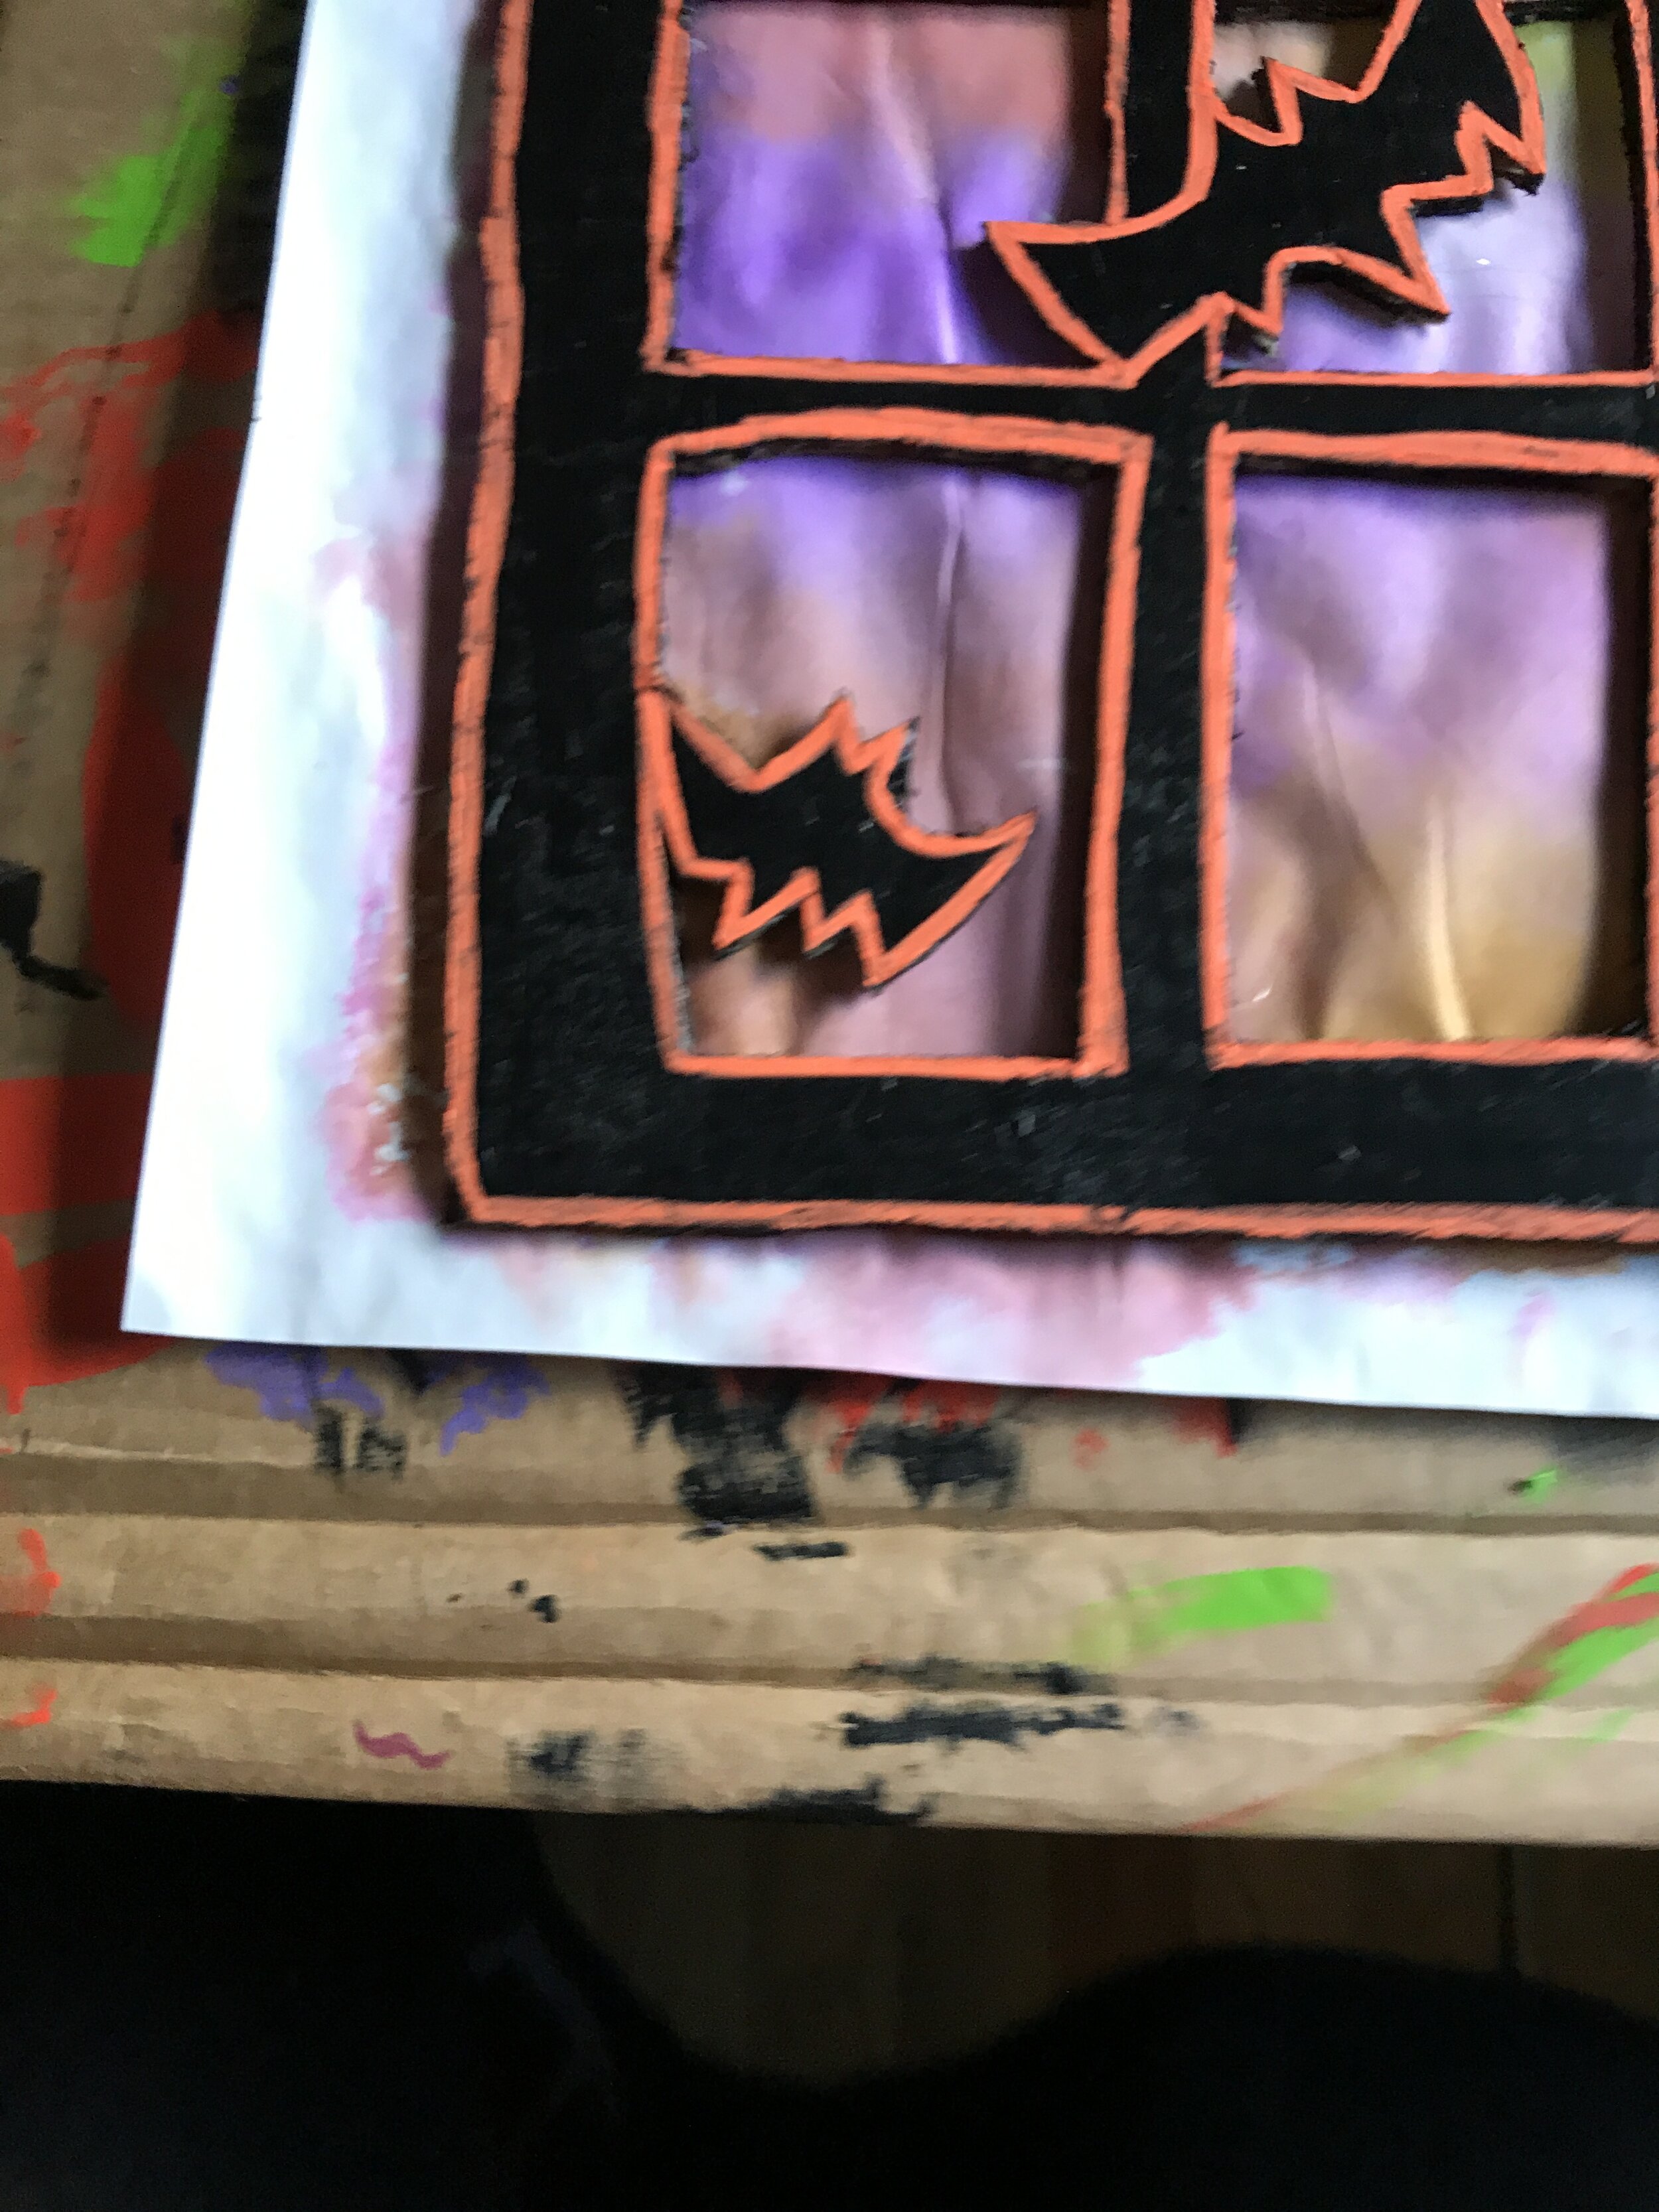
For a little added interest I also created some bat shapes, but you can choose to omit those or do your own spooky silhouettes.
Just be aware that they take some time to cut out and can be a challenge, so go slowly and have patience!)

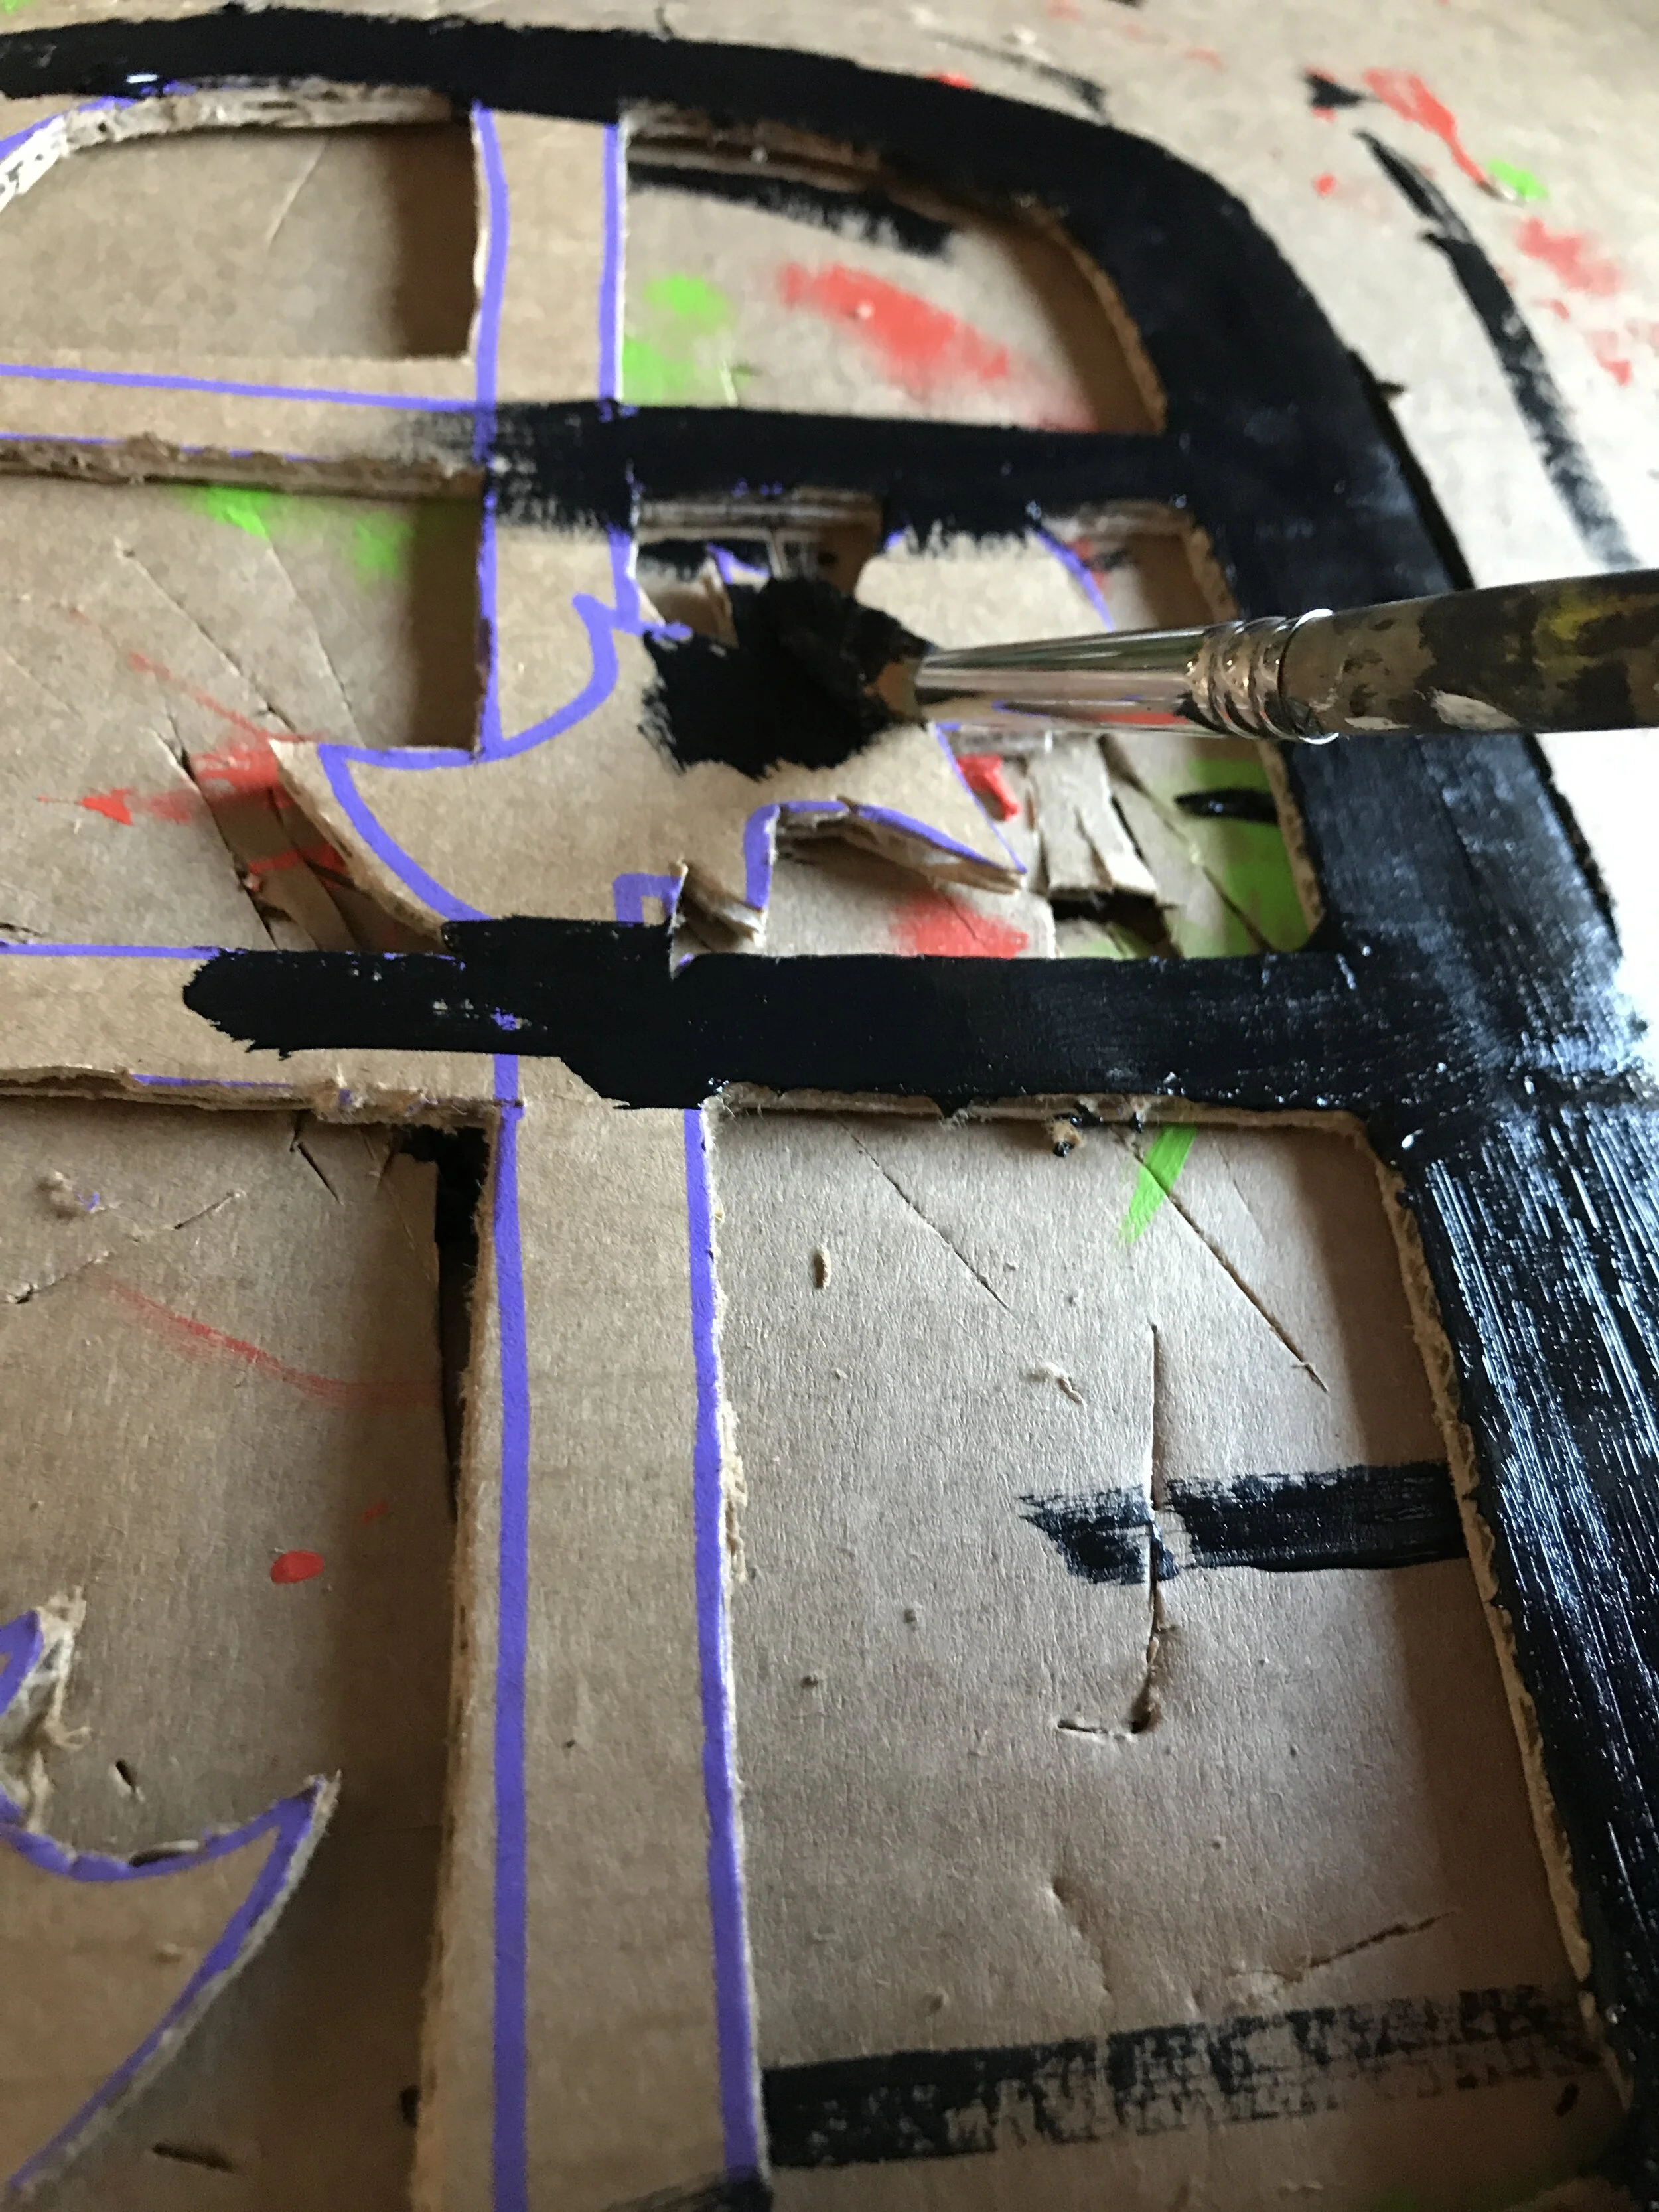

Step 2: Painting the Window Frame and Lead Lines
Lay down another piece of cardboard or plastic or cloth you don’t care about underneath to protect your surface, table, or desk from paint! Real stained glass windows have wood or metal framing between the coloured panels of glass which holds them in and also accentuates the shapes and scenes within. We’re going to recreate that look using some black hued acrylic or tempera paint on the naked cardboard side. Grab a paint brush and cover your window frame in paint. Don’t be shy about applying the paint on this layer. Get into all the nooks, crannies, bends, and folds of your cardboard! Set it aside to dry while we work on Step 3, creating our stained glass effect.
It can take anywhere from 5 minutes to 30 minutes to dry depending on the type of paint medium and how generous your painters are when applying. A hair dryer can speed things up for the impatient artists in your midst!
(If you’d like to get fancy and have the skills, you can use some brown tones and recreate woodgrain or choose some metallics to recreate a metal finish look. It’s up to you! I went with straight black to make the stained glass element really stand out. If you’re looking to avoid mess, you can try Tempera Paint Sticks or black gel/black silky crayons to get the job done.)
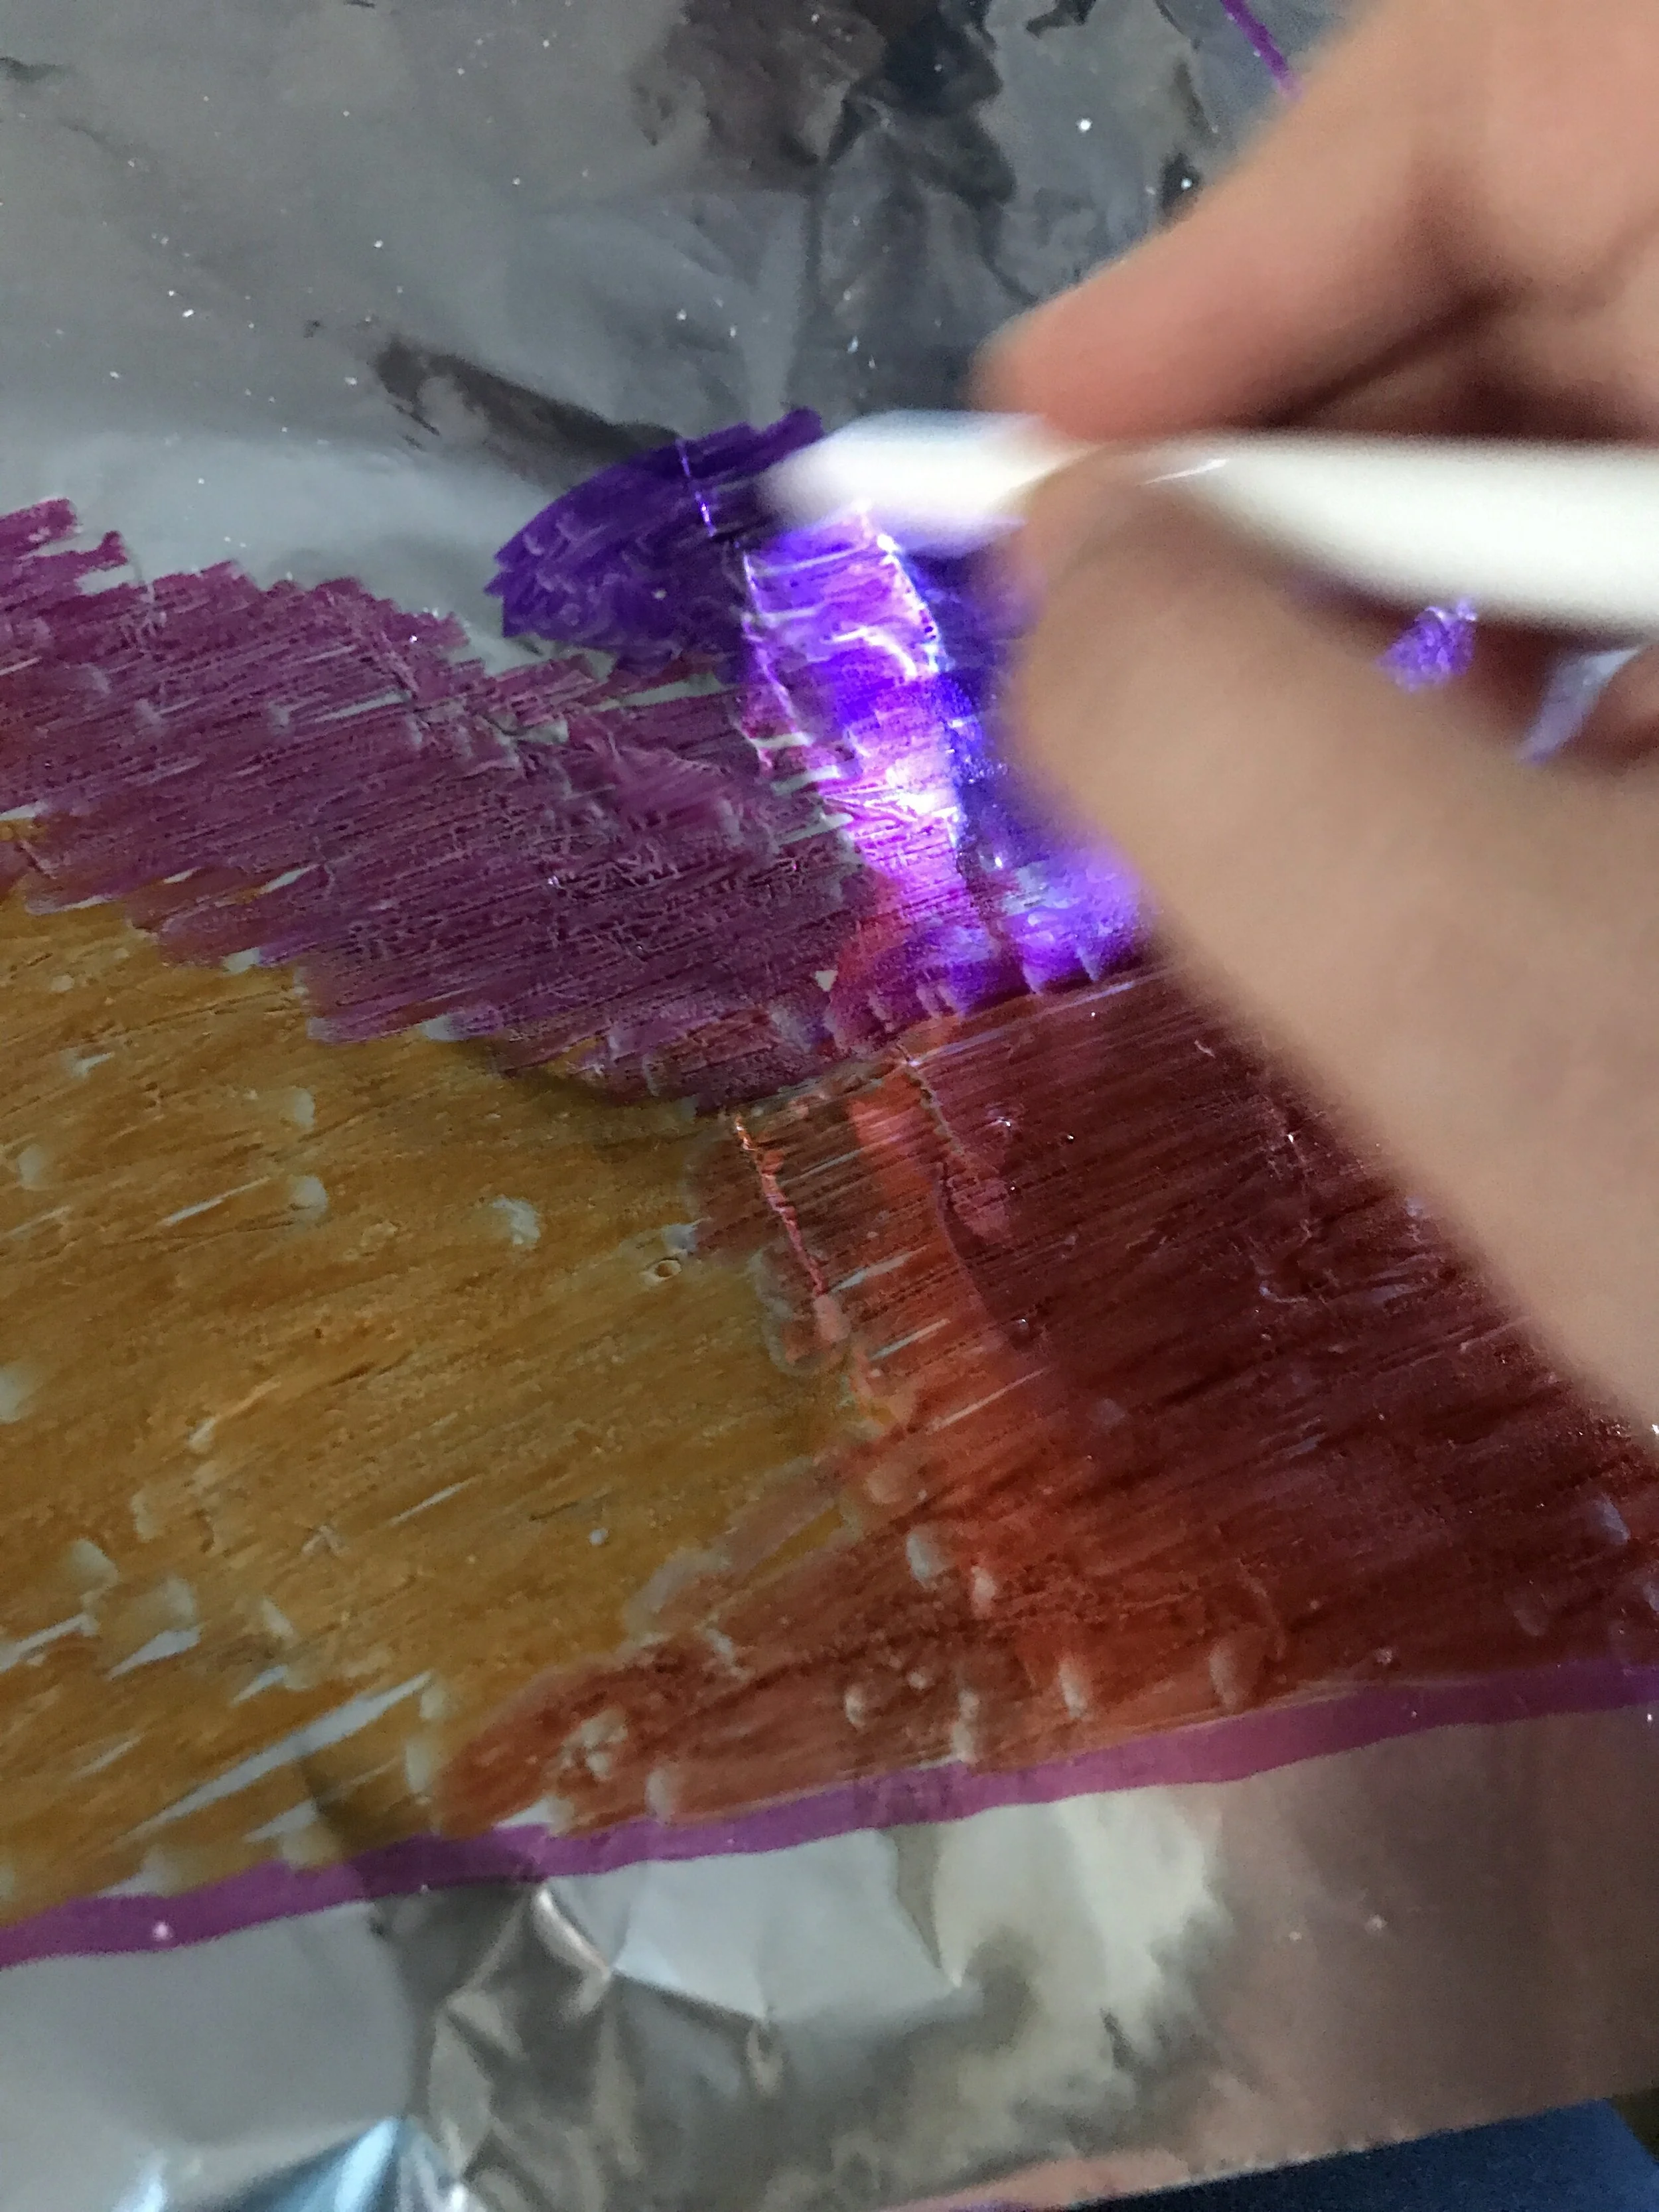

Step 3: Creating the Stained Glass Backdrop
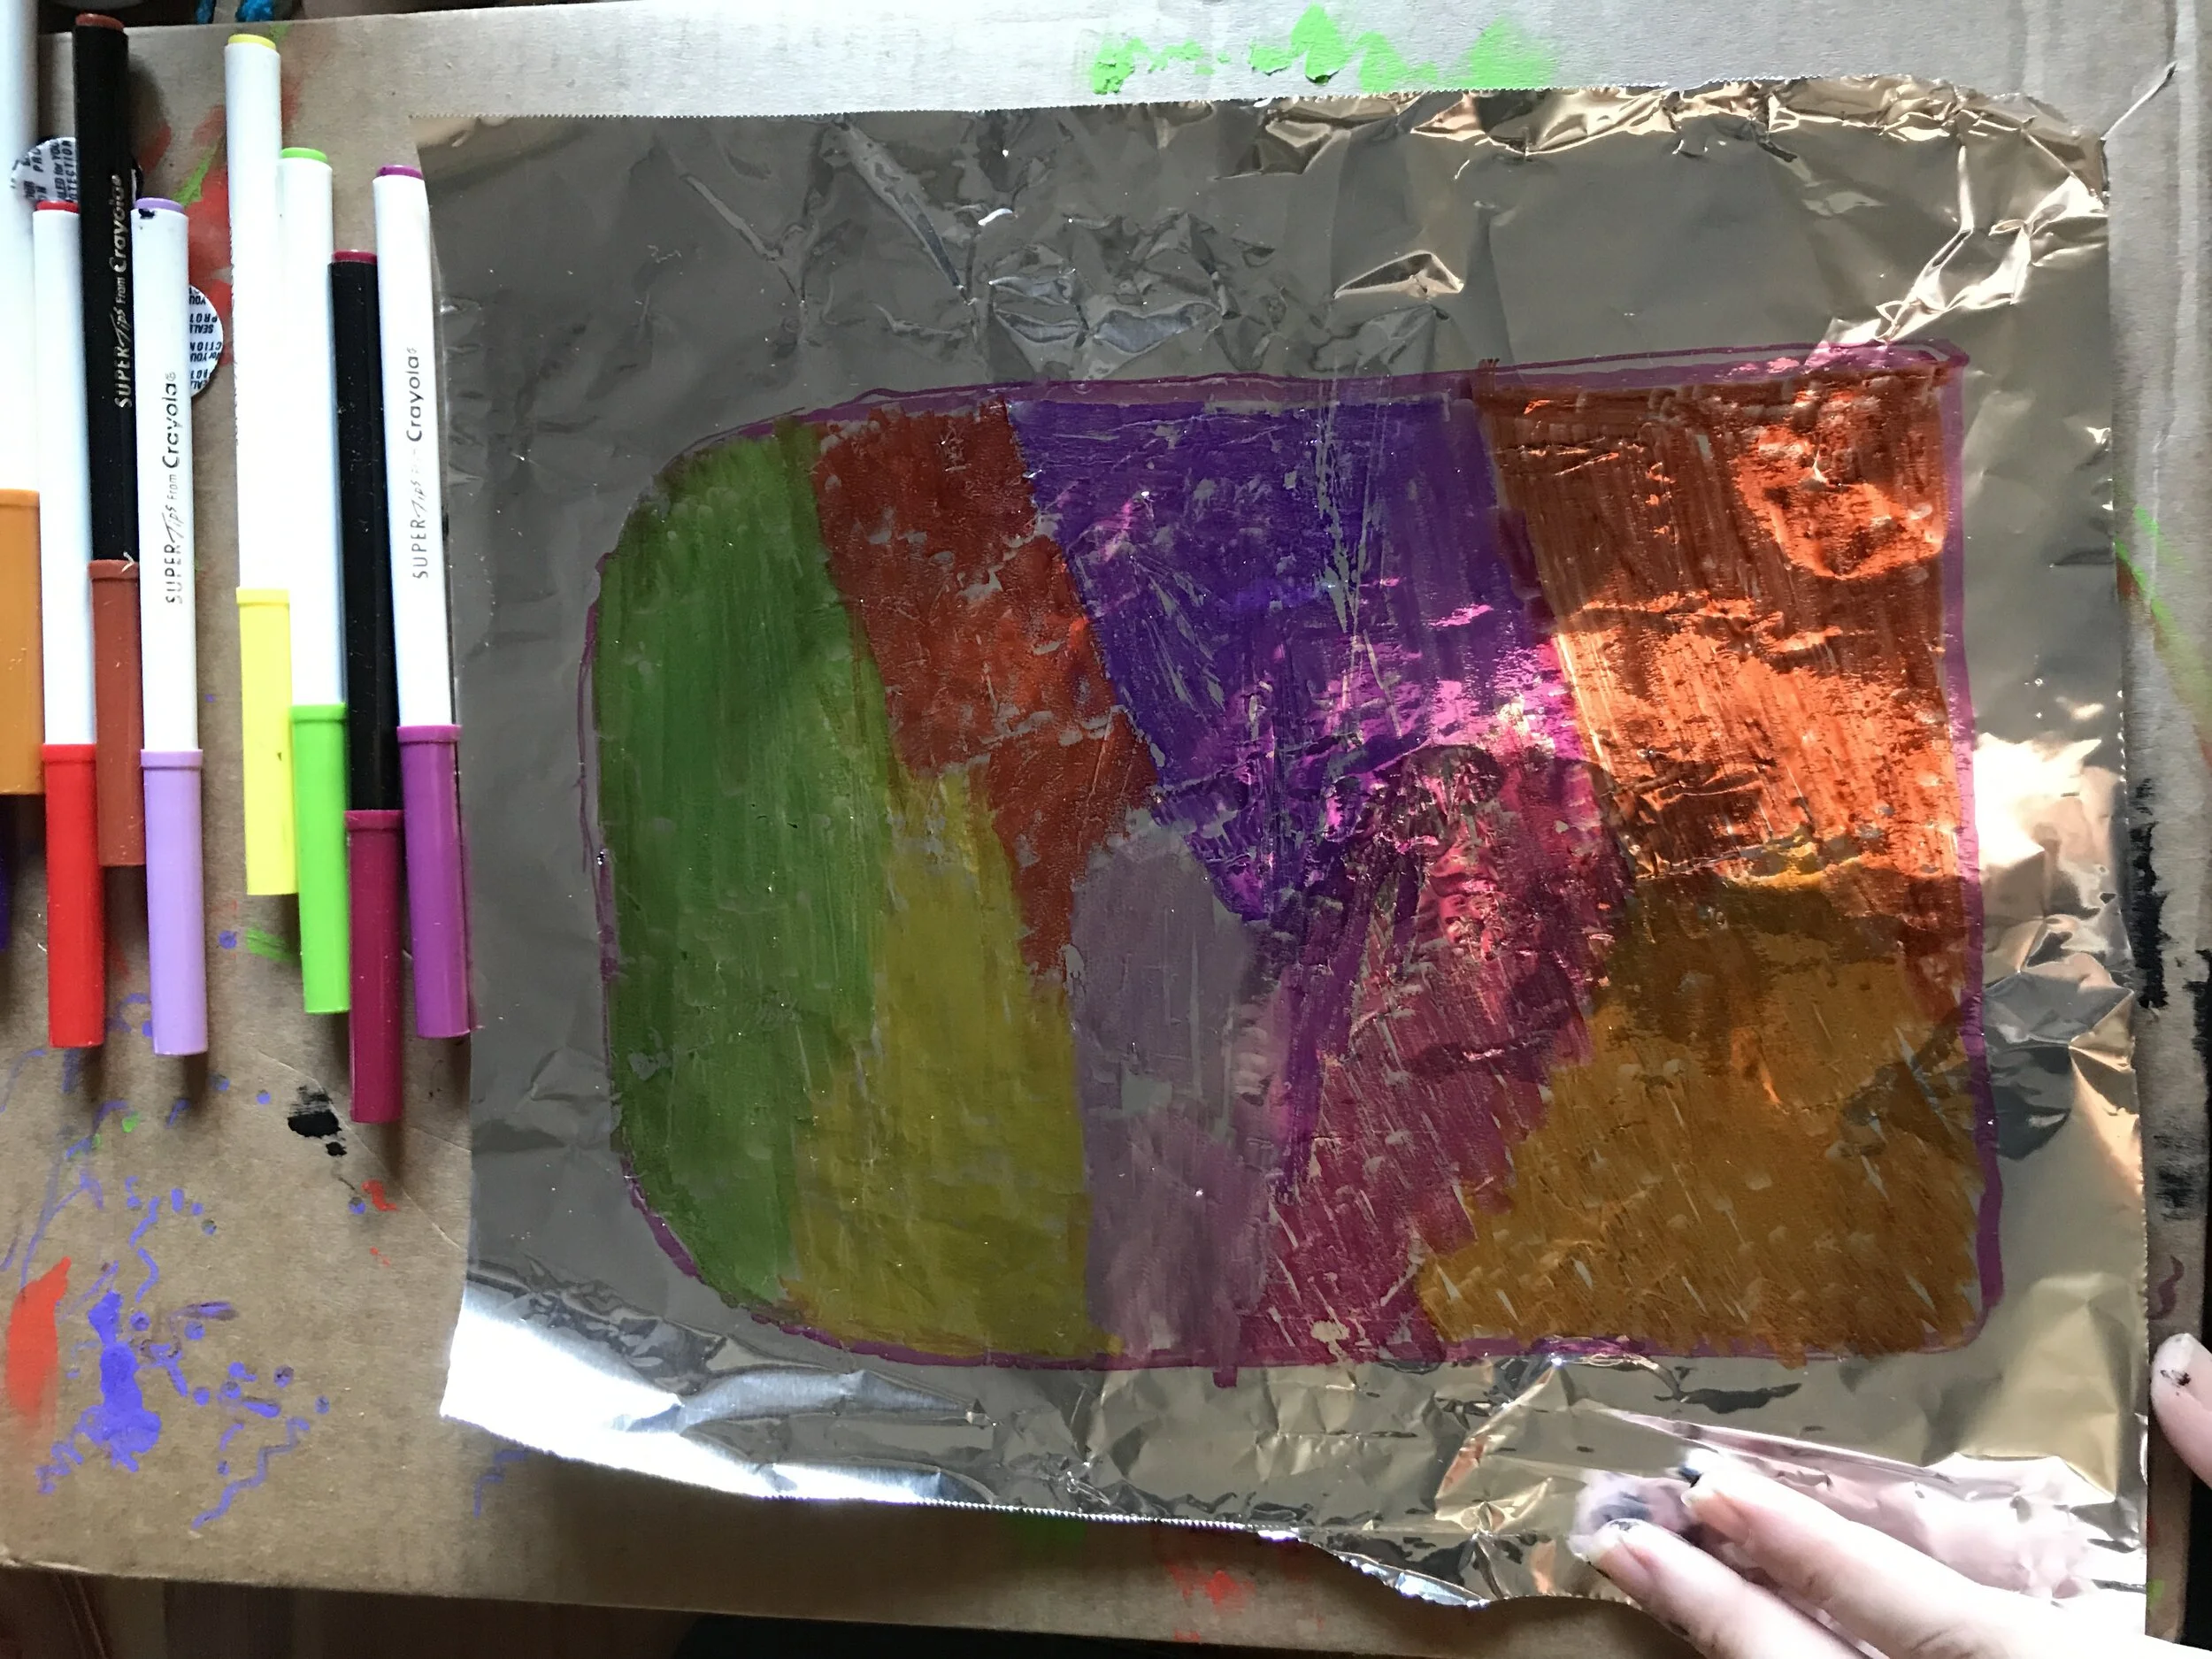
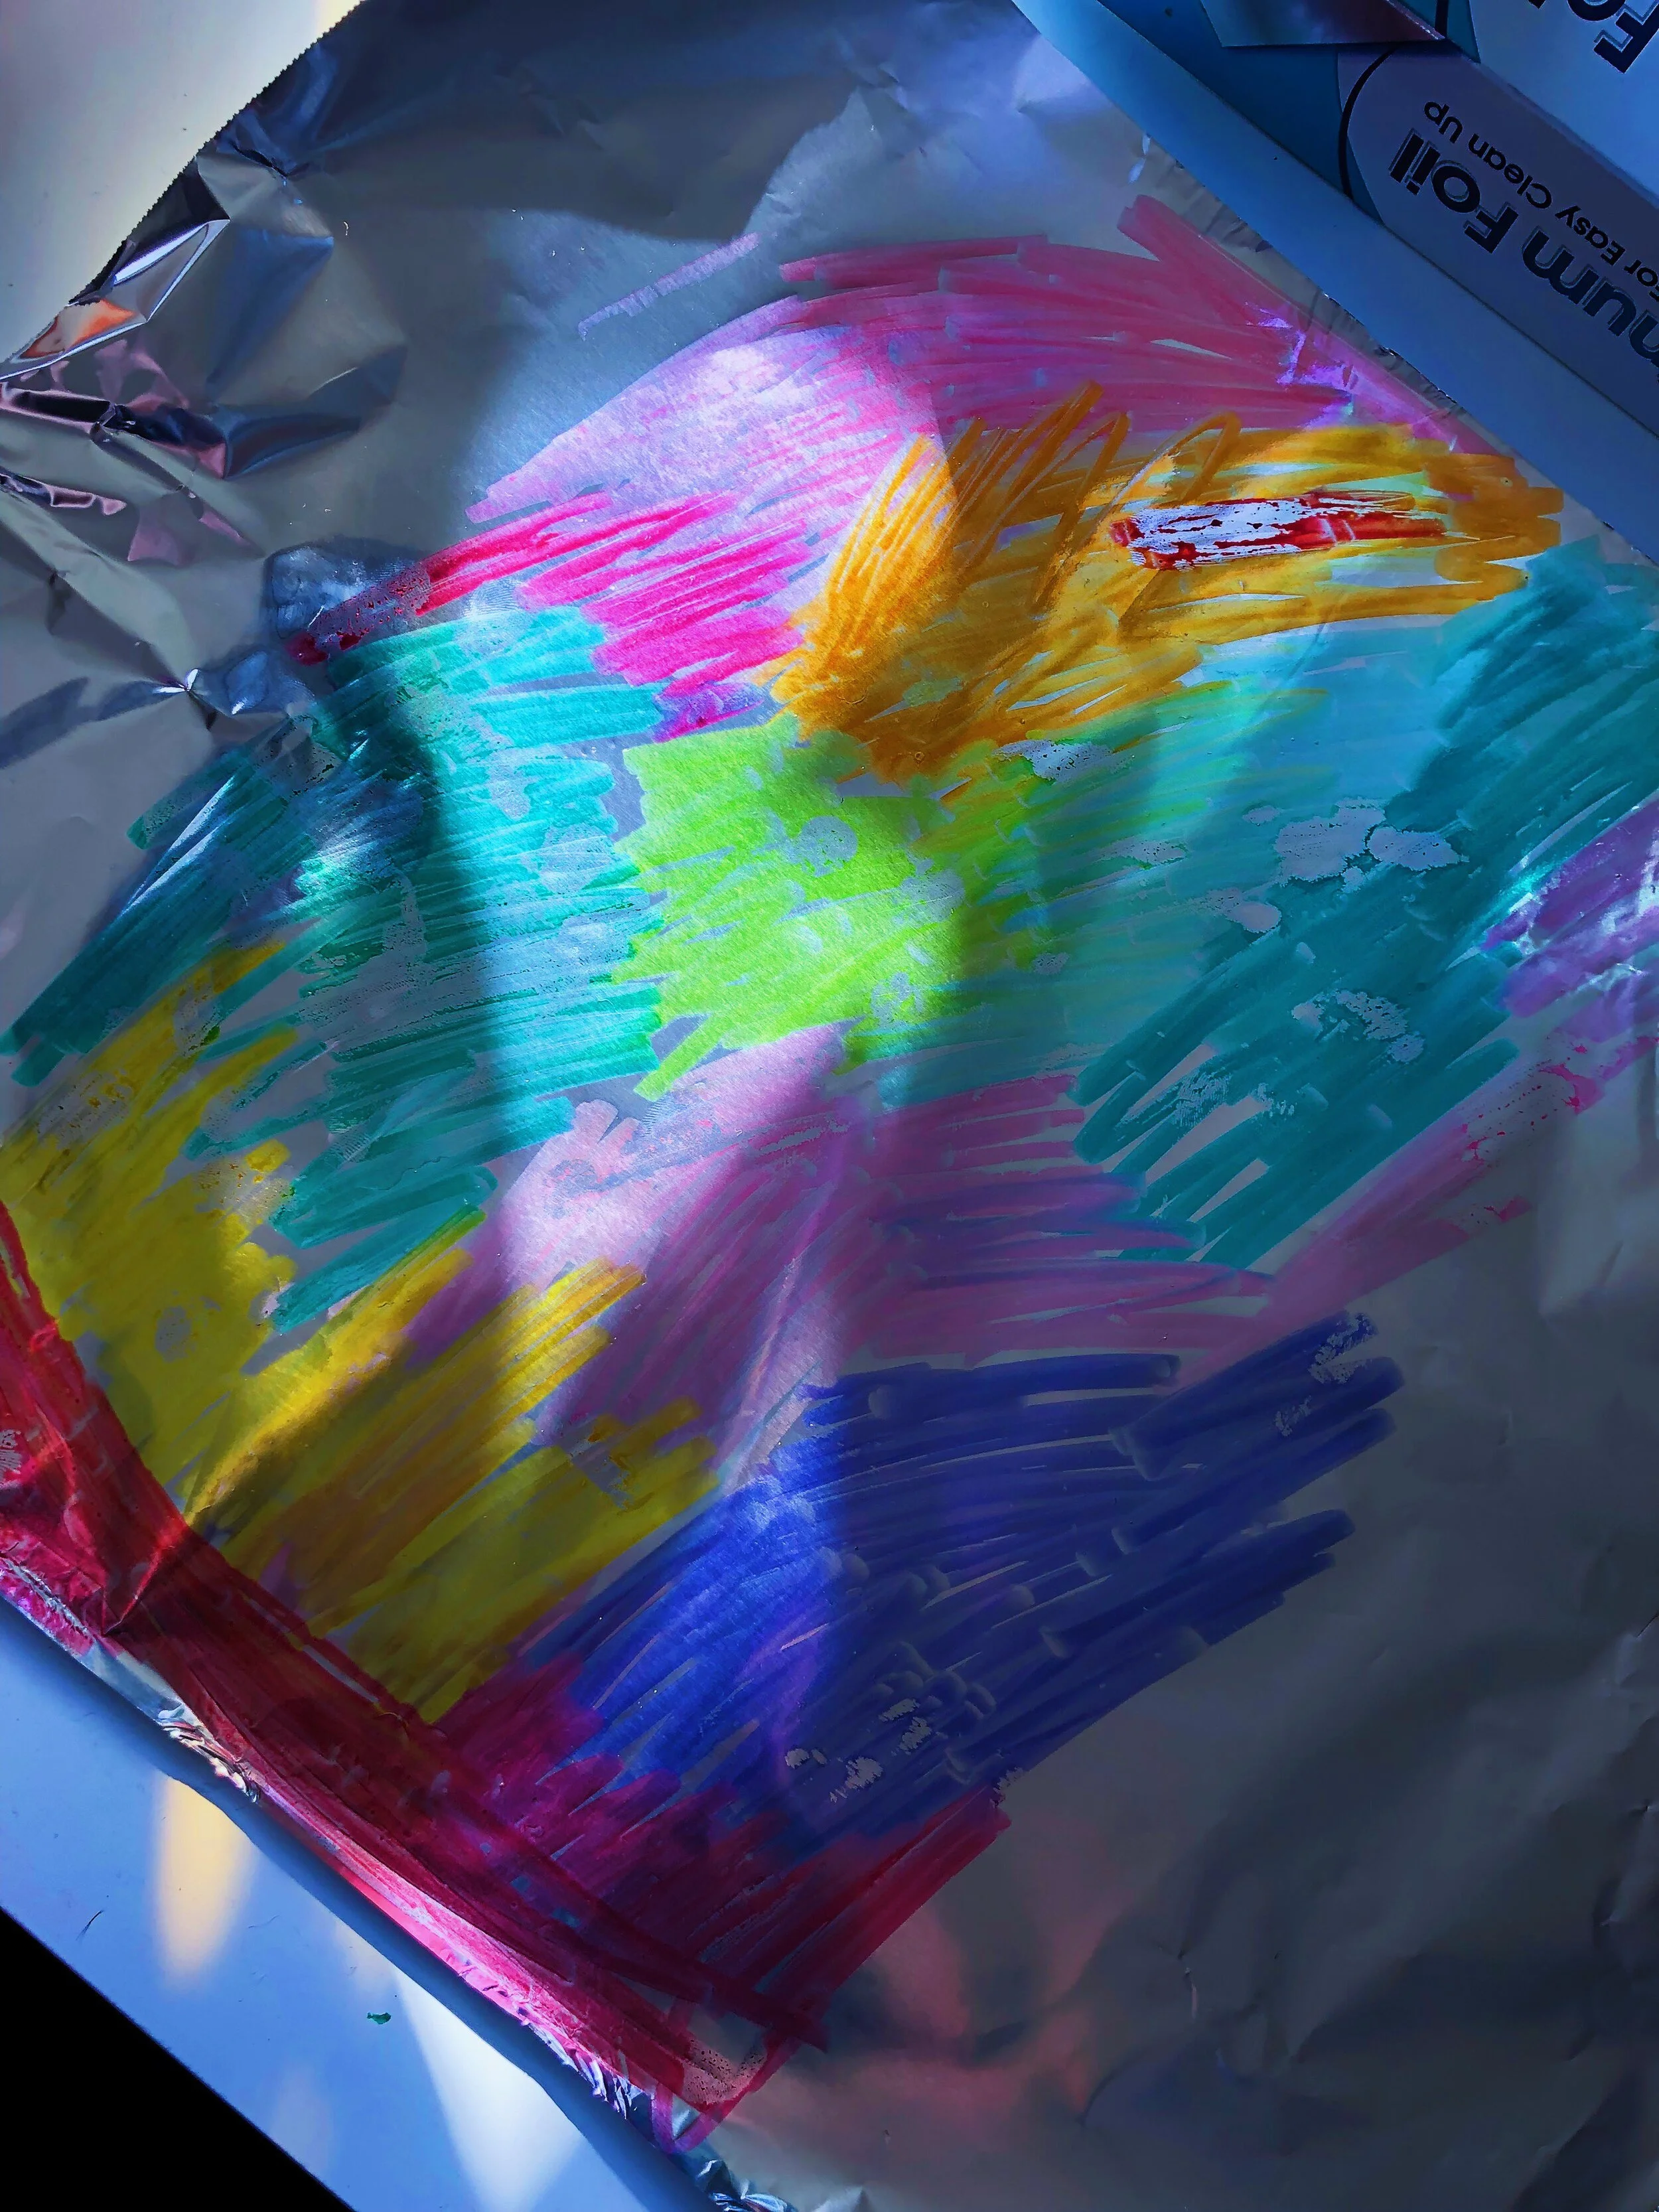
This is arguably my favourite part of making this. There’s something so whimsical and joyful about this entire multi-step process and the magic of pulling monoprints from the foil. I suppose I’m just an overgrown kiddo at heart, but it’s really delightful! You’ll see when you try it. Grab a sheet of aluminum foil which fits into your stained glass frame. I find it helpful to tape the aluminum foil down to the table or another piece of cardboard for stability before colouring. Grab your water-based washable markers and draw out the shape of your window if you wish, or you can simply colour the whole sheet of foil, it’s up to you! Remember to colour gently and with a soft hand, you don’t want to press into the foil! Just colour it as well as you can with whatever markers you choose. It’s alright if you go outside the lines of your window shape, I promise! Give your marker on foil a few moments to set, and then grab your paper and spray bottle of water as we move on to step 4!
(I used an 8.5”x11” piece of copy paper, and my window frame was about 6”x8” in dimension, thereabouts, so my aluminum foil sheet was slightly wider to accommodate. Having a light touch will be helpful here as well, since any digs you make in the foil will provide a bit of resist and affect your stained glass tie-dye monoprinting. If you’re into that sort of thing, then go for it and experiment! But if you’re looking to replicate this, gentle is key!)
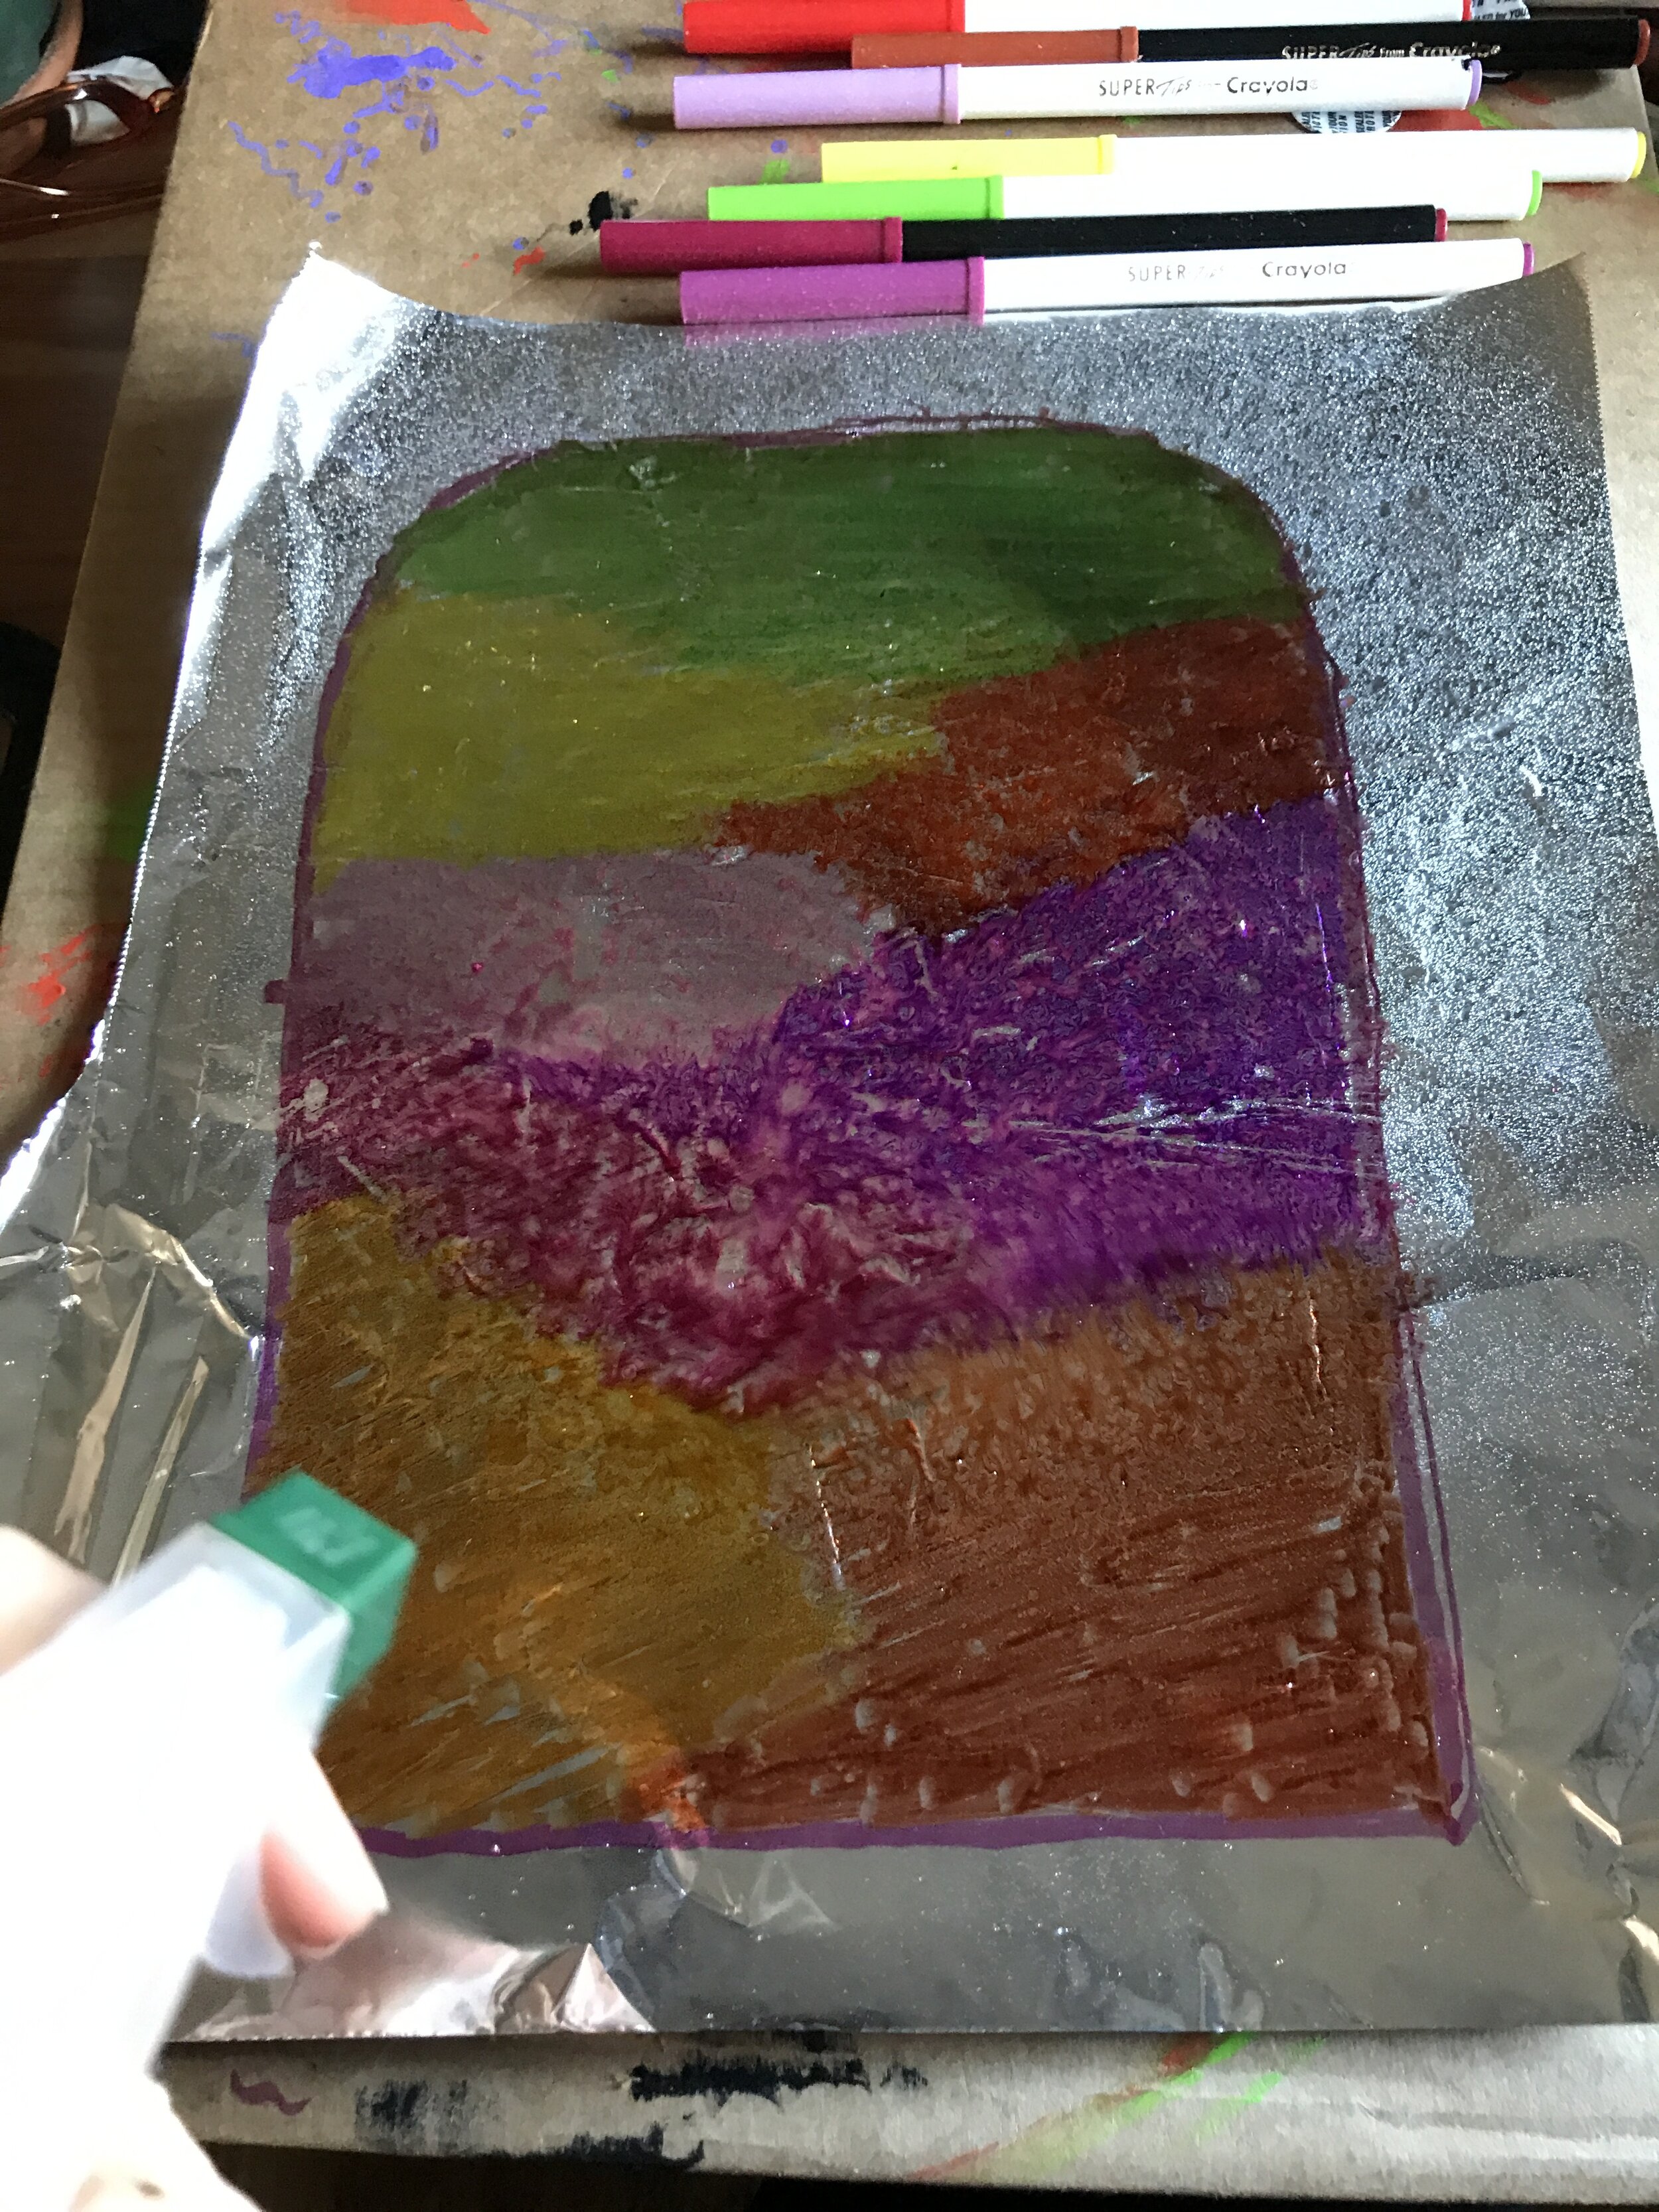
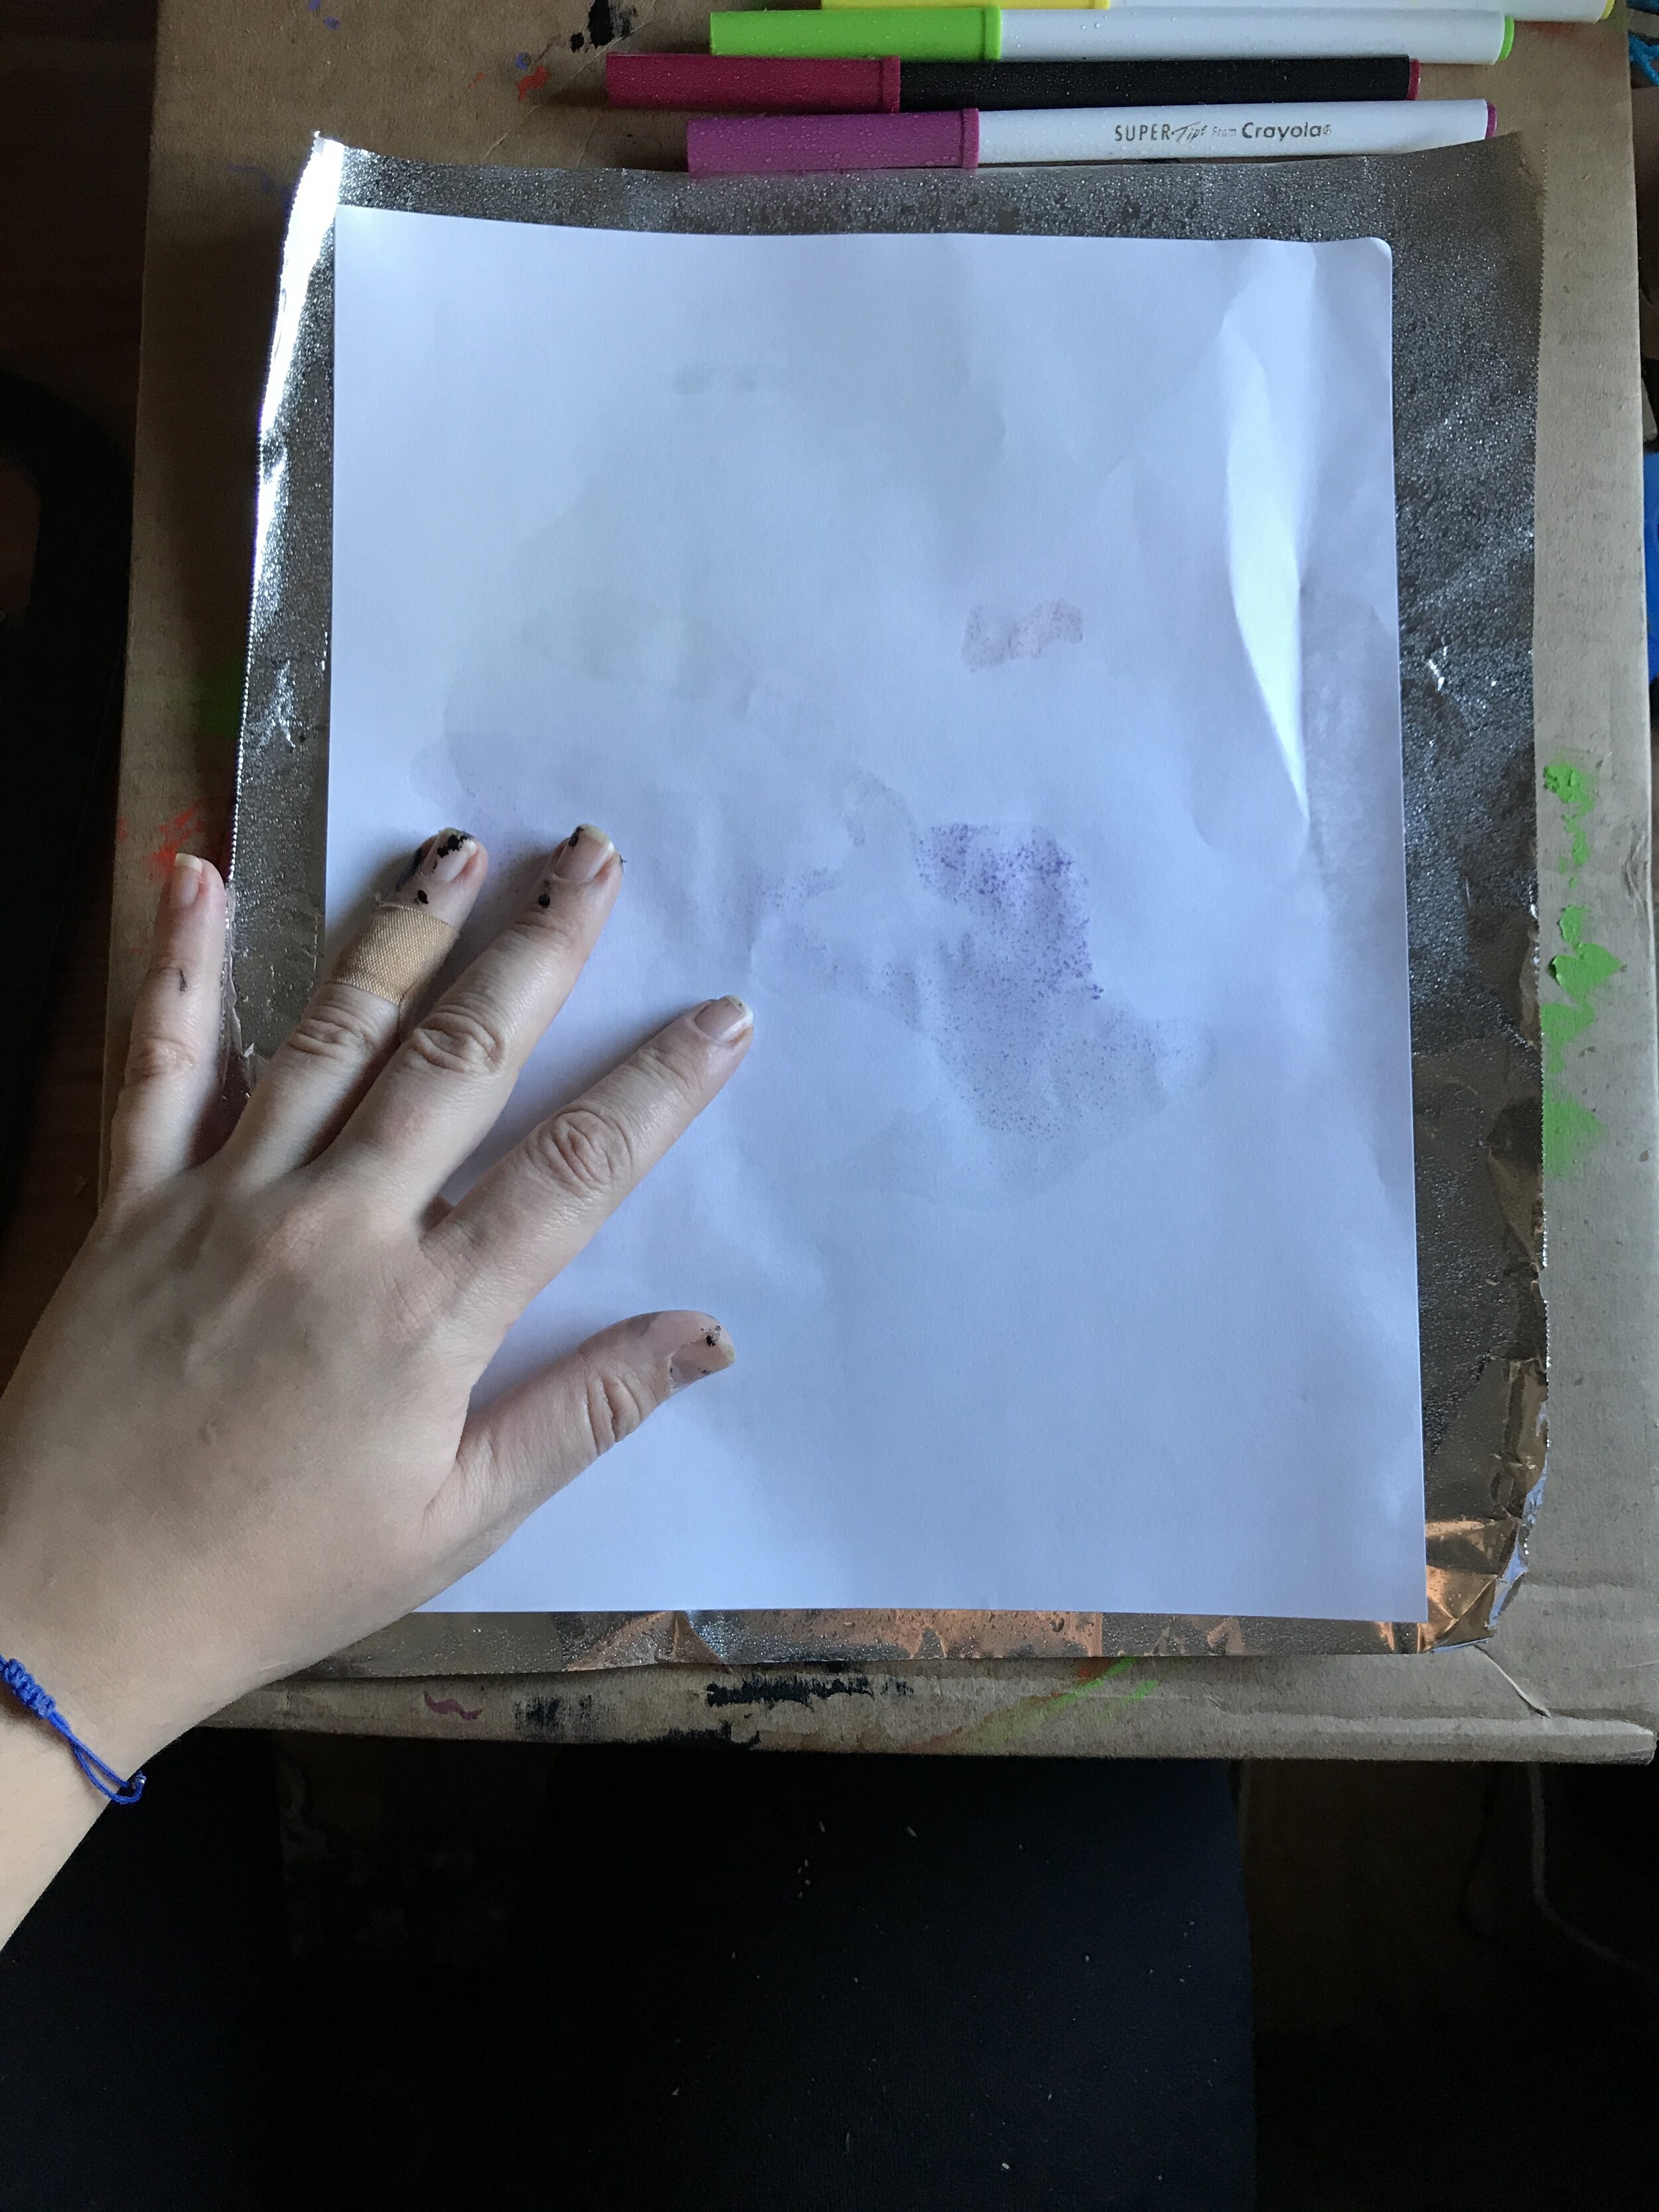
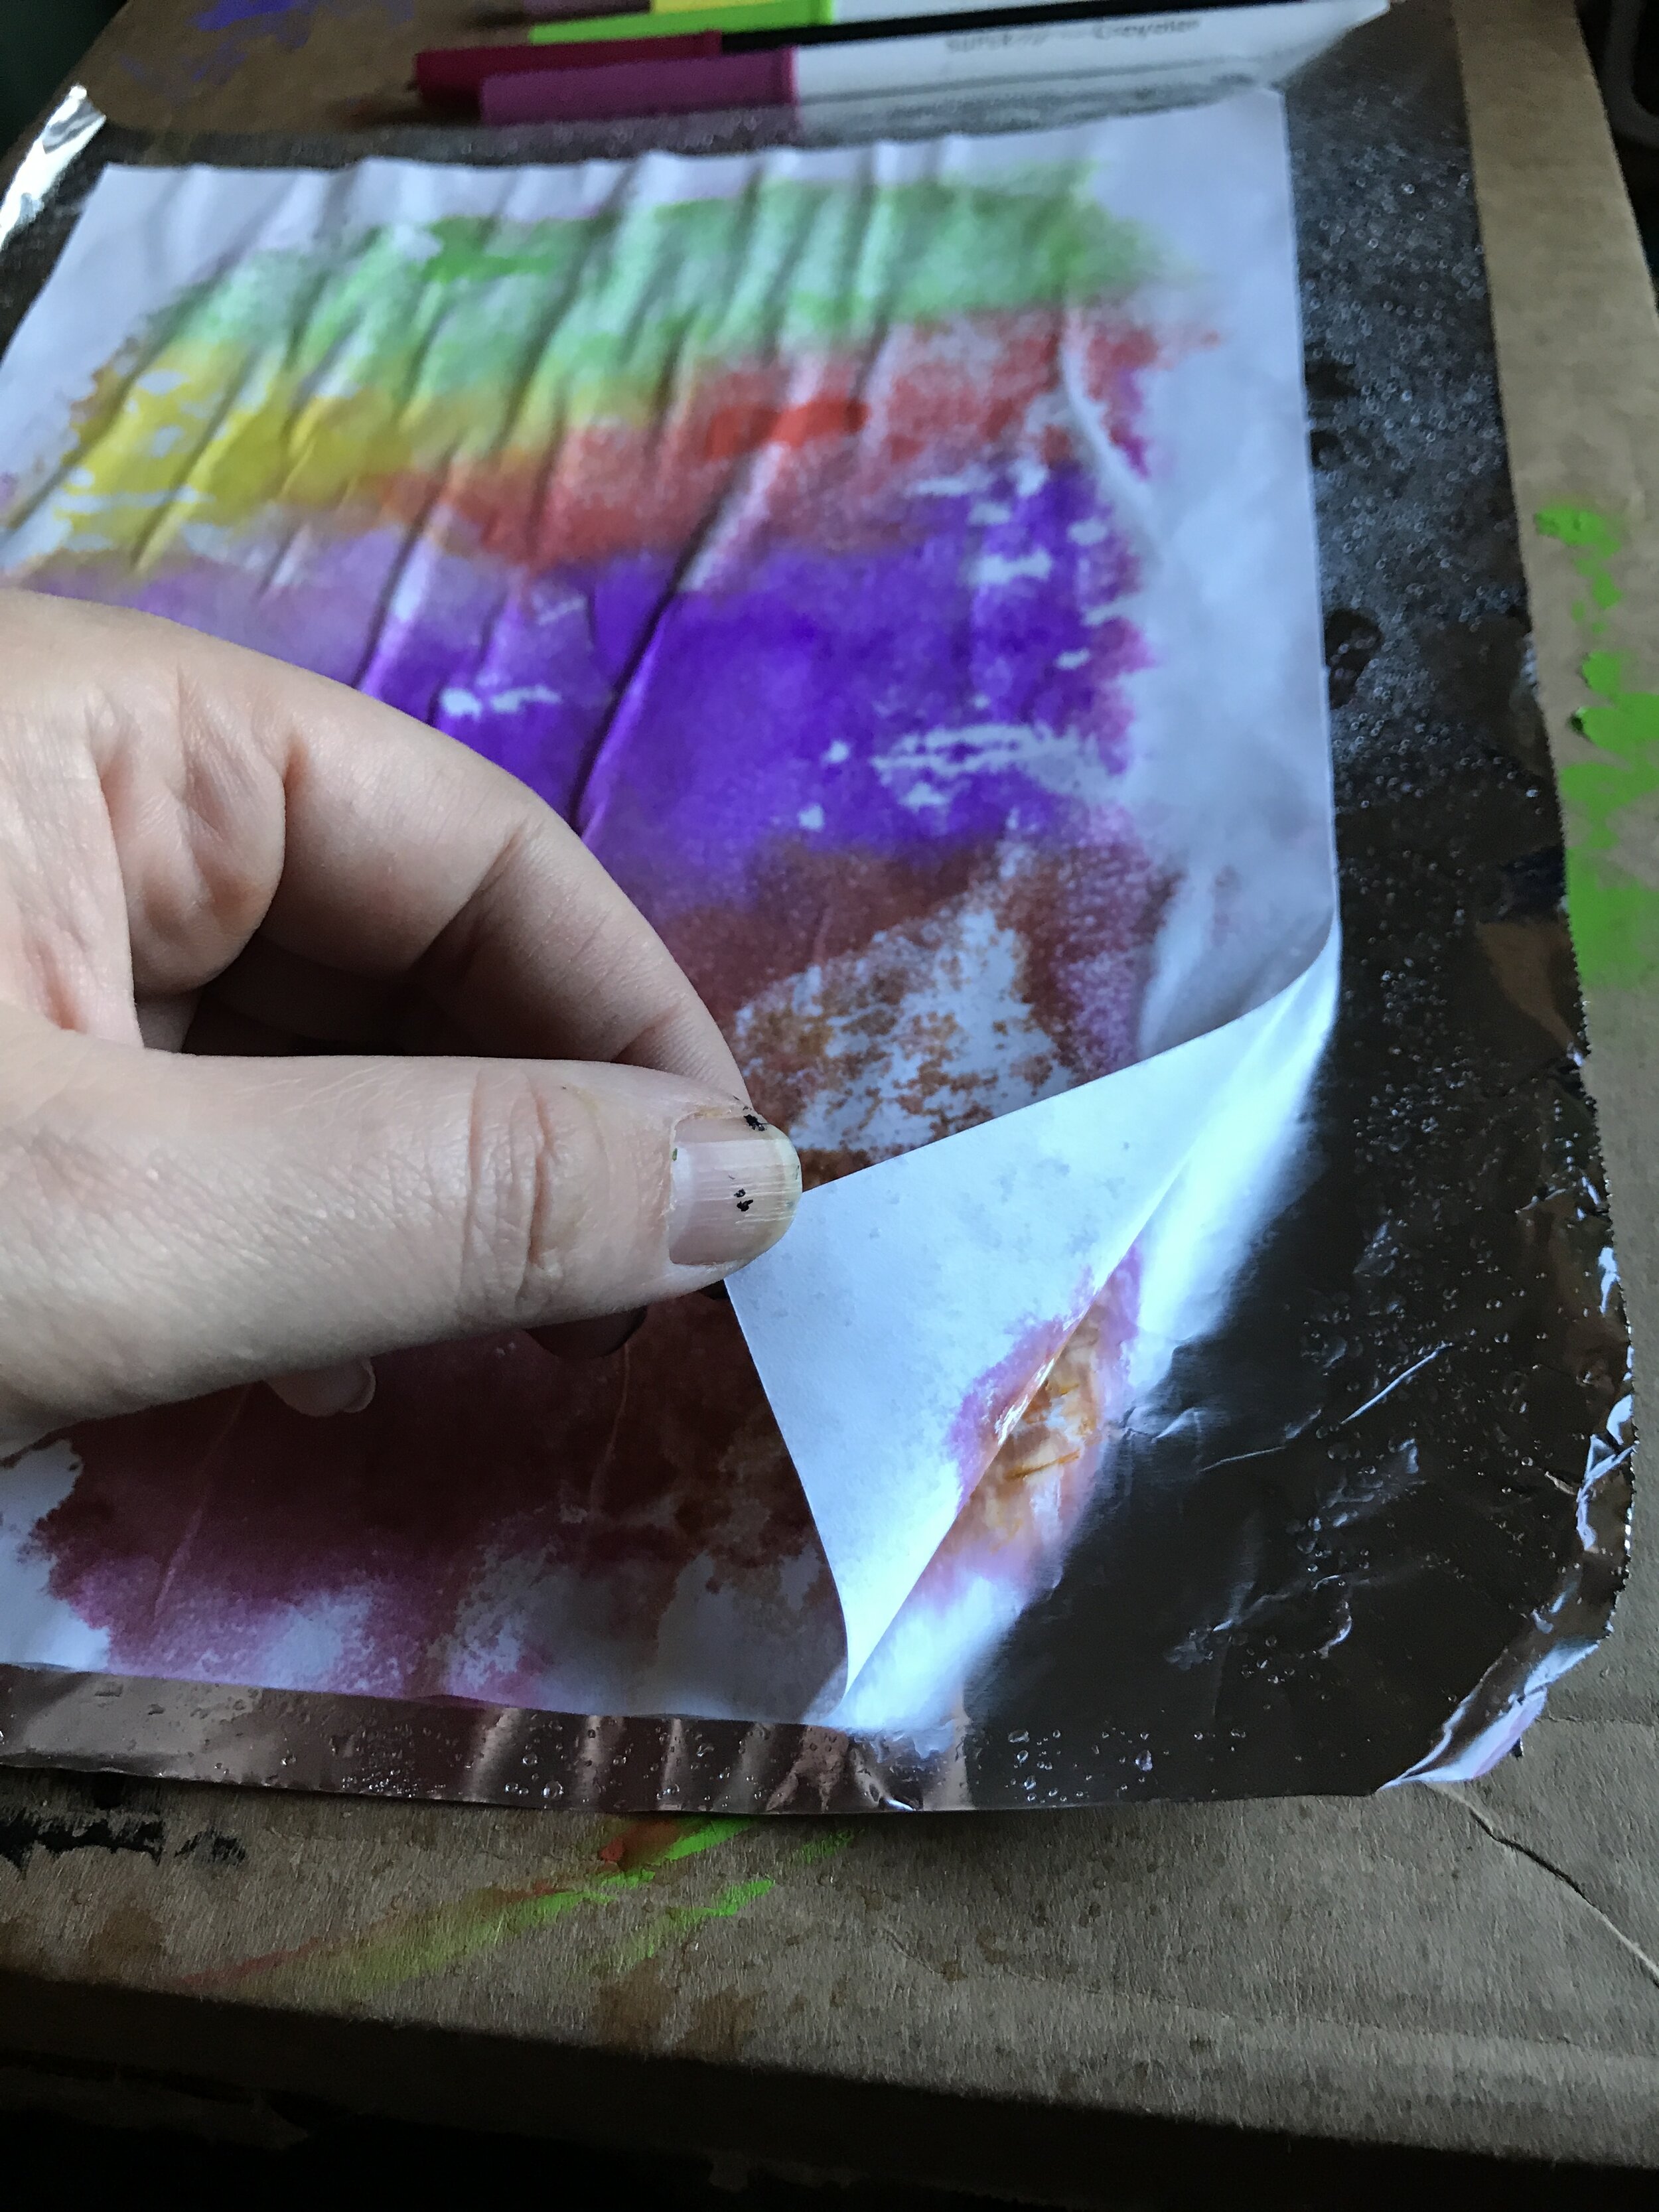

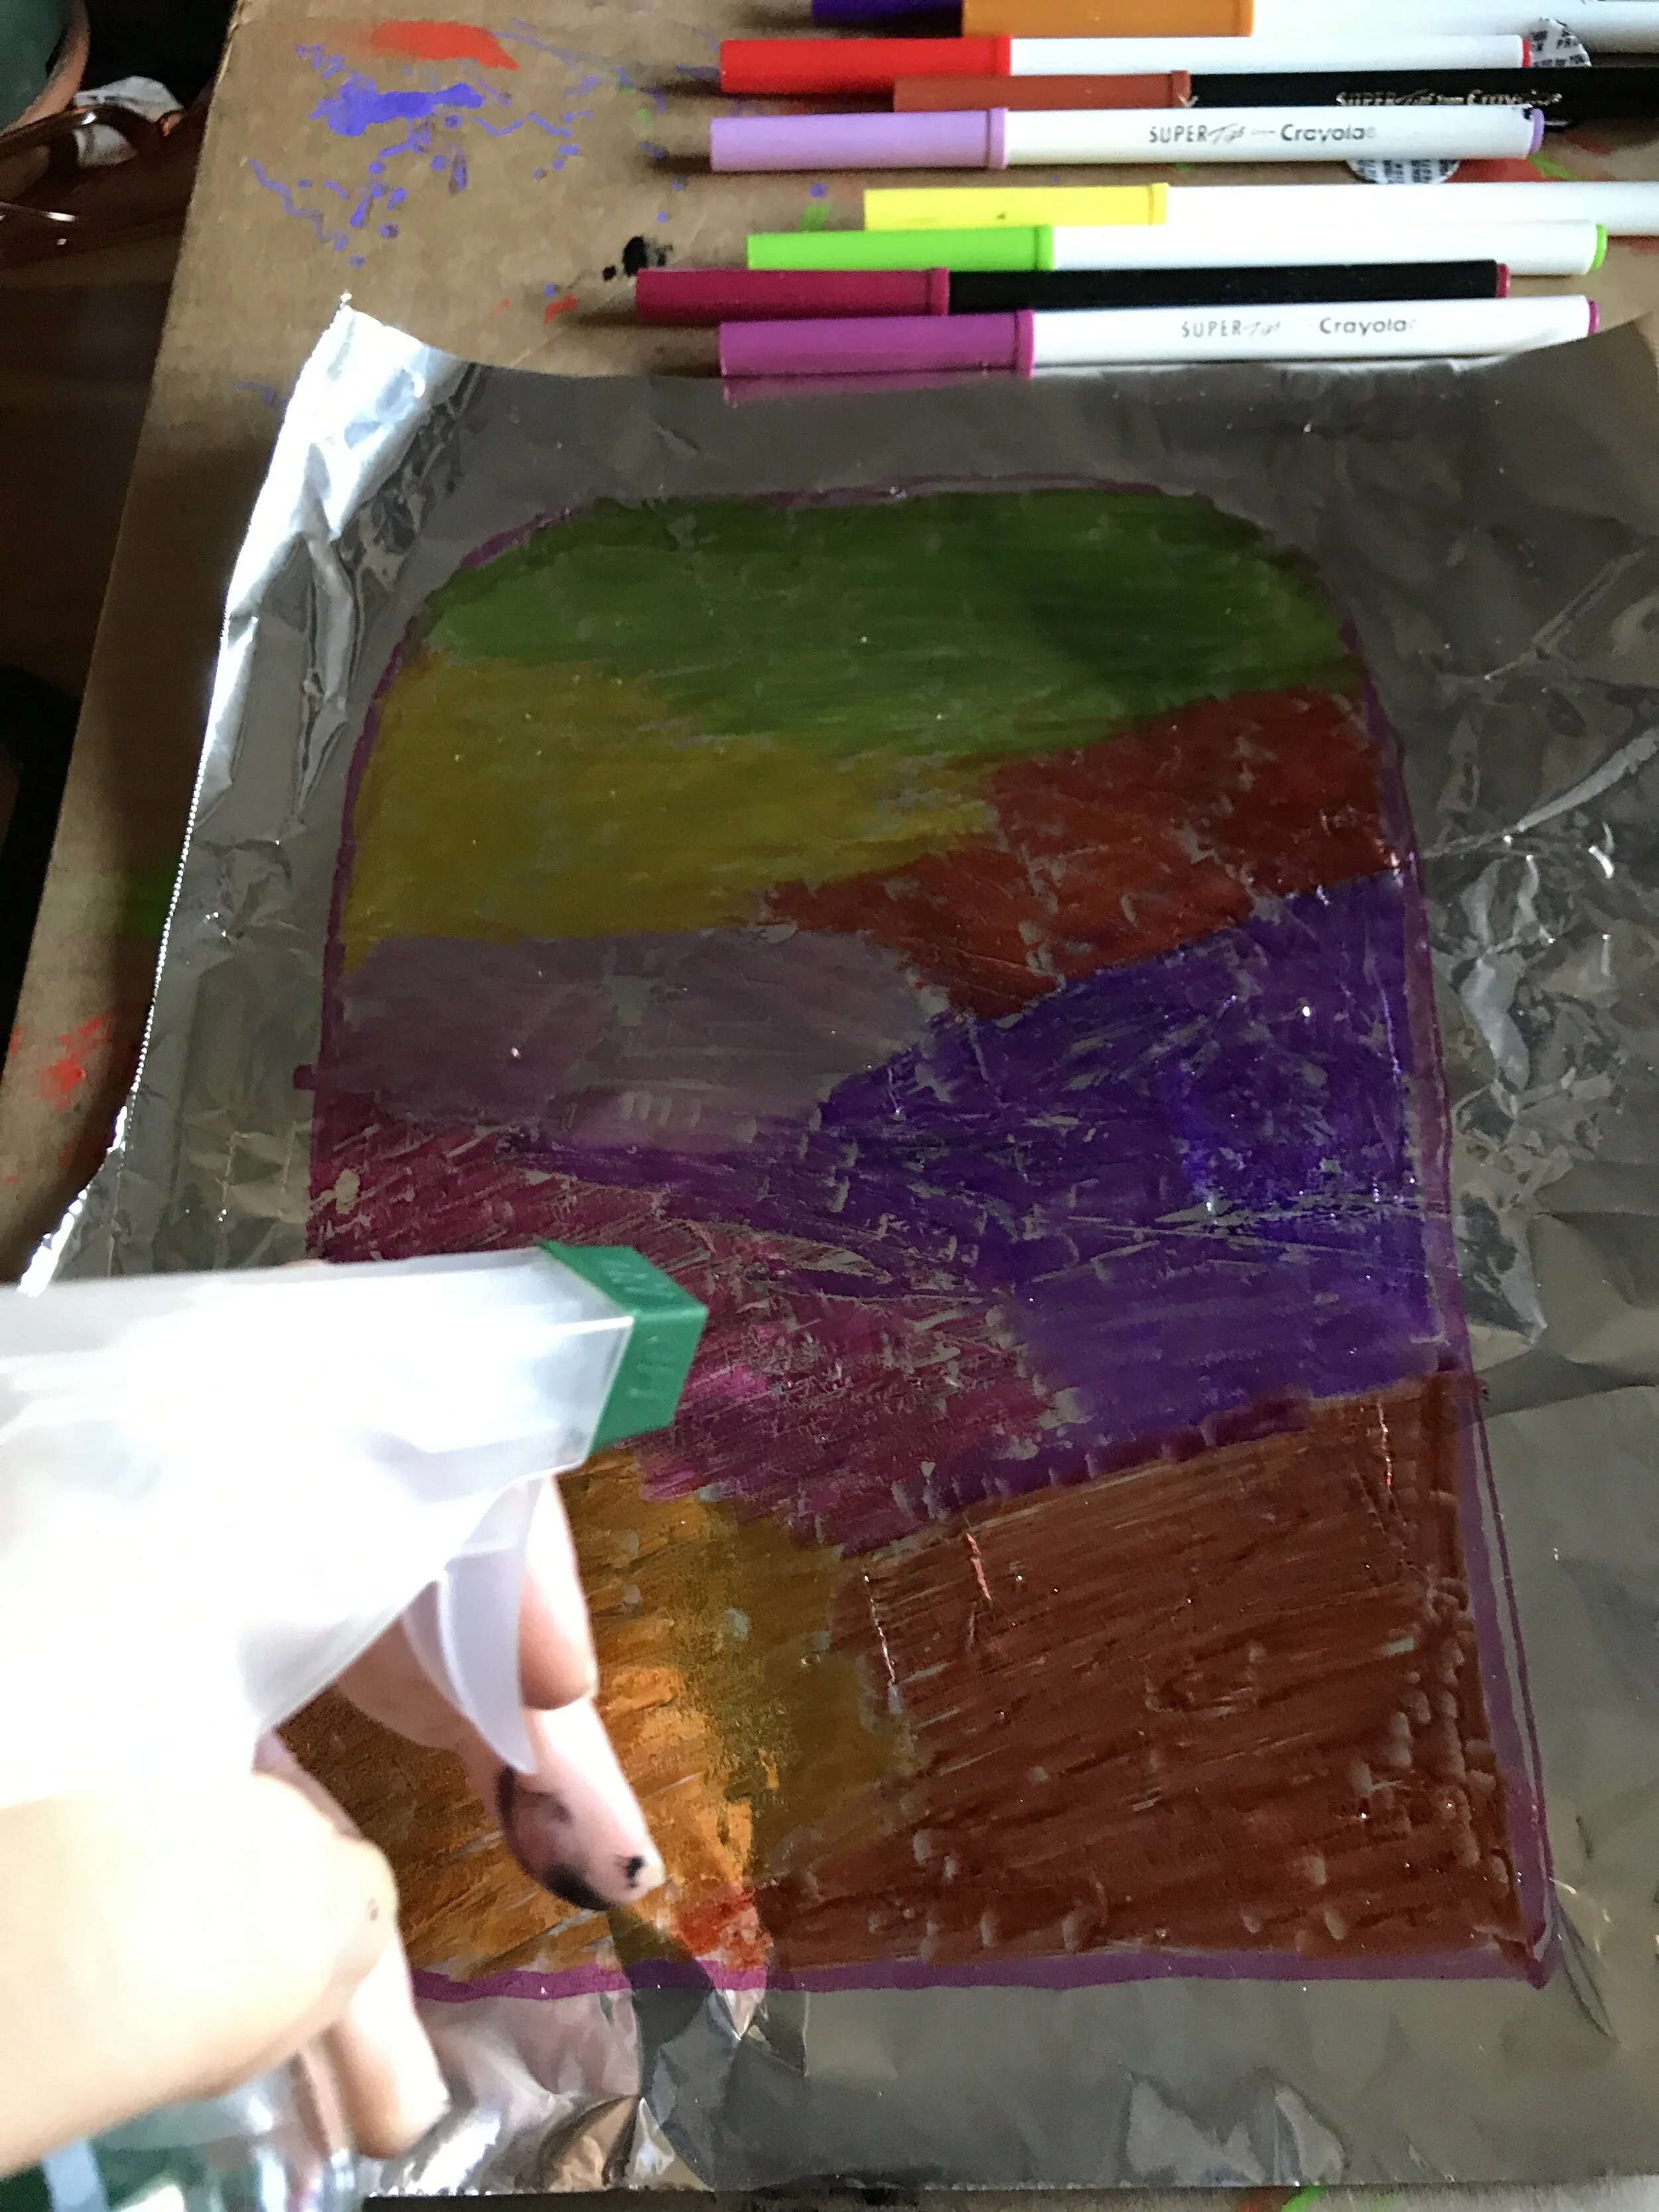
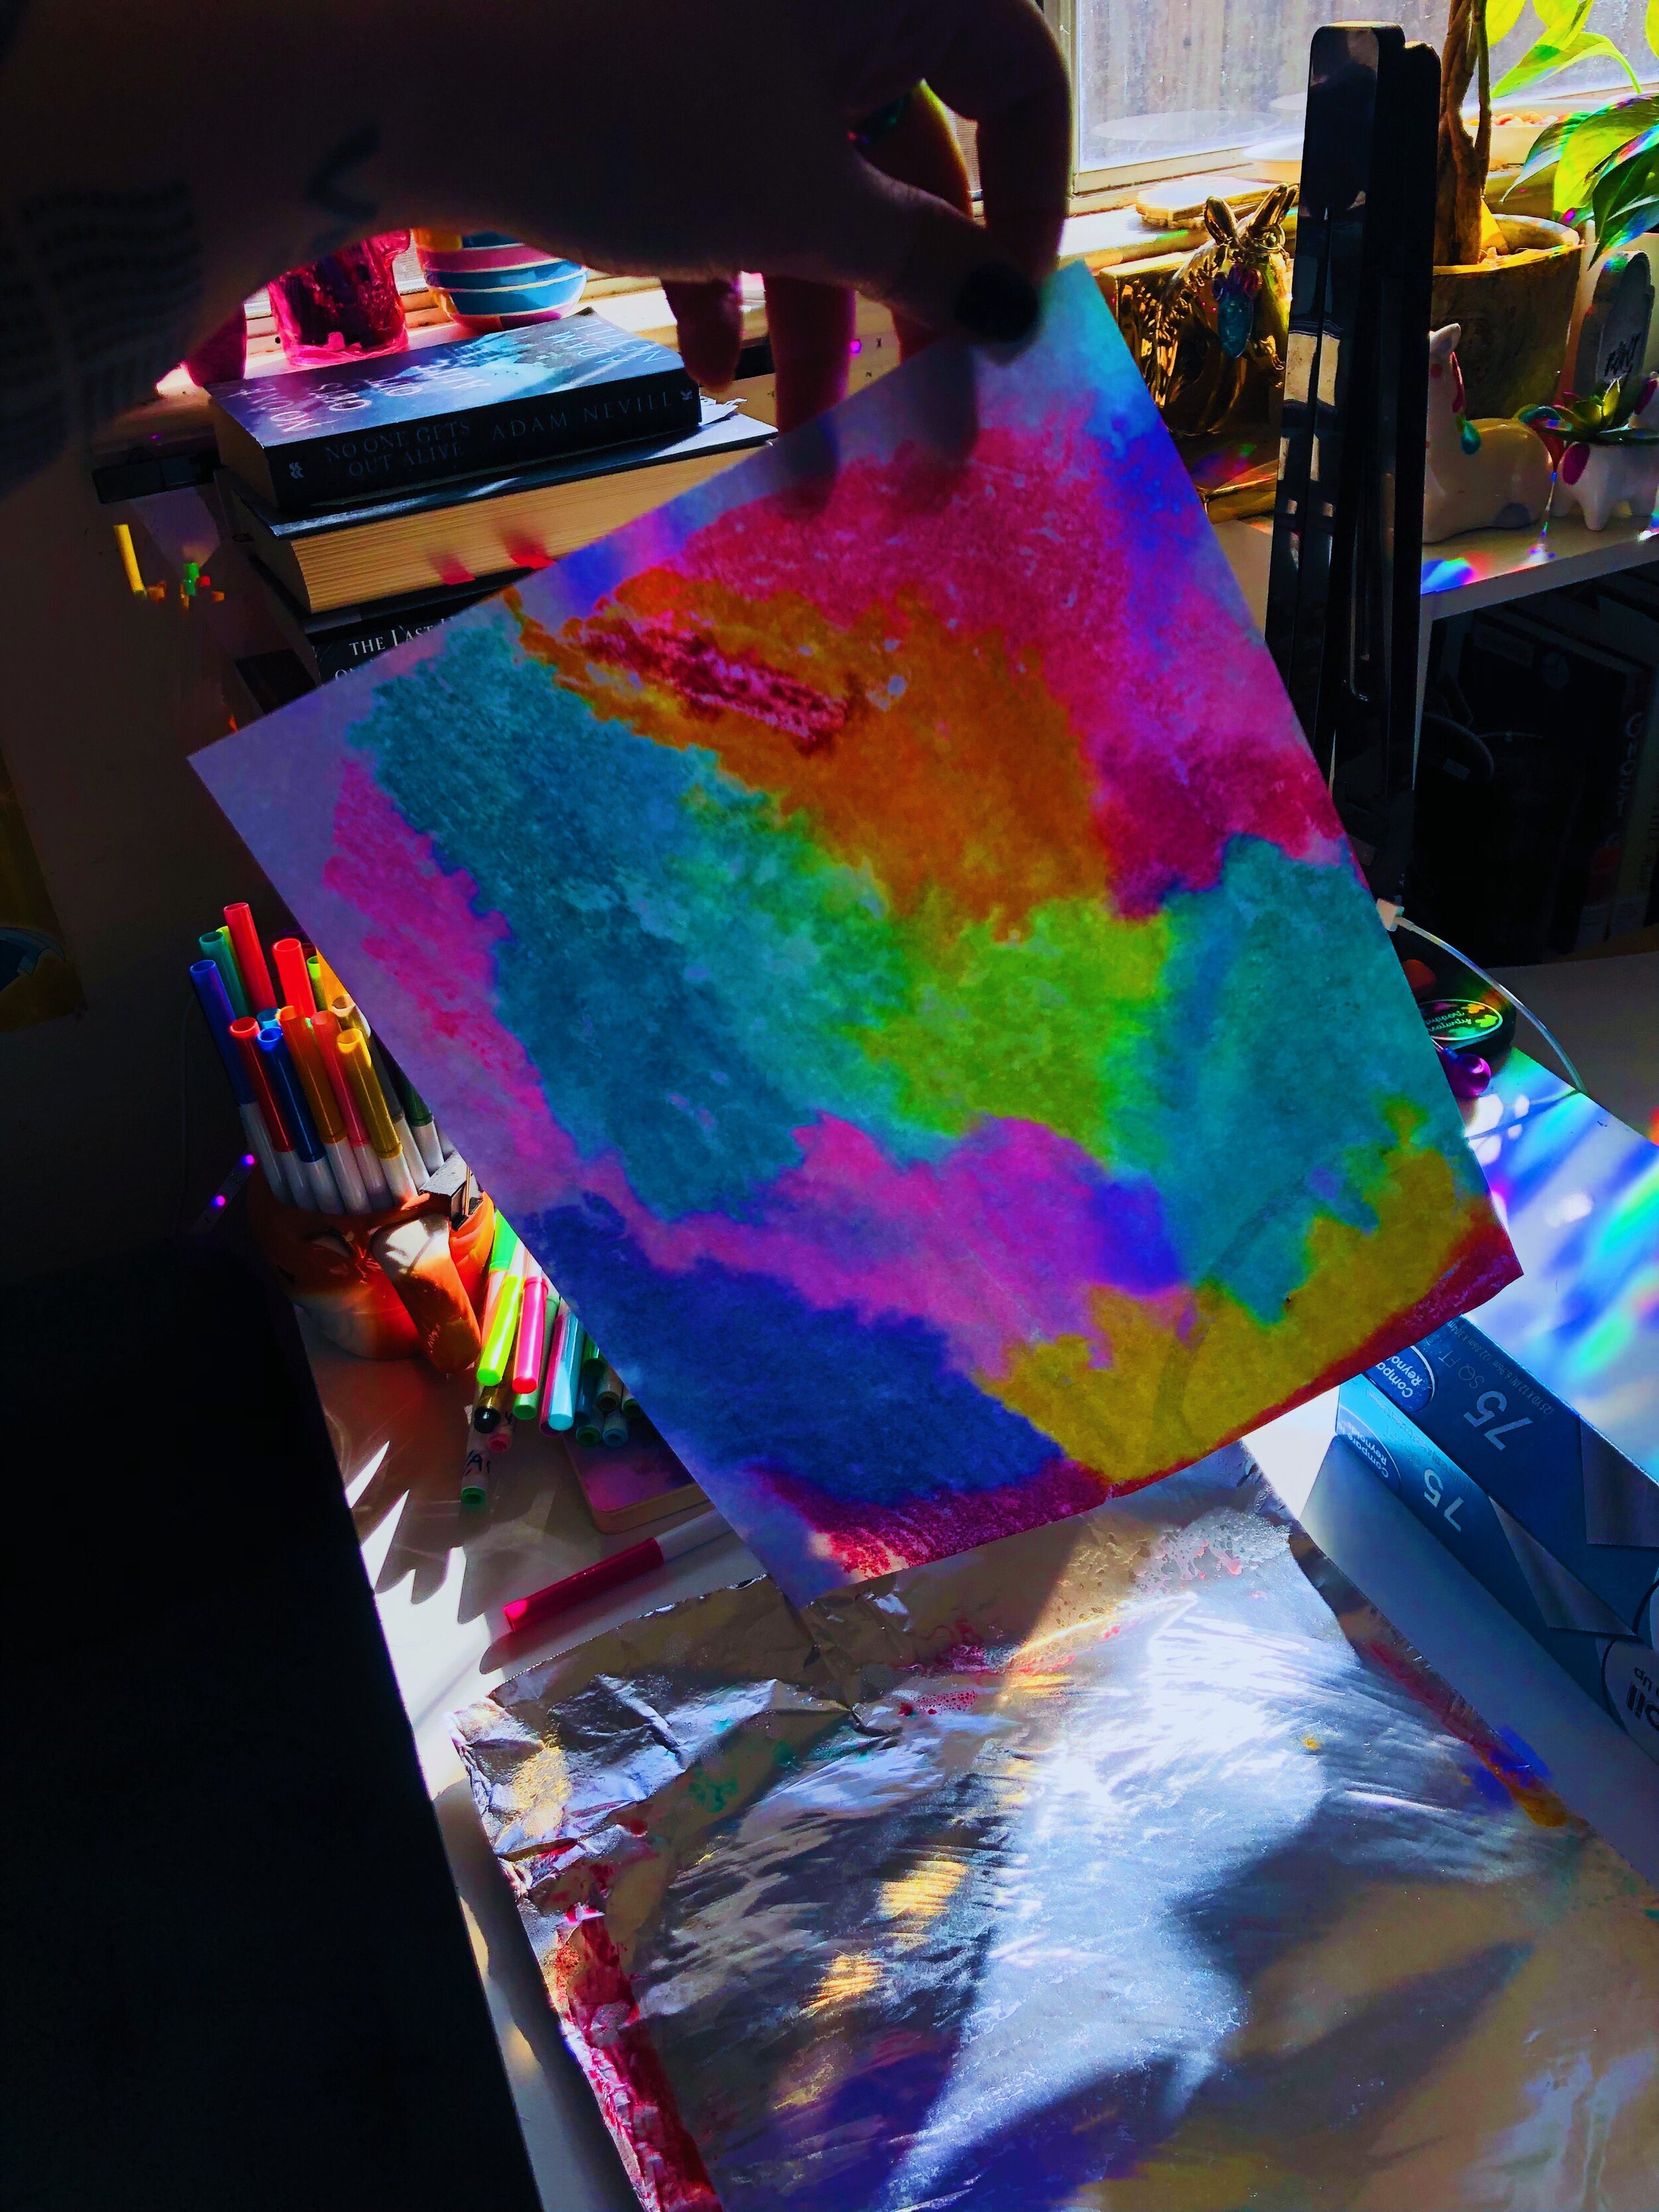
Step 4: Pulling Your Marker Monoprint
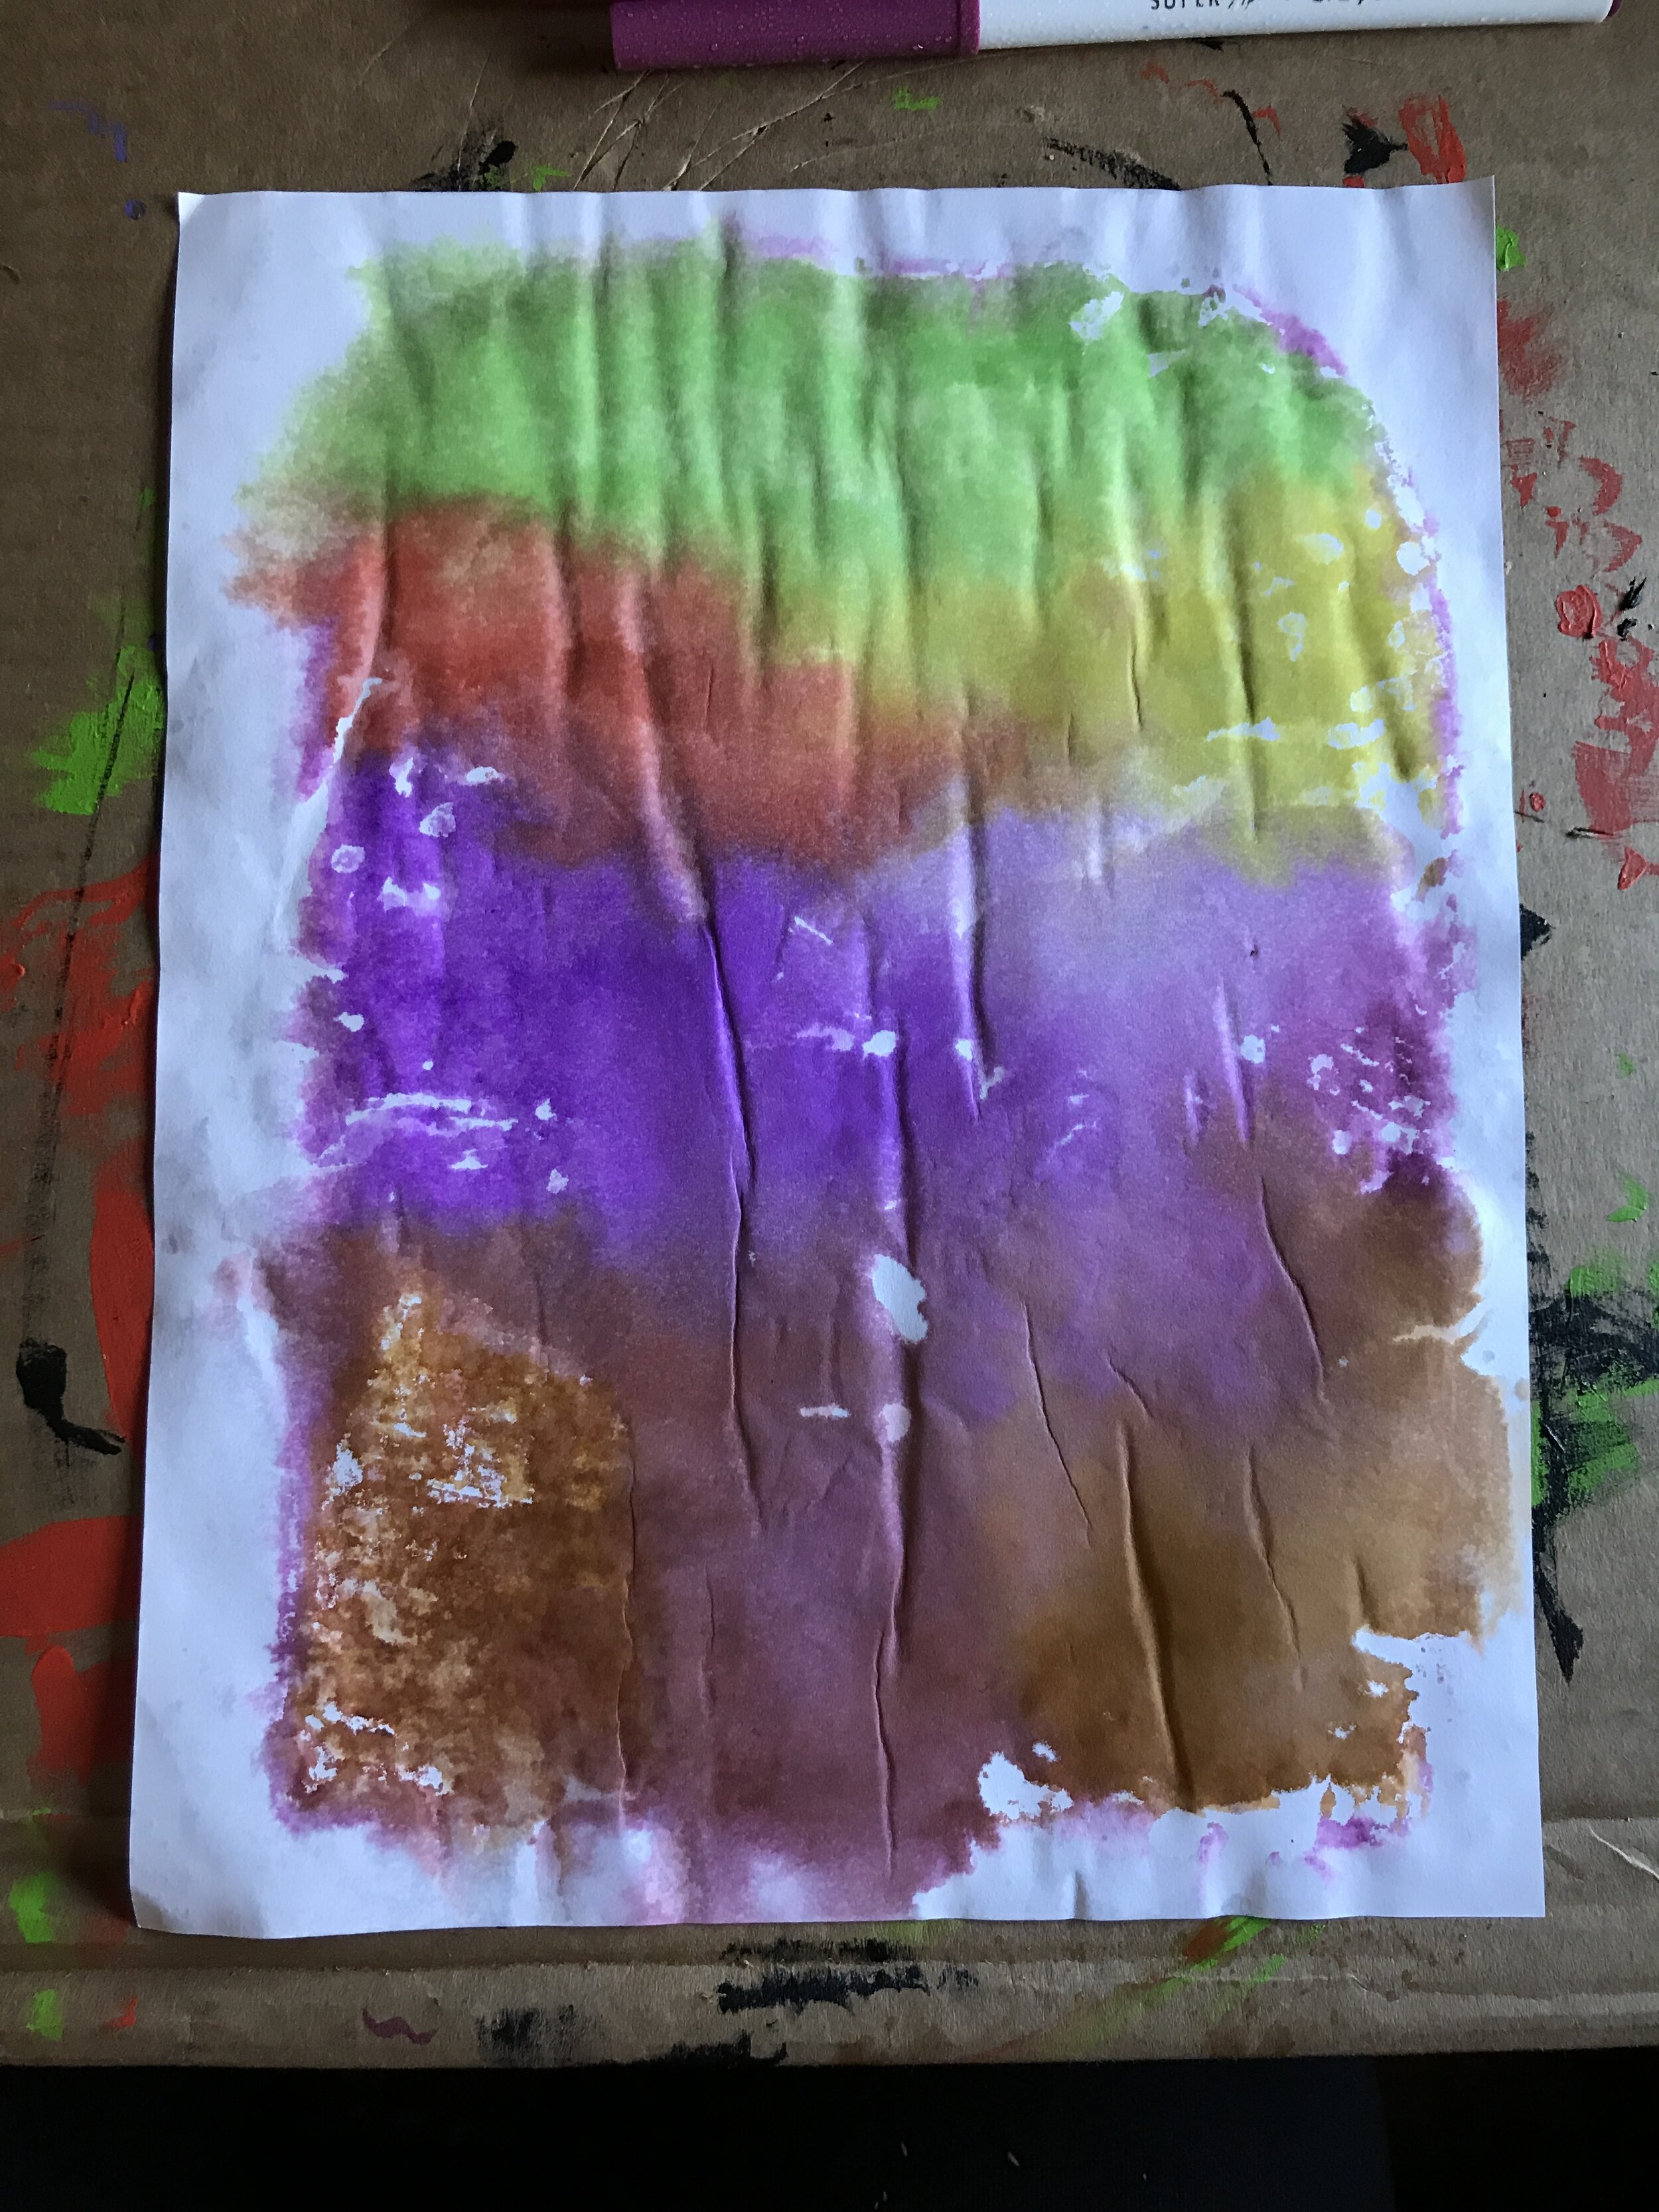
Hold the bottle 6” to 12” away from the surface and spray a gentle mist over the foil. Don’t oversaturate the foil or the paper will deteriorate. A light, fine mist is plenty! Place your paper over the top and gently smooth it out (copy paper can get weak when wet, so an adult might need to help small ones to avoid tearing!) Leave the paper there for a minute or two to soak up the marker ink. Once you see the marker start to appear on the backside and the ink has transferred to the paper, gently and slowly peel the paper back from the foil. (Once again you’ll want to set this aside to dry, or have an adult/teenager do some light work with a blowdryer set to cool to speed the process up.) It’s okay if your paper crinkles a little! You can smooth it out more when you glue it to the cardboard frame! Don’t despair if you have white patches, it’s okay to have little imperfections or wrinkles. The effect will still work, trust me! It’s also alright if the colours appear a bit more muted than they did on the foil, when the sunlight shines through I promise it will be vibrant and spectacular regardless.


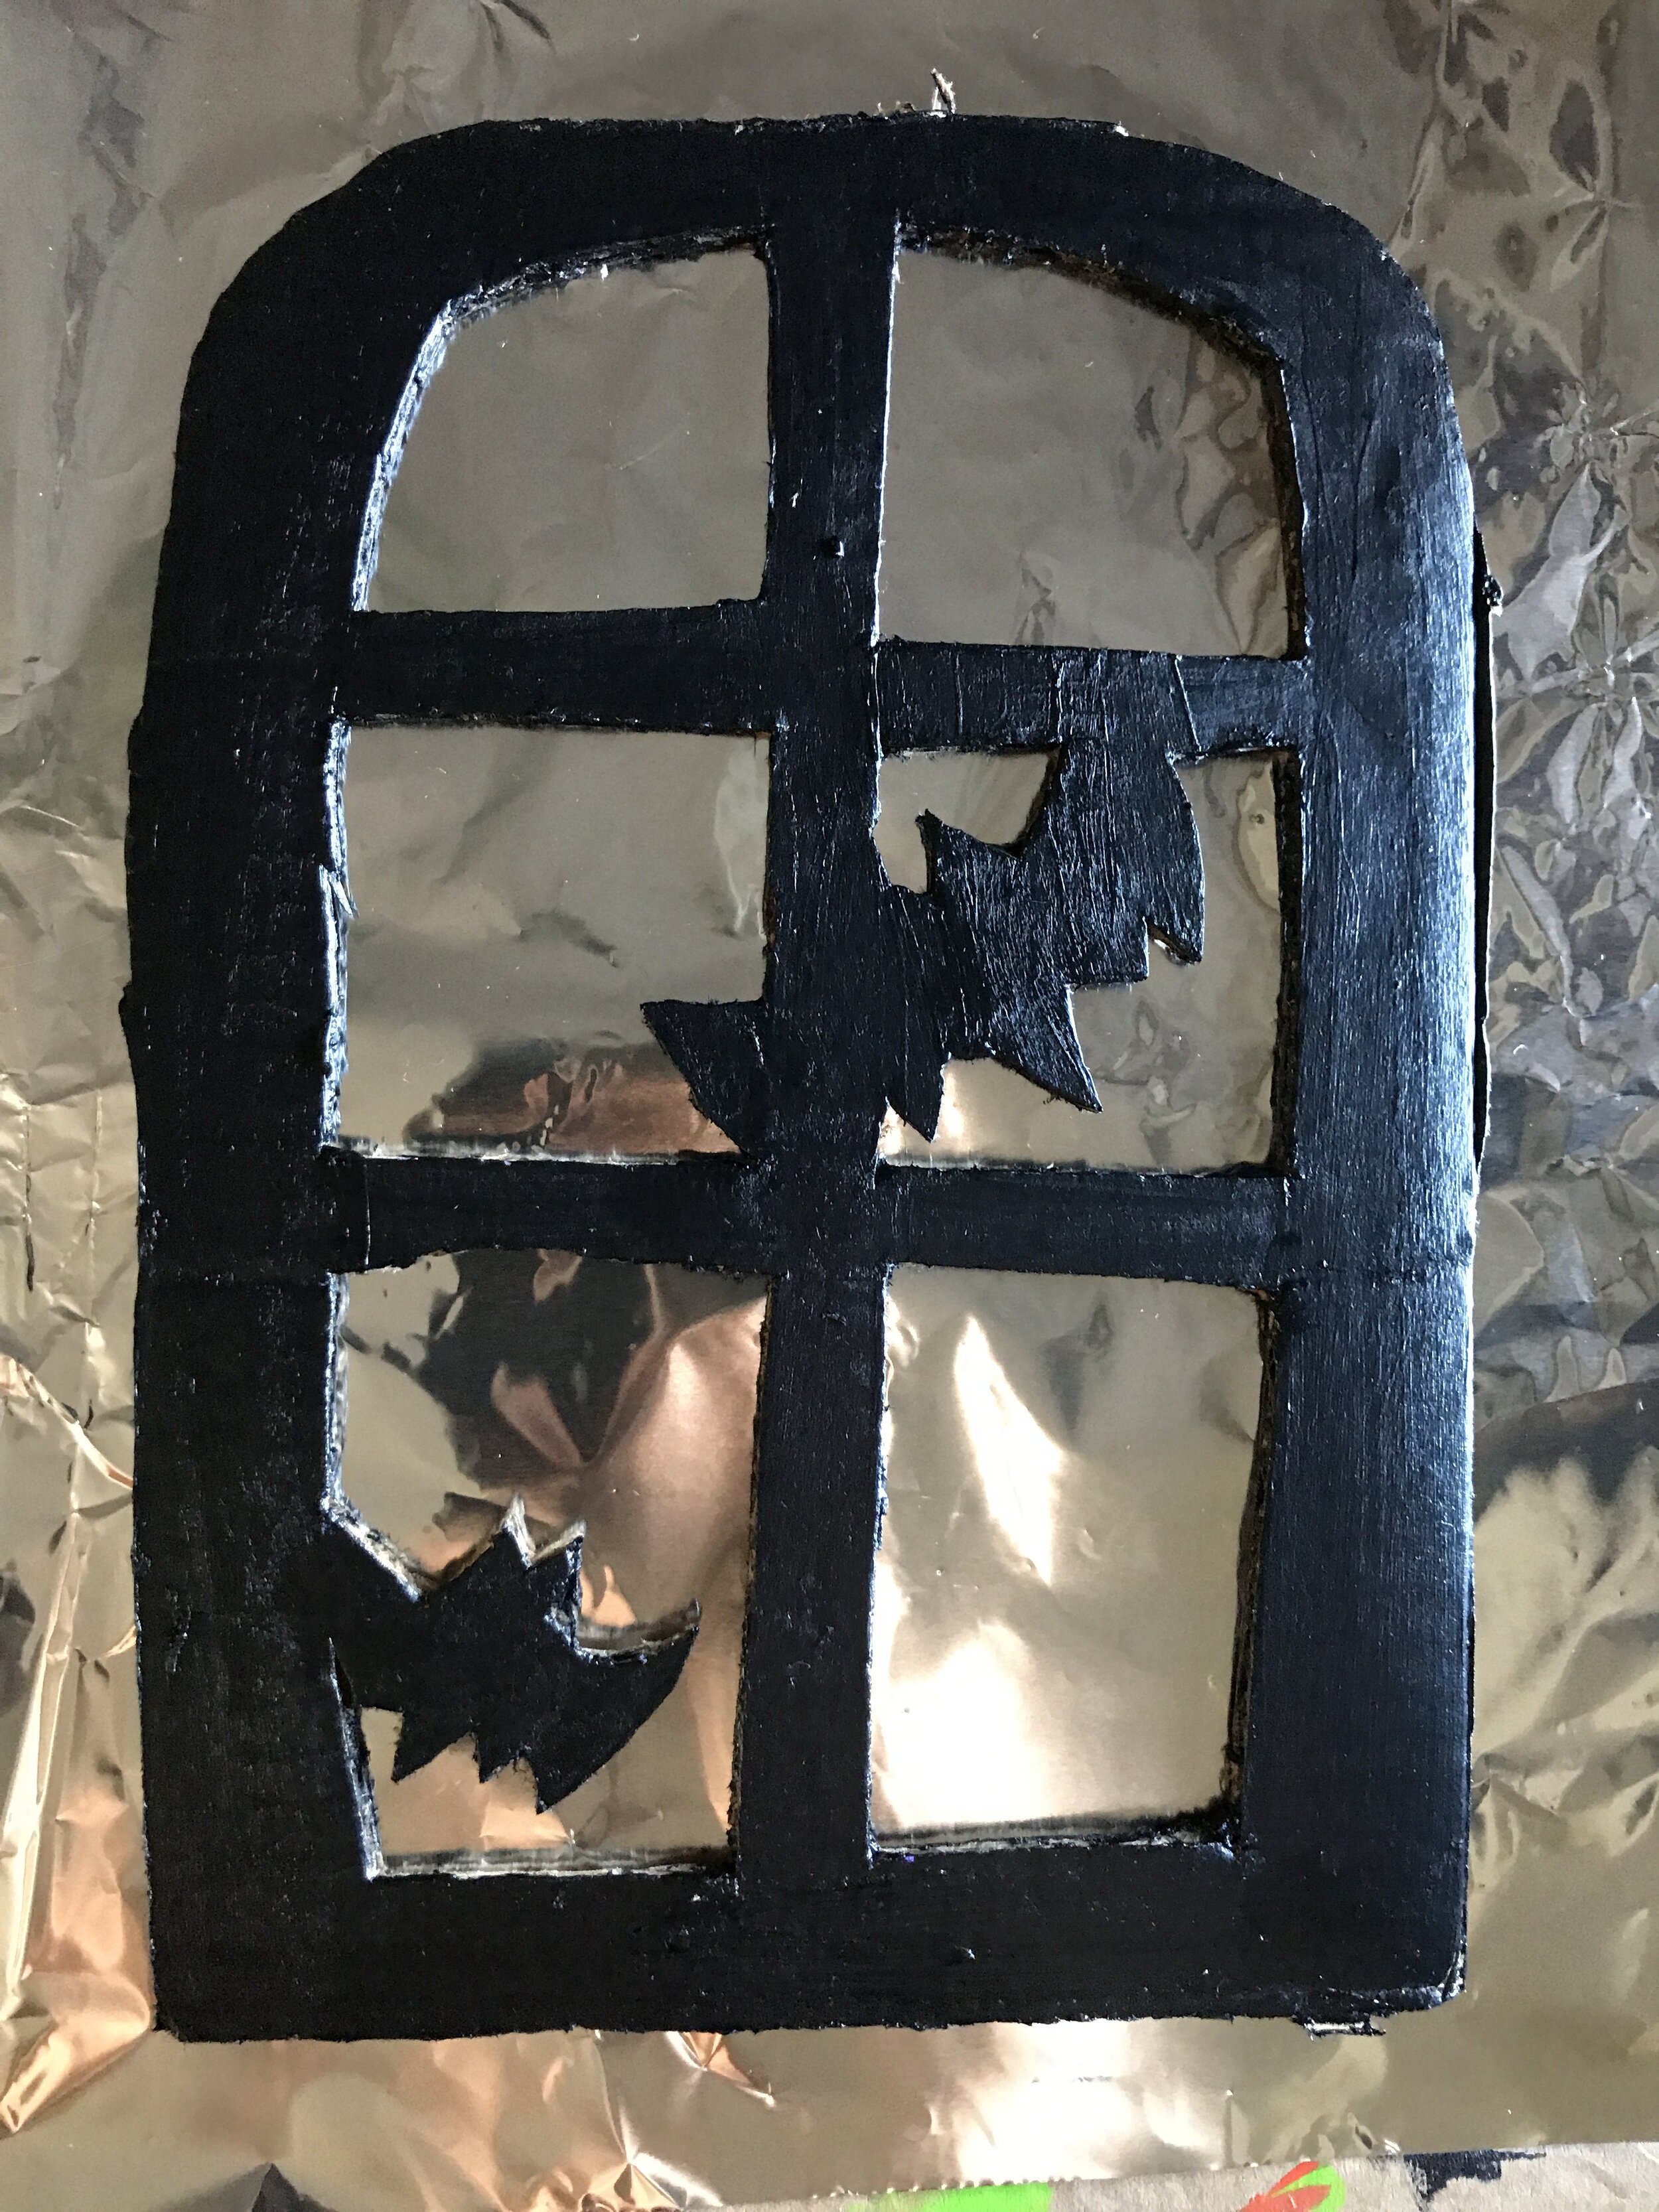
Step 5: Adhering your Stained Glass to your Window Frame
For the sturdiest construction, this step should be done by an adult with some expertise in handling a glue gun.
DO NOT give small children, tweens, or teens a gluegun without supervision; glue guns can reach extremely high temperatures and cause severe burns! DO NOT leave your glue gun where the cord or appliance are within reach of small children! Both the glue and gun (tip/body) can be very hot!
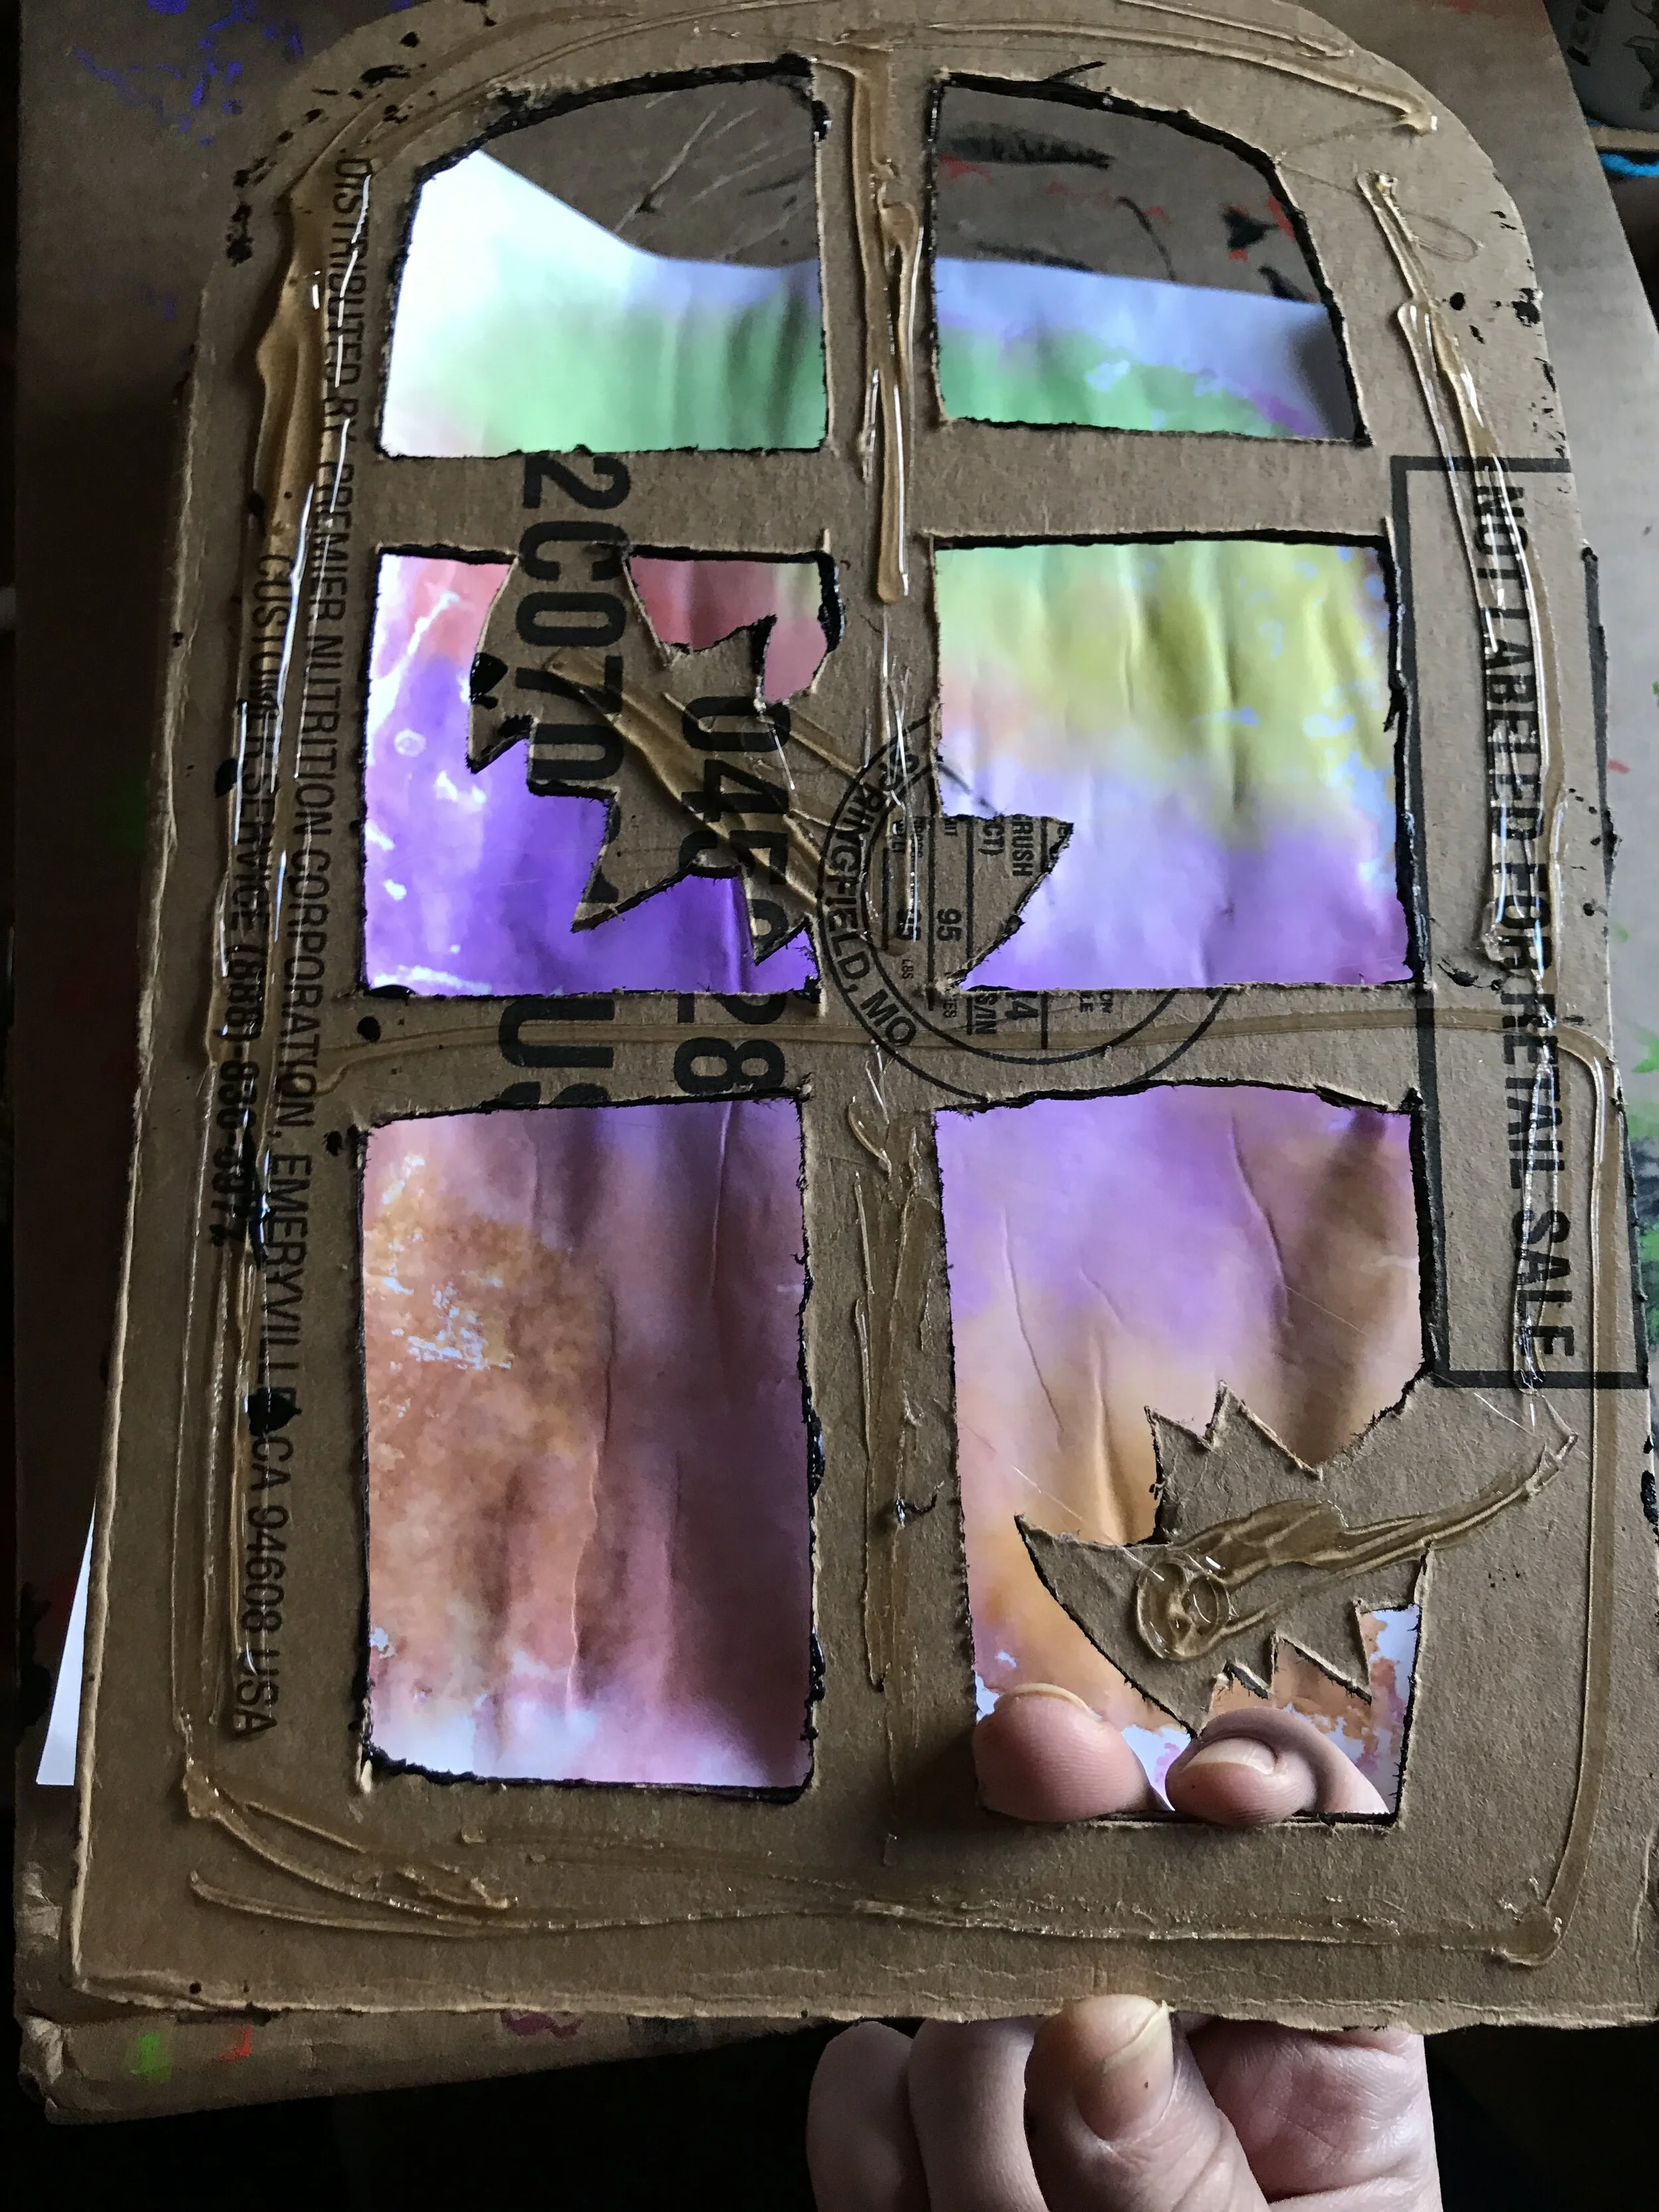
Heat your glue gun. When the gun reaches temperature, flip over your painted cardboard to the unpainted side. Apply the glue quickly to the back of the cardboard frame and use the tip of the glue gun to spread it out evenly. Work fast so the glue does not dry before you get your paper adhered! Lie the cardboard painted side down on a clean surface and place the paper inkside down on the glued-up side of your cardboard. Gently and carefully press and smooth it out; caution: the glue will still be hot so you may wish to wear gloves or use a paper towel, be cautious not to hurt yourself or burn your hands. Allow the glue time to cure according to your manufacturer’s directions. With a hot glue gun it’s usually set within 5 minutes!
Using Glue Sticks, Tacky Glue, or School Glue: Apply the glue quickly to the back of the cardboard frame and use your finger tips, a popsicle stick, or paint brush to spread it out evenly. (Remember to dunk your gluey brushes in water after so they don’t get ruined!) Or apply a generous amount of glue-stick adhesive to the cardboard edges. Work fast so the glue does not dry before you get your paper adhered! Lie the cardboard painted side down on a clean surface and place the paper inkside down on the glued-up side of your cardboard. Gently and carefully press and smooth it out flat onto the cardboard frame. Careful not to poke a hole in your paper in the empty cutouts! Allow the paper and cardboard frame to cure for the suggested time on the back of your glue bottle.

Step 6: Clean Up Your Work and Admire Your Finished Art!
Okay, okay maybe this is the best part of the creative process on this project! You’re almost ready to admire your finished product!!!
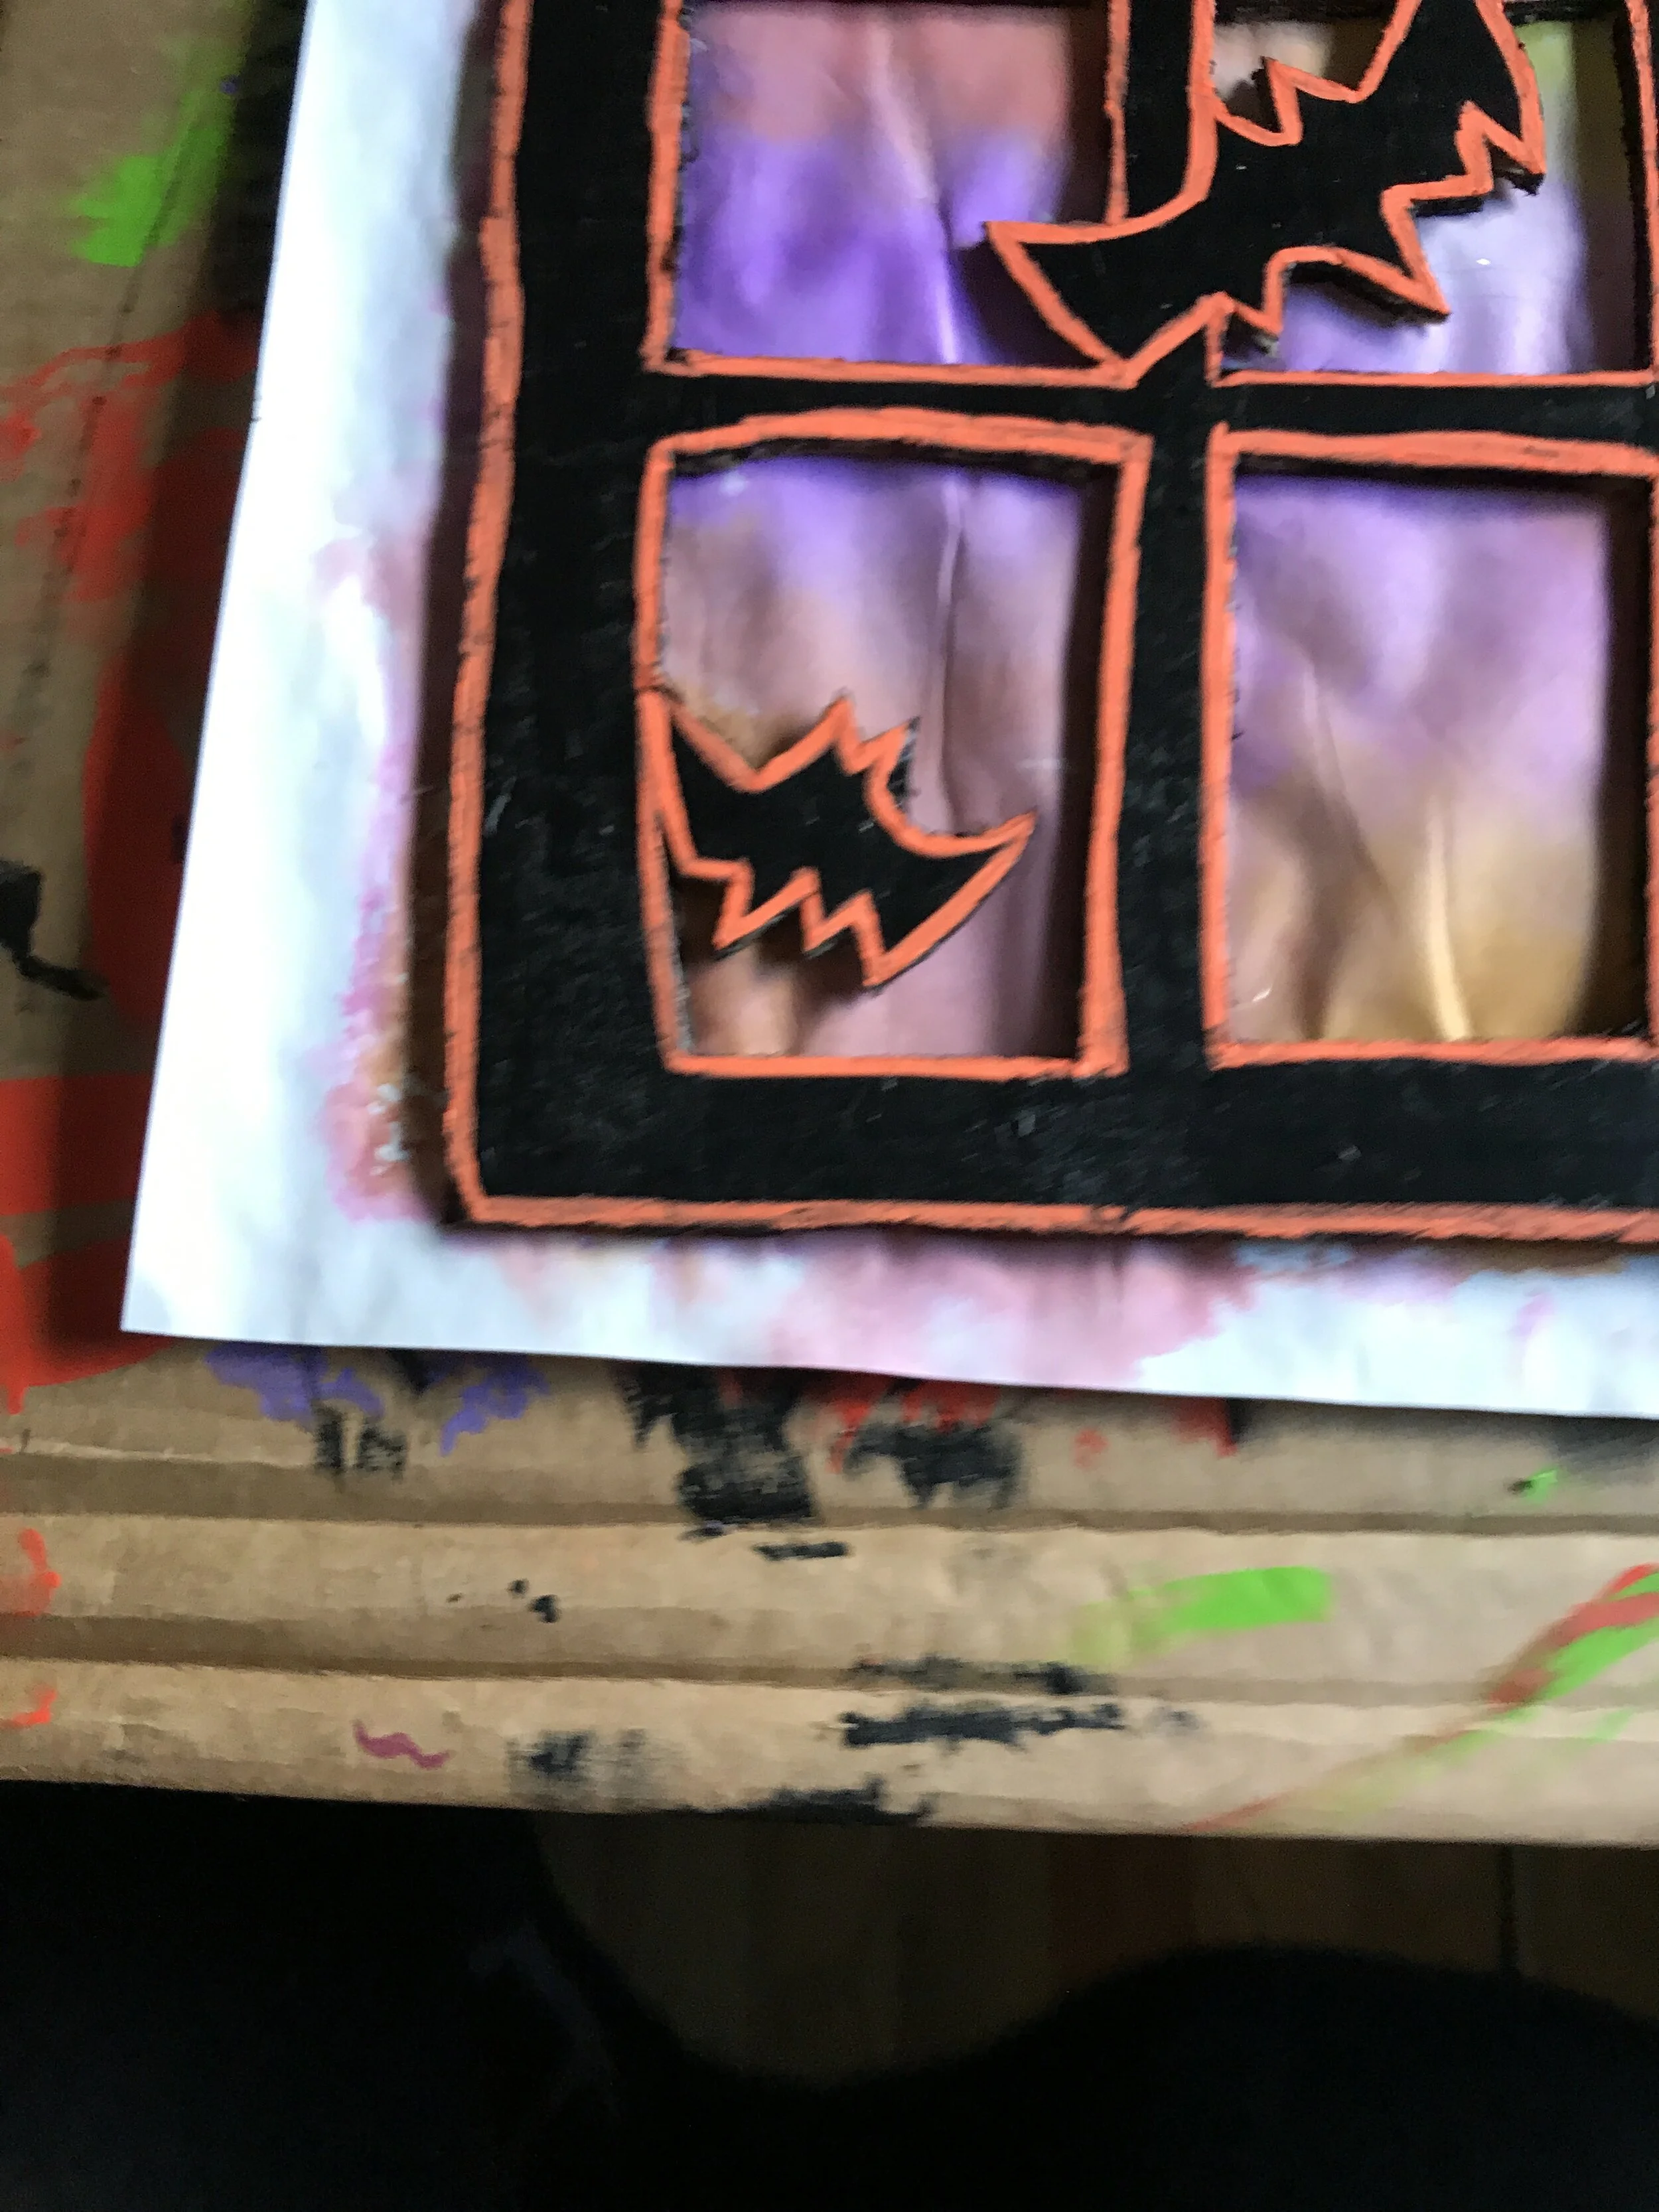
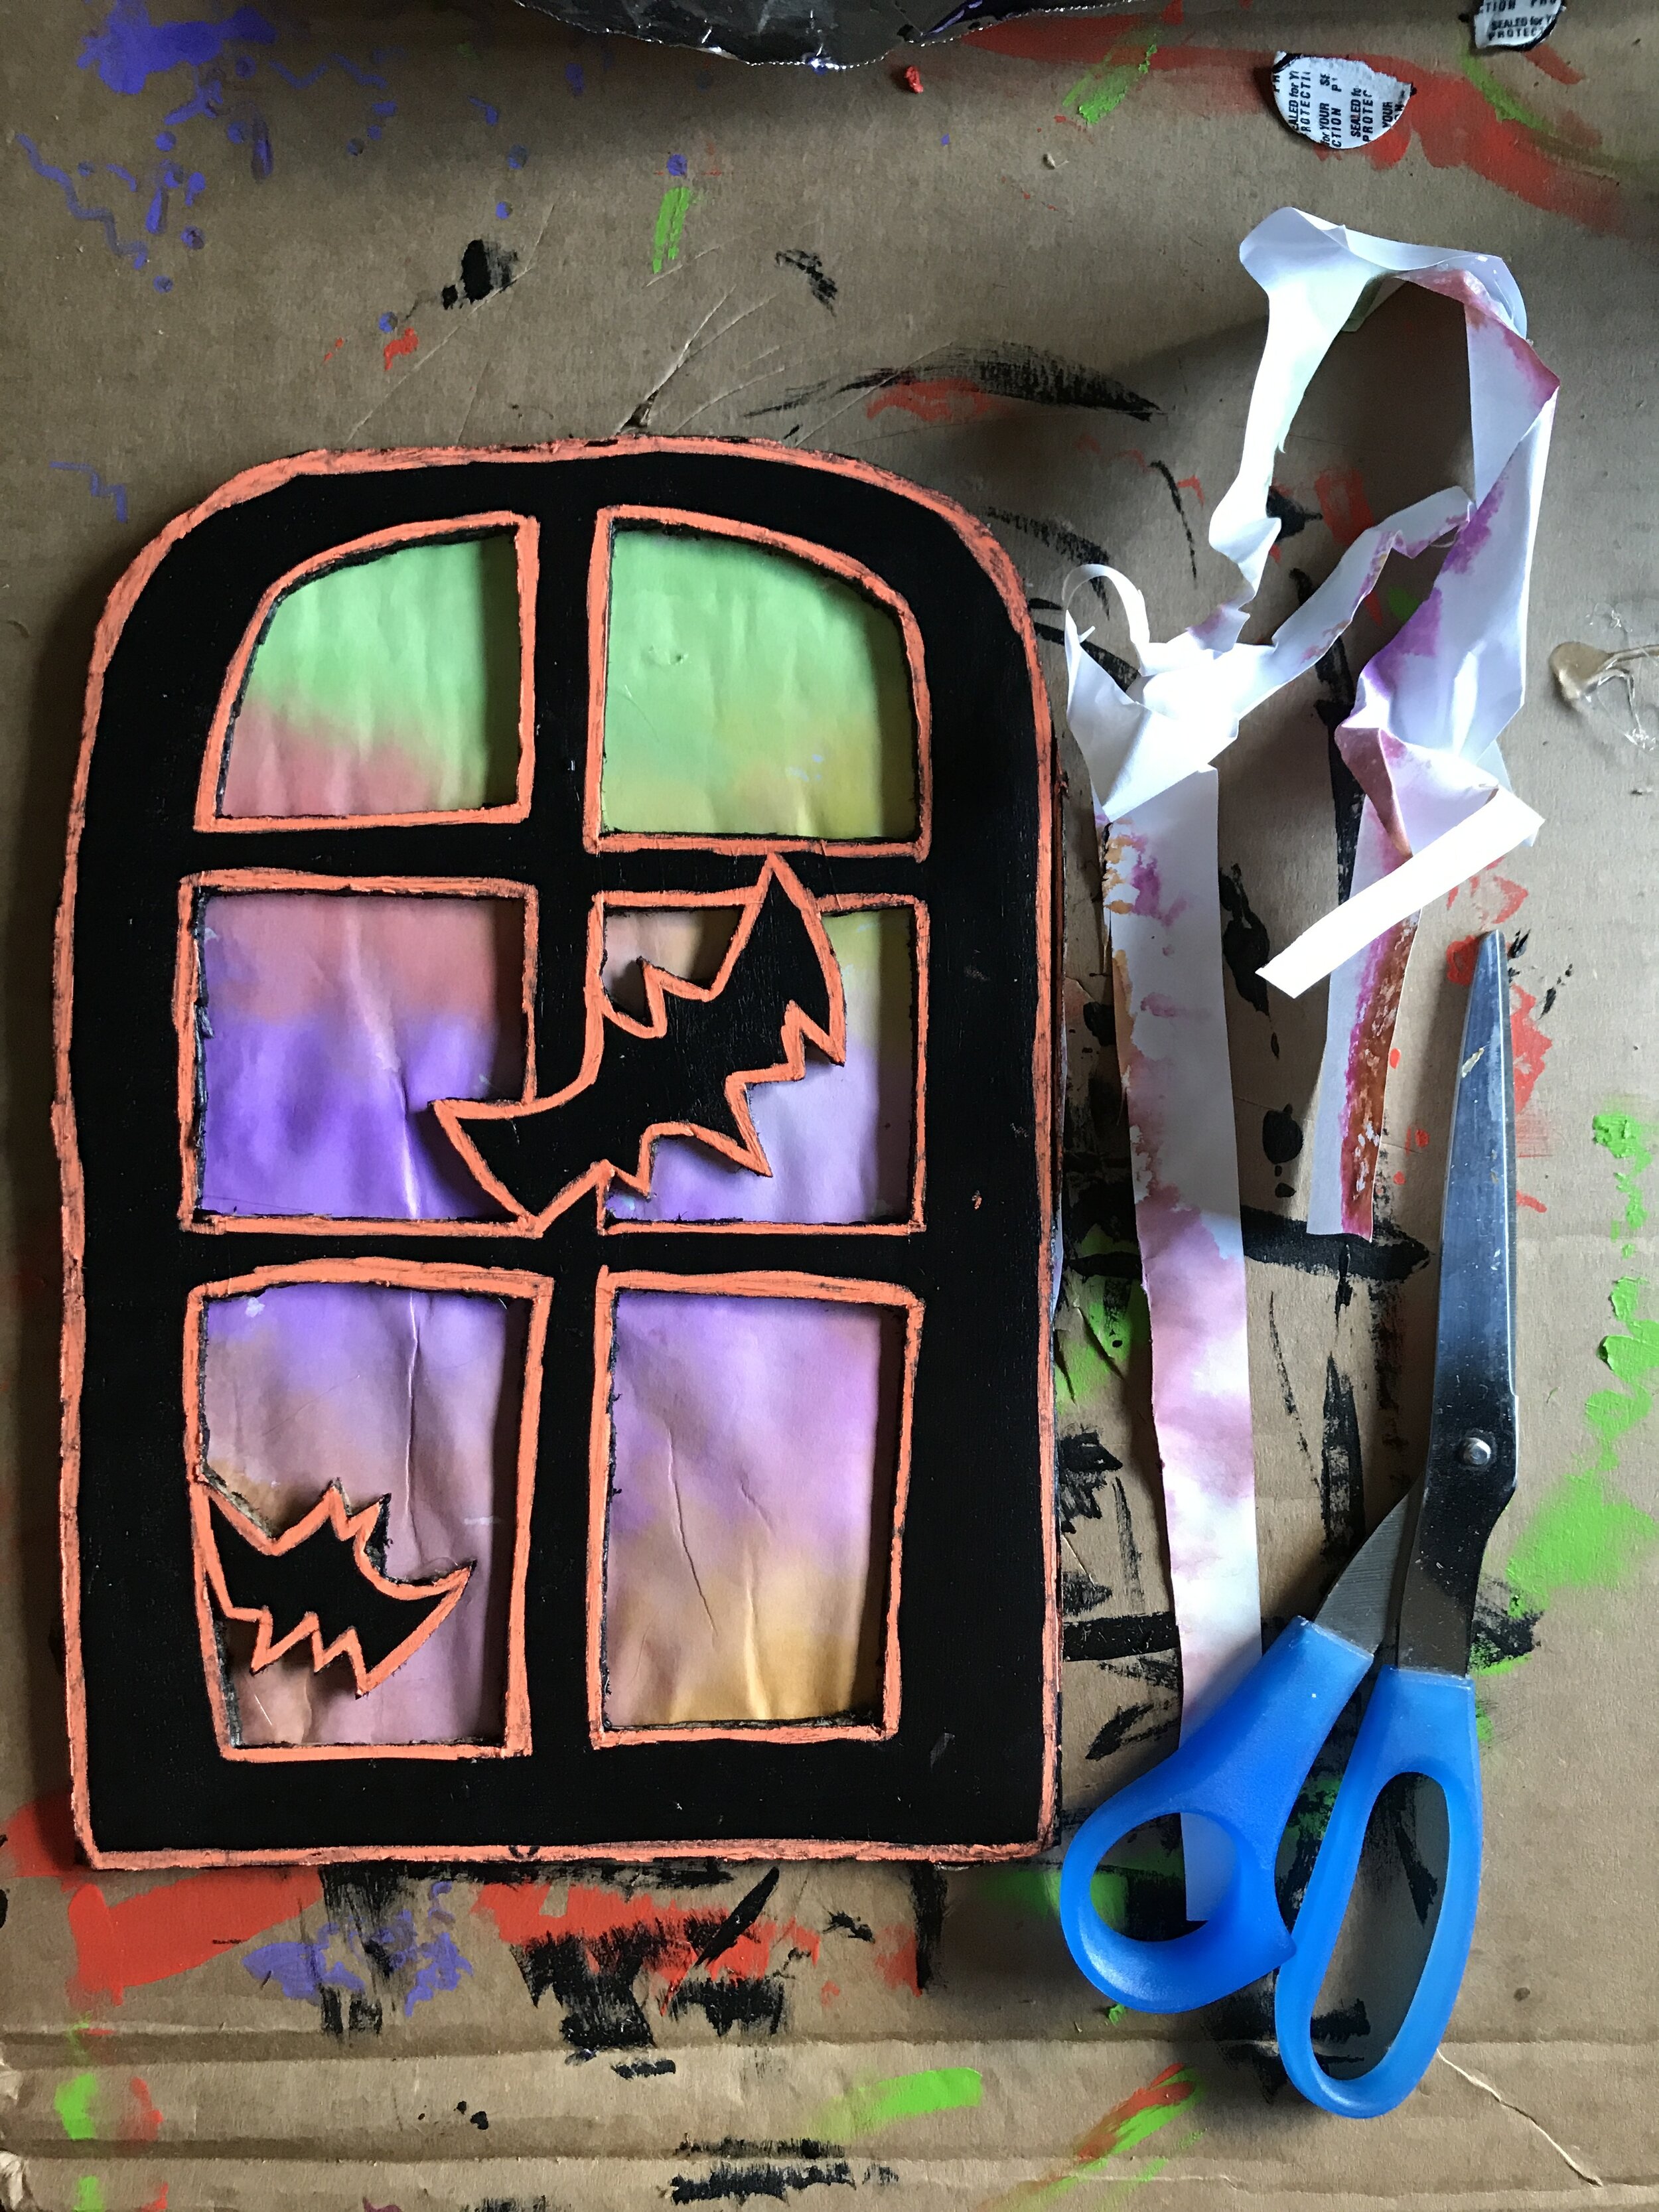
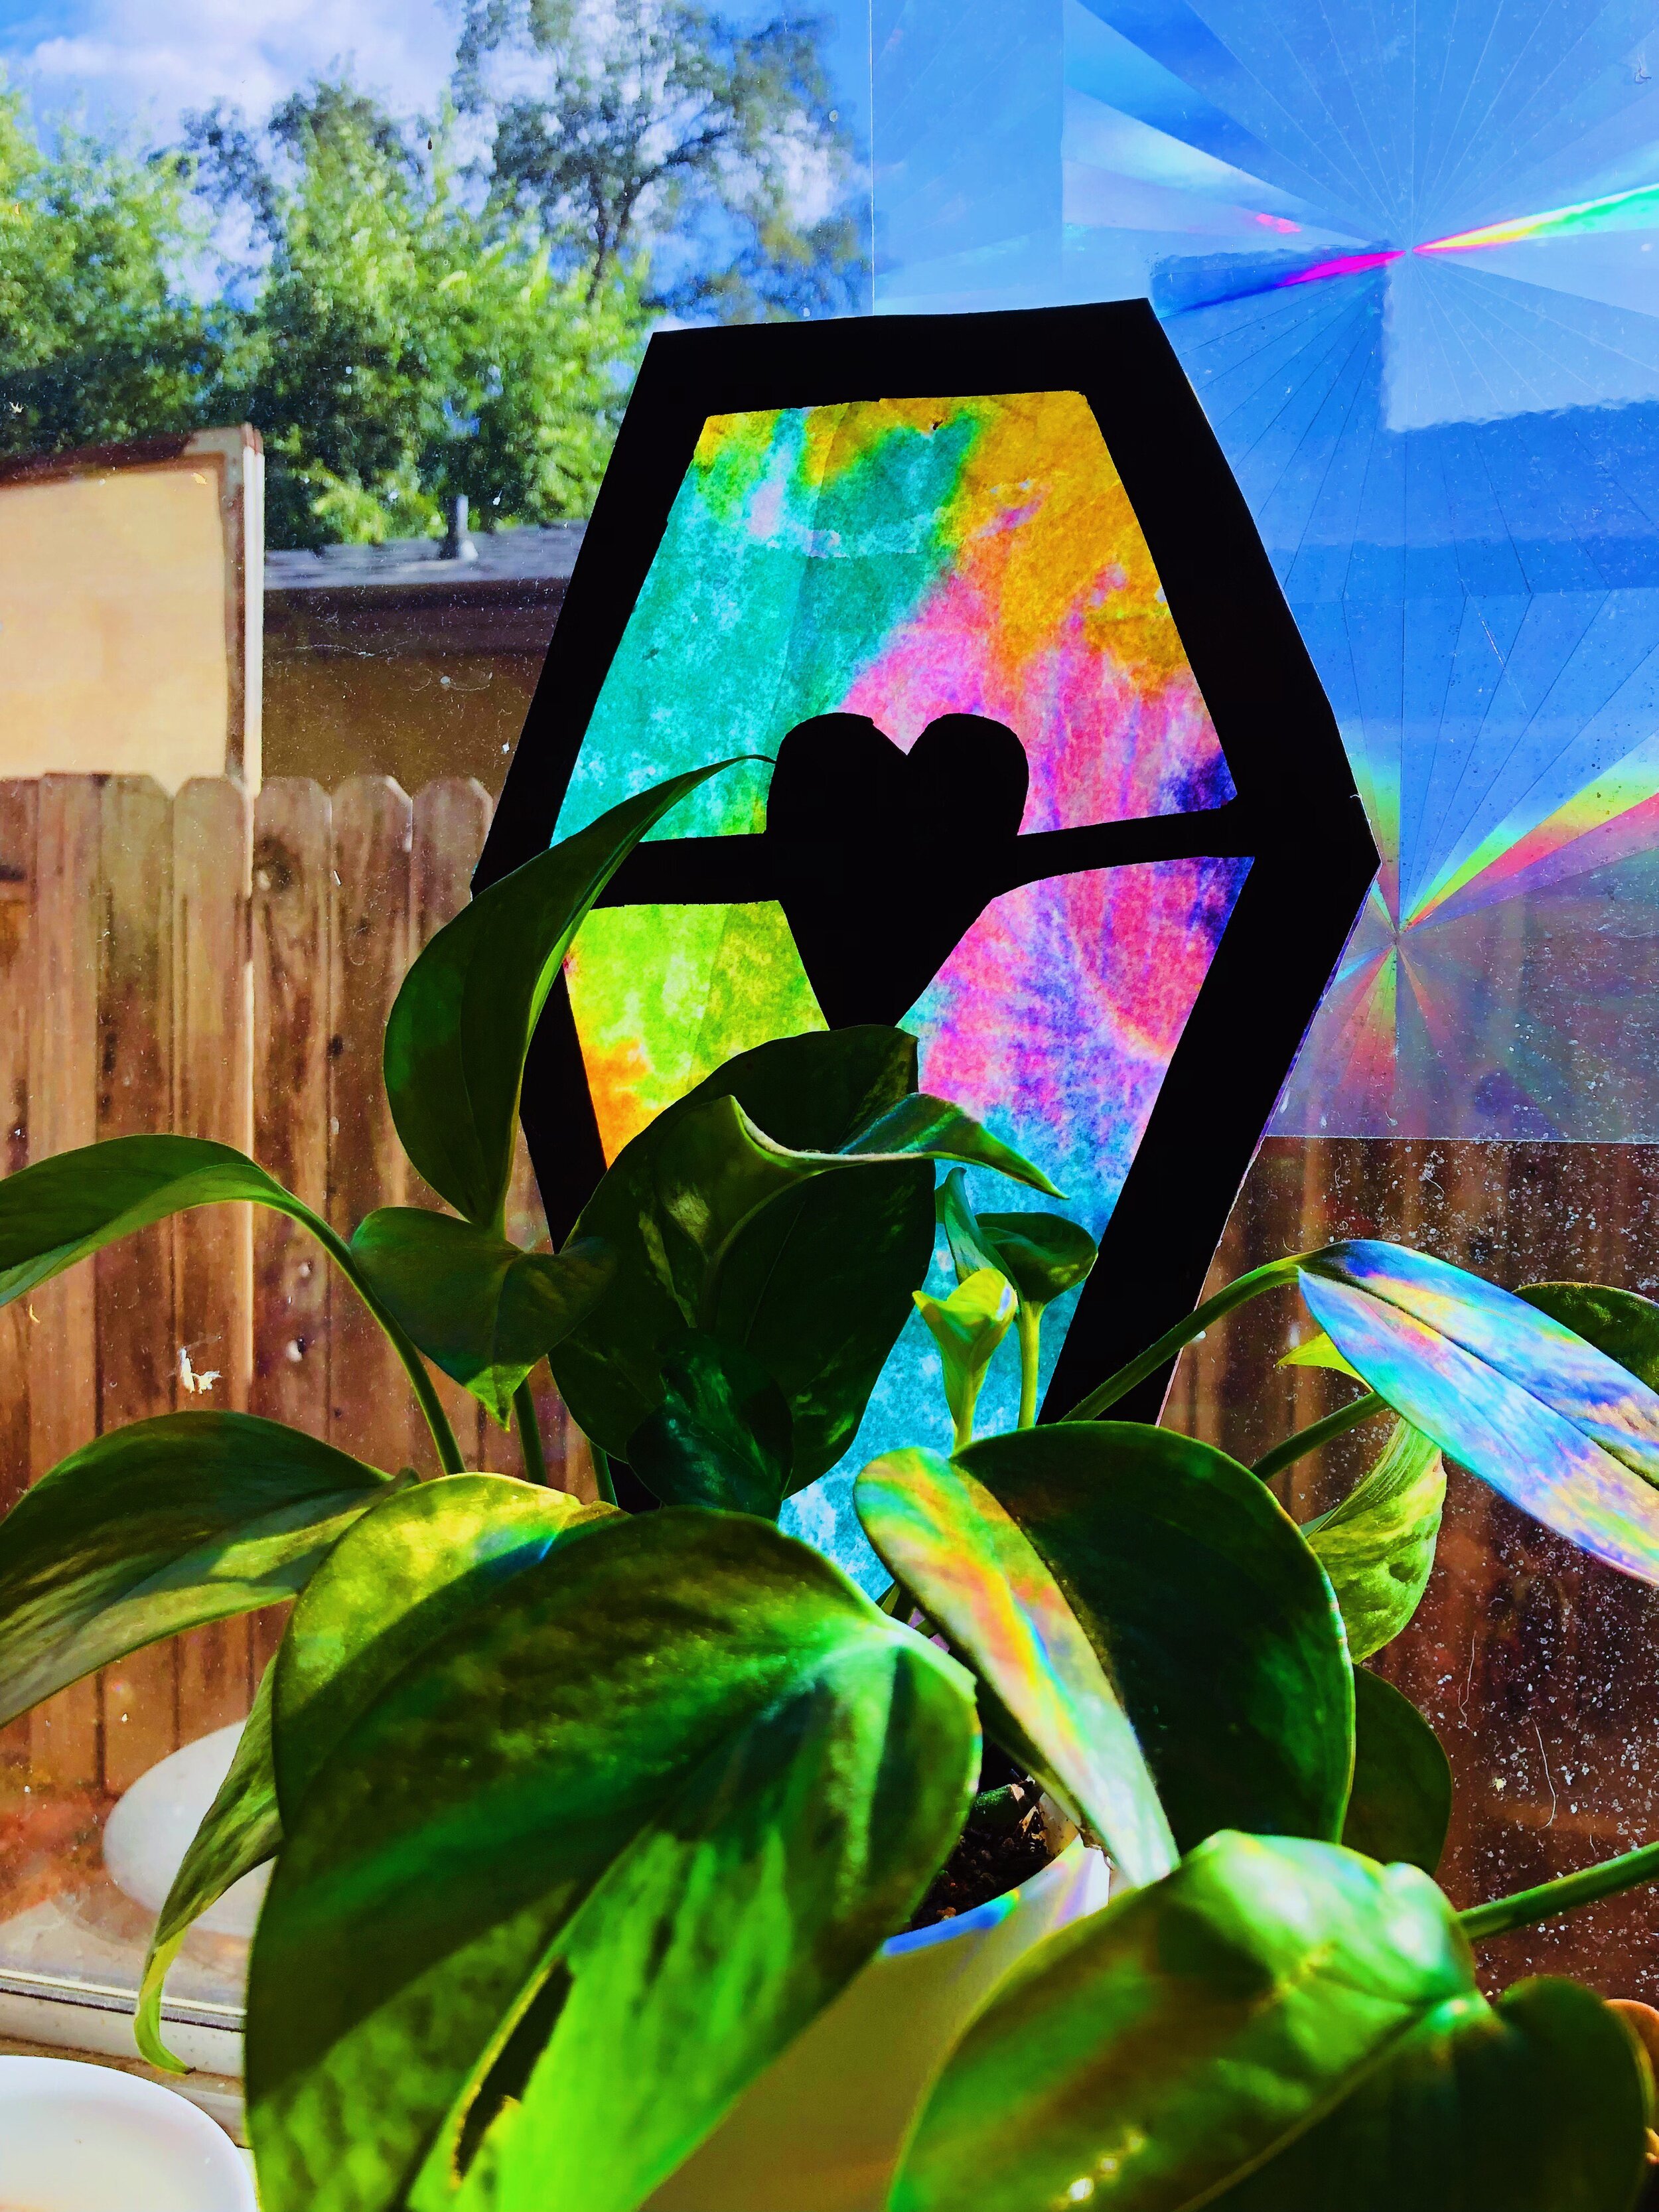
If your monoprint is bigger than the window frame you’ve created, grab a pair of craft scissors (older children and adults only!) or an exacto knife (adults only!) and trim off any excess paper edges. Check to make sure the paper is secured all around and apply additional adhesive/glue as needed. Once you’ve cleaned up the edges and fully fastened your paper, you can place your new masterpiece on a windowsill or hold it up to the light to view the magic!
You can create a whole collection to hang around the house or even recycle this craft for the holidays to make Yuletide Windows, too!
(Beware that most washable markers are not lightfast, meaning the ink can fade in the sunlight, so these might be a single-year decoration if you choose to leave them in the sun all month long. But that just means more fun making new ones the following year!)
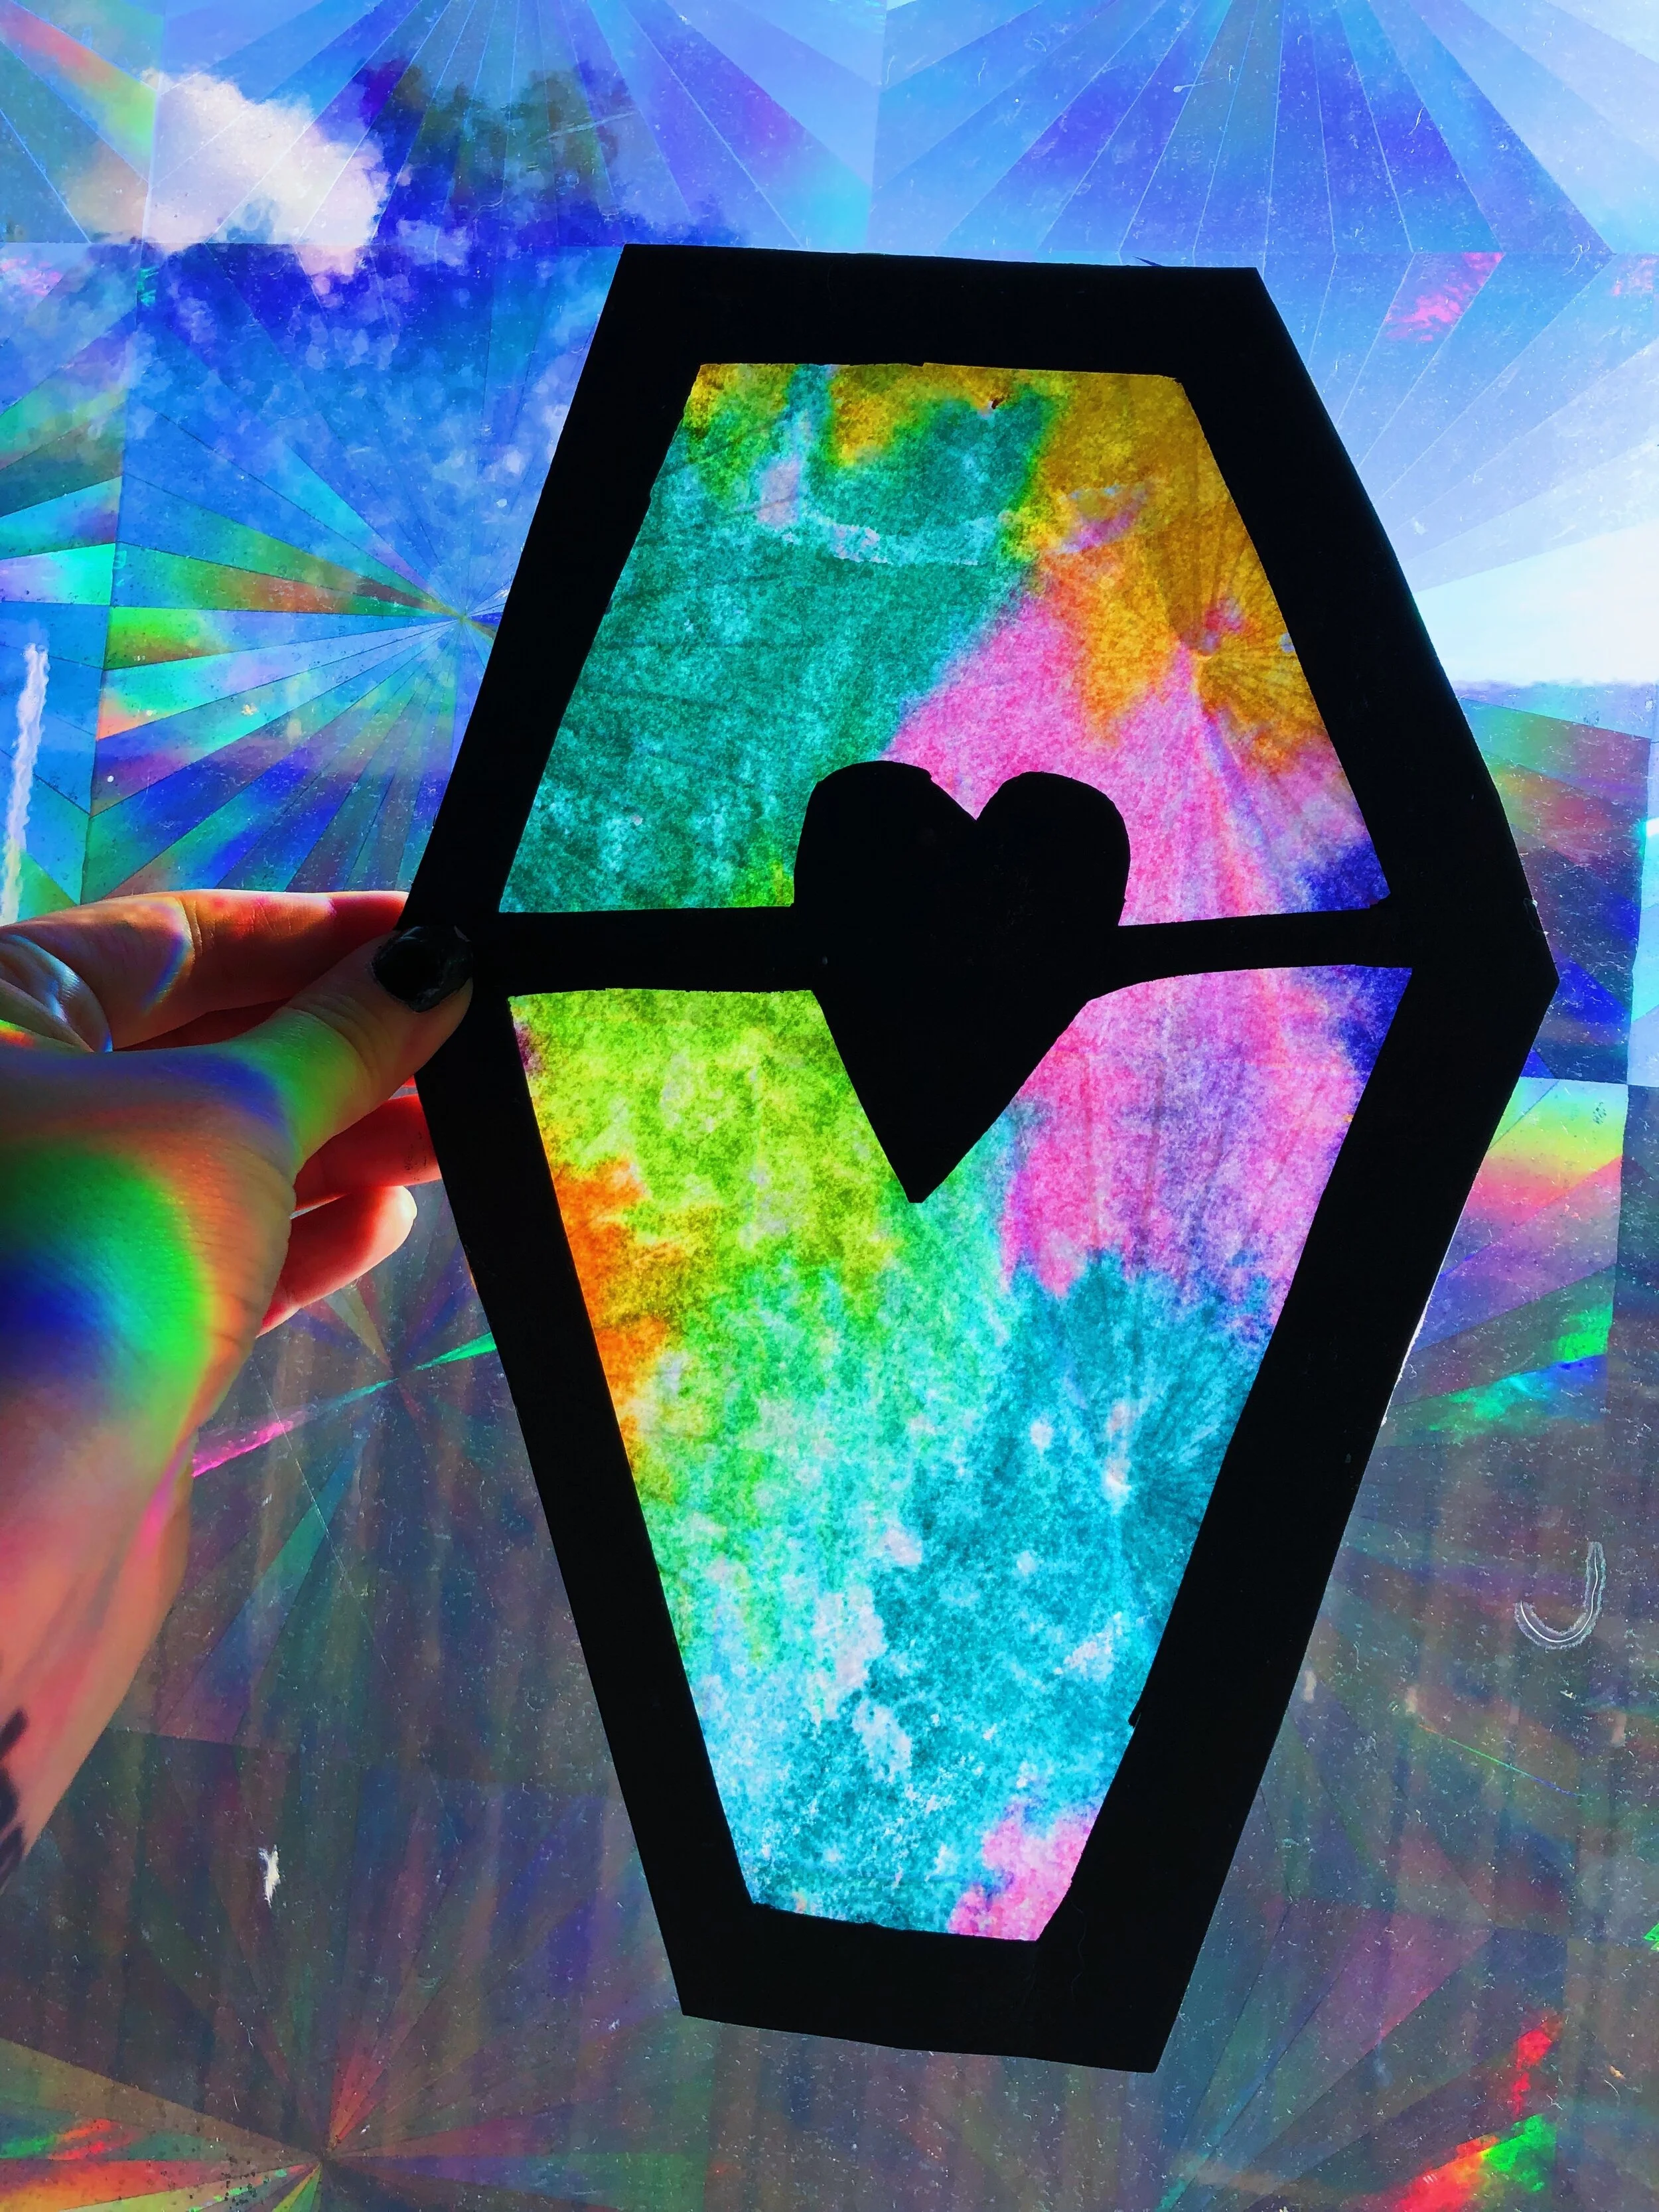
DHR Team Contributor Cassie tried her hand at this craft over the weekend as well!
Check out her Cute Rainbow Coffin design below!
Arts and Crafts Project Designed by Ellen Avigliano
Twitter: @imaginariumcs
Instagram: @imaginariumarts
Website: www.imaginariumarts.com
