

Make a Mummy Ornament: A Nearly Mess-less Craft for Spooky Kiddos!

Let’s be real. The last 5 or 6 months have been really hard on parents. Working from home and managing the household plus homeschooling and child-wrangling is no easy feat. We realize that many of you are at your wits end, facing serious parent burnout, and looking for new, fun ways to entertain your kiddos. In an effort to reduce your stress and provide a few minutes of relief, we have put together a fun little at-home craft to give you at least 10 minutes of peace.
Bonus points: This craft is virtually mess-less if you use the paint marker/washable marker and tape method! If you don’t mind a little bit of a mess, you can give your kids the paint to make their monster faces, and bust out your parents-use-only glue gun to secure the yarn. If not, a nice bit of duct tape, electrical tape, or packing tape is enough to secure the yarn or twine.
Supplies:
wooden circles
white yarn, white butcher’s twine, thin white ribbon
paint markers or paint, washable markers, or colored pencils
strong tape such as duct tape, electrical tape, or glue gun
scissors
Directions


Step 1:
The simple route: About 1/3rd of the way down your circle draw a little rectangle with markers/pencils or paint with a brush or a paint pen in the color of your choice to represent mummy flesh (we did bright green, because that’s gross and icky monster color!) Then draw two scary, spooky little eyeballs.
The messier route: Let your kiddos paint the whole disc white, or whatever colour of their choice. It’s art! There’s no wrong way to create their mummy face base. Set them aside to dry or give them a little time under a hair dryer (with adults supervision!) to make them dry faster. Add a little goofiness to your mummy’s appearance by gluing on some Googly Eyes or buttons!


Step 2:
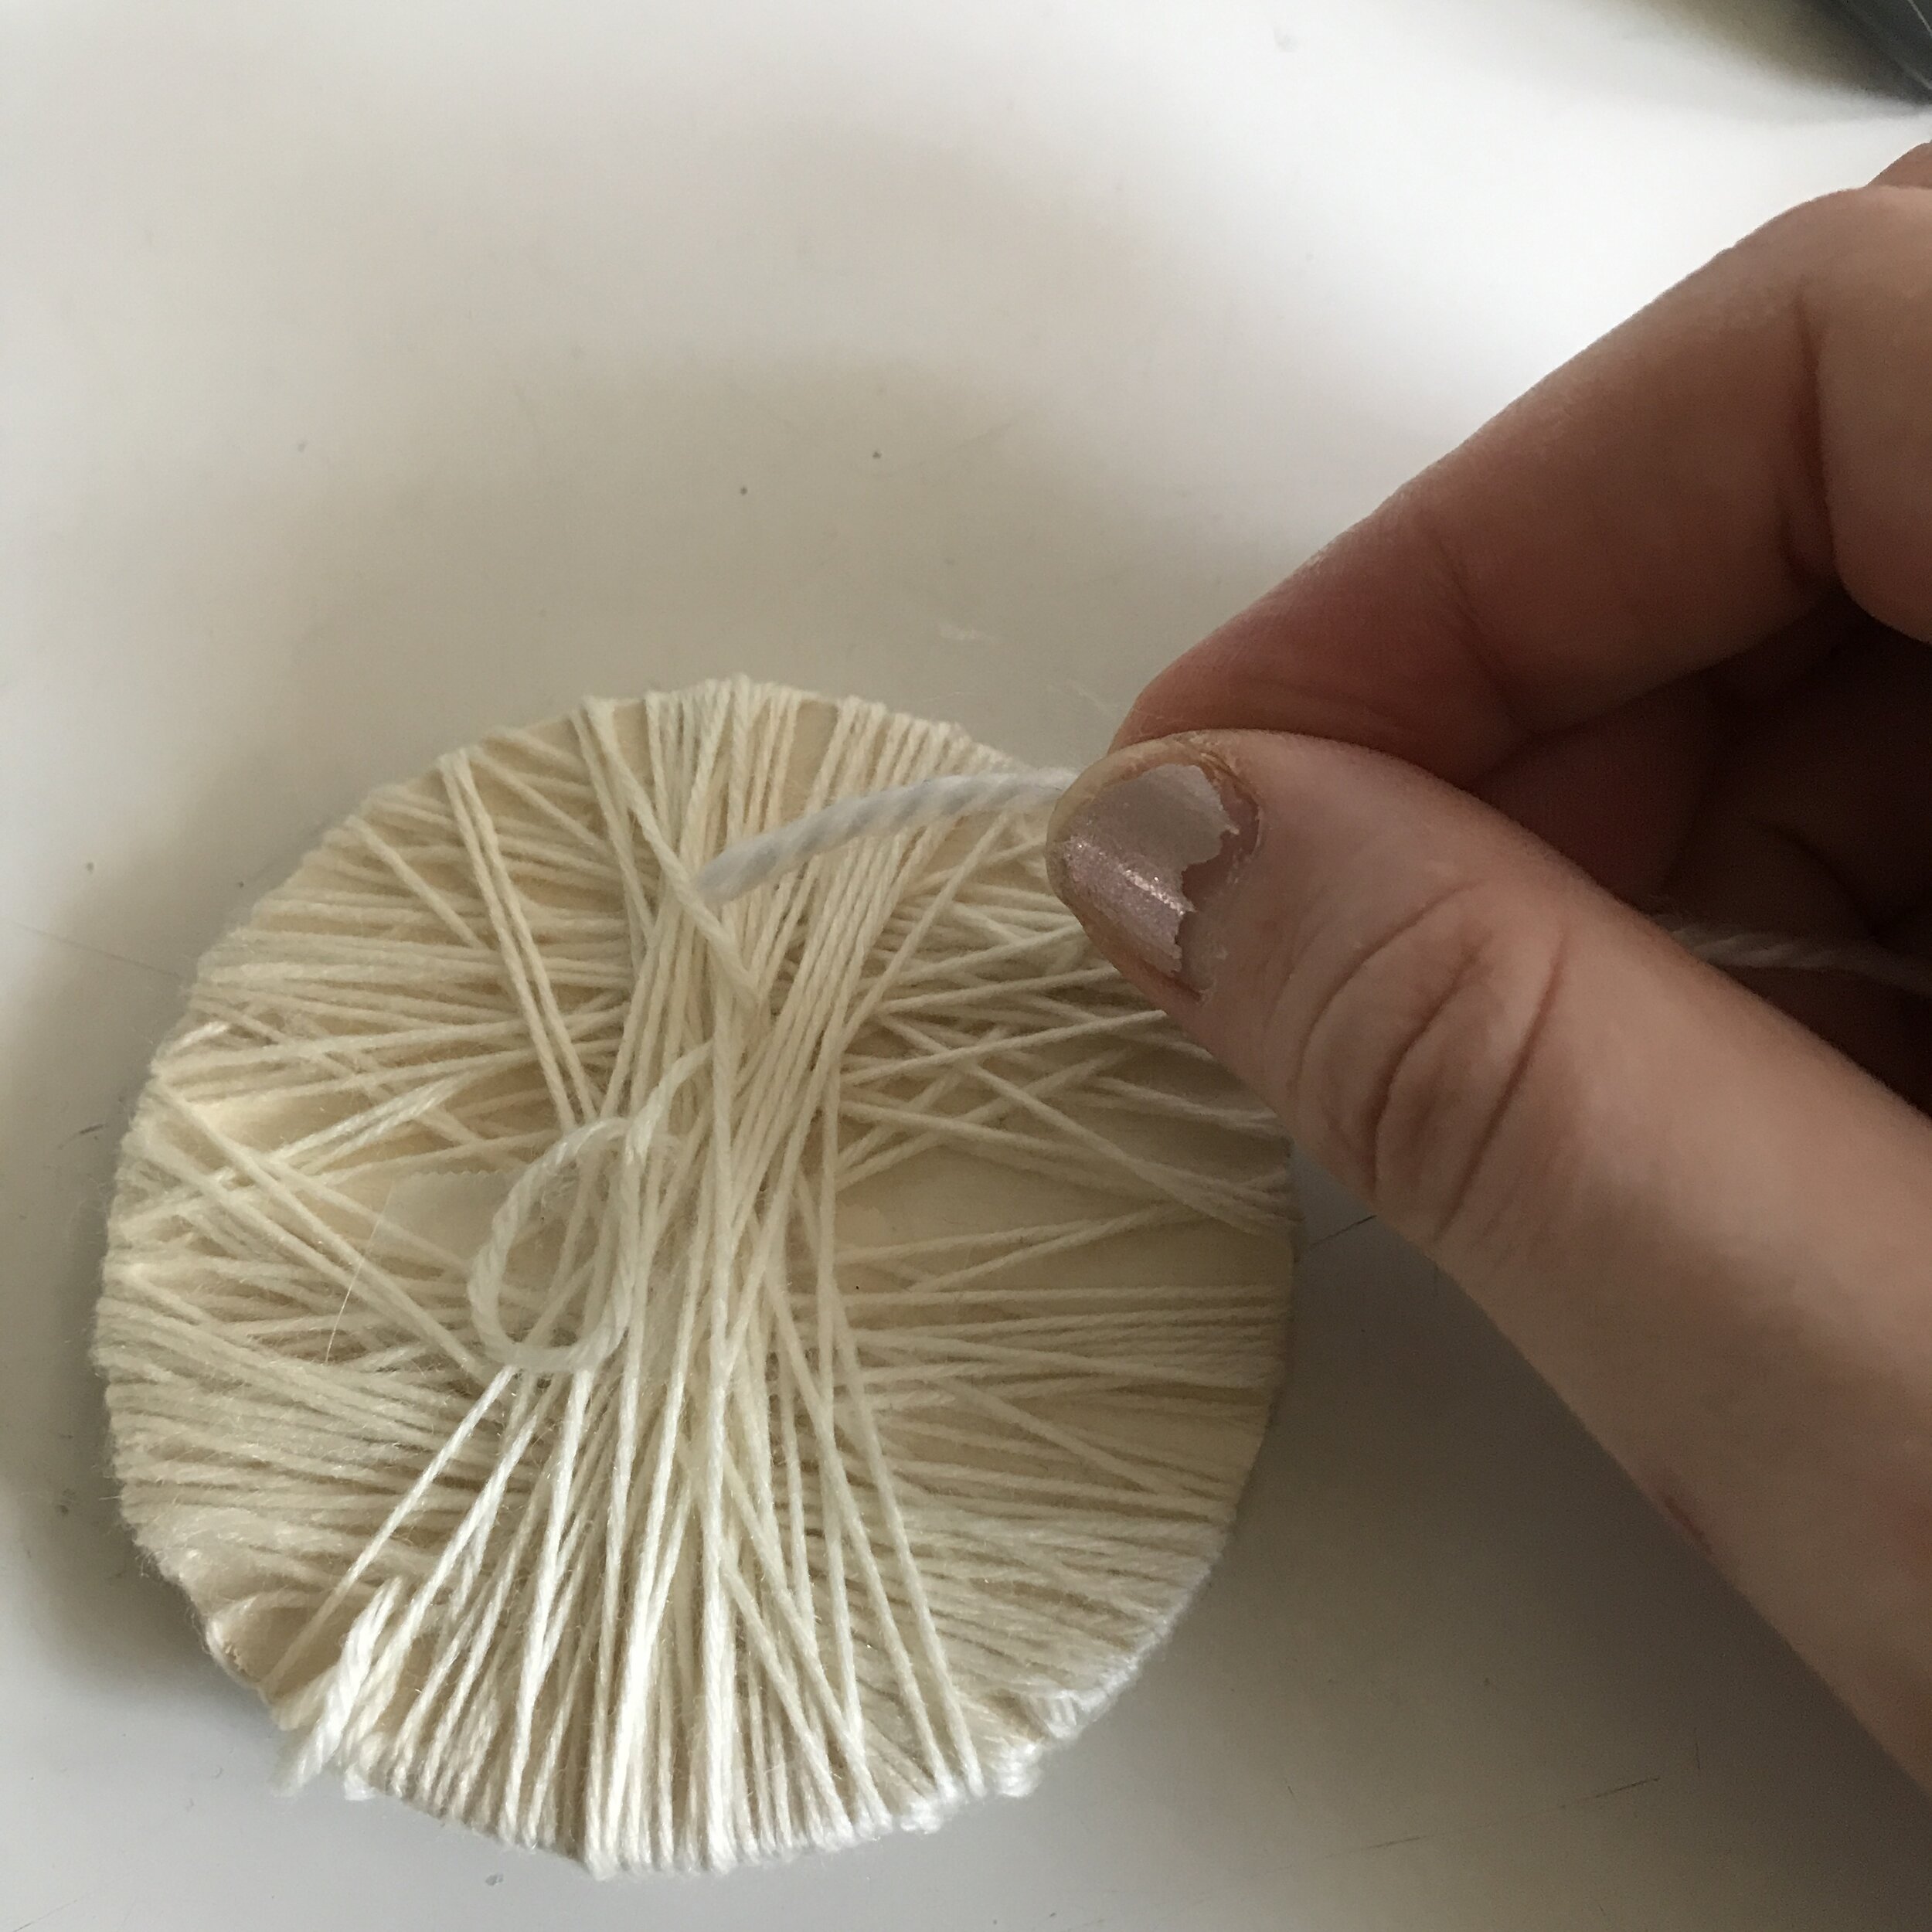
It’s time to wrap the yarn! First, take a small ball of yarn and tape or hot-glue one end of it to the back center of the wooden disc. Once the yarn is securely in place, start wrapping the yarn around the top, being careful not to cover your mummies eyes. You can criss-cross between the eyes to secure the yarn as you wrap it around and around. Little ones may need some help if the yarn starts to slide. Feel free to tape the yarn or secure with another dot of glue as they go along. Once all the yarn is wrapped around and you’ve run out, or you’ve had enough wrapping, you can trim the yarn and secure the last loose edge to the back of the disc.

Step 3:
The simple route: Create a hanging loop by snipping a small bit of yarn or ribbon, and threading it through a section of the woven wrapped-around yarn. tie a little knot or two at the top.
The messier route: Hot-glue a magnet strip or pin-back to the back of your mummy to create a pin for your book tote or a magnet for fridges and lockers!
TADA! A nearly mess-free mummy craft for everyone to enjoy!

Craft Tutorial by Ellen Avigliano
Twitter: @ImaginariumCS
Instagram: @TheJackalopes.Warren and @ImaginariumArts
Website: www.imaginariumarts.com